
As I sifted through recipes on a rainy afternoon, my eyes landed on a vibrant green treat that promised nutty indulgence and a chewy texture: Pistachio Dream Cookie Bars. The sight of those colorful bars instantly brightened my day, and I couldn’t help but think how perfect they would be for sharing with friends and family. What I love most is their easy preparation—these bars come together in just a pinch of time and are destined to impress even the toughest crowd. With their unique pistachio flavor and dazzling appearance, they’re not just another dessert; they’re an experience to savor. Feeling adventurous? You can easily customize them to make them your own! What exciting twist will you add to yours?
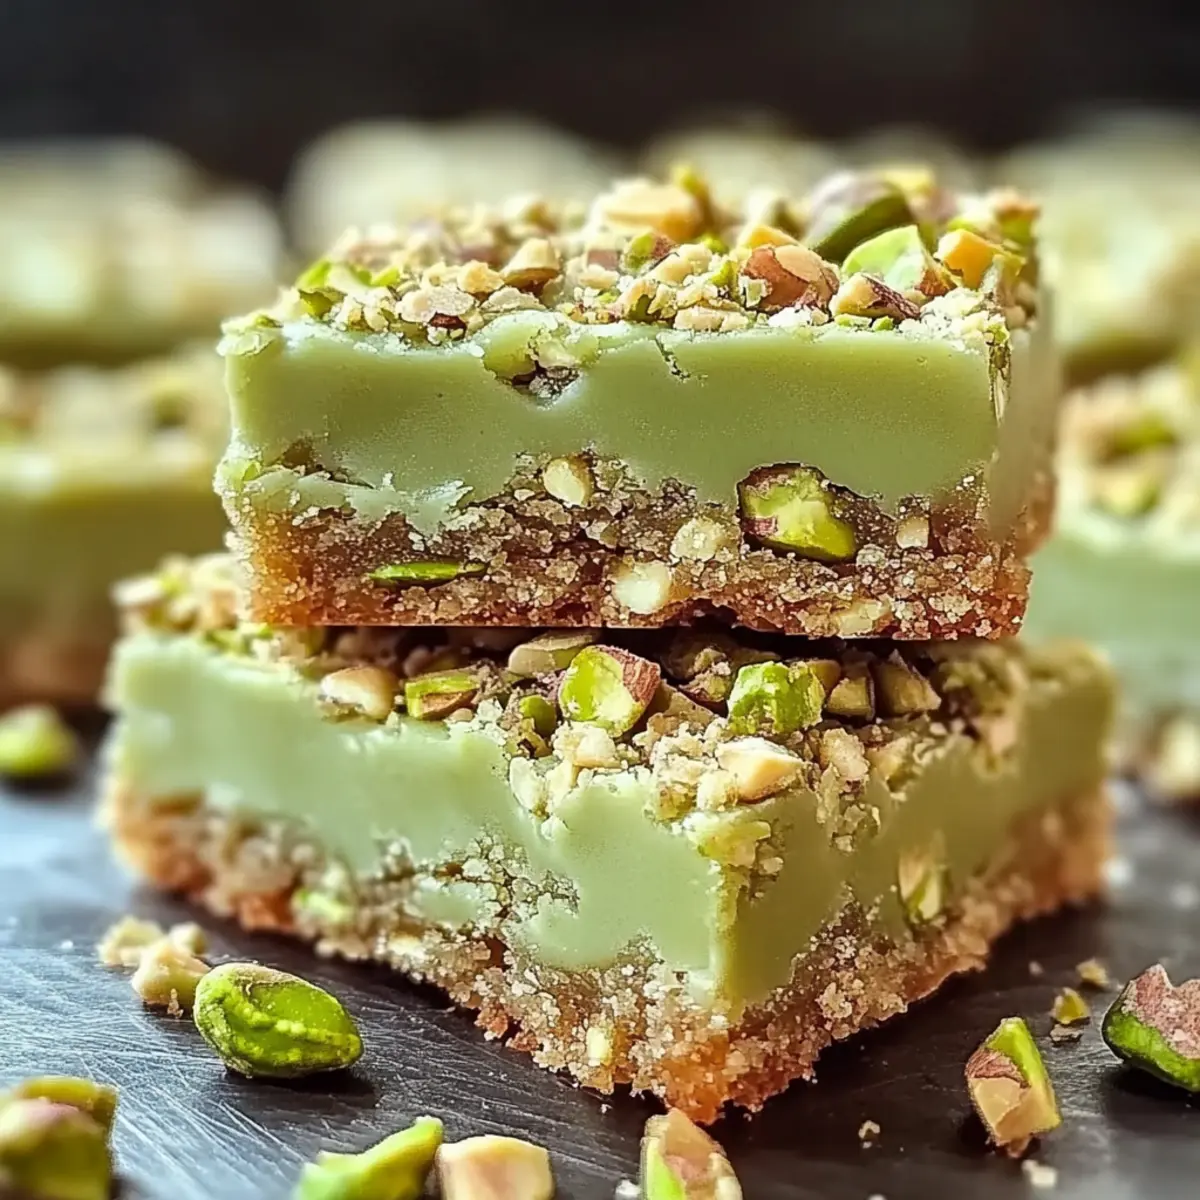
Why Are Pistachio Dream Cookie Bars Irresistible?
Vibrant Color: The stunning green hue of these bars wow your guests, making them the center of attention at any gathering.
Effortless to Make: With just a few simple ingredients, these bars come together in no time, perfect for busy days or spontaneous dessert cravings.
Crowd-Pleasing Flavor: The unique blend of pistachio and sugar cookie creates a delightful taste that appeals to both kids and adults alike.
Customizable Fun: Feel free to add chocolate chips or chopped nuts for an extra layer of flavor; the options are endless!
Perfect for Sharing: Slice them into squares and watch as they disappear—everyone will be reaching for just one more!
These bars are an exceptional treat that everyone will love. For more delicious ideas, check out my Coconut Toffee Bars or Cinnamon Roll Bars for your next dessert adventure!
Pistachio Dream Cookie Bars Ingredients
• For the Base
- Unsalted Butter – adds a rich and creamy flavor that enhances every bite.
- Large Eggs – provide moisture and binding, ensuring a soft texture in the cookie bars.
- Pistachio Instant Pudding Mix – contributes an irresistible nutty flavor and vibrant green color, making these cookie bars visually stunning.
- Sugar Cookie Mix – simplifies the process for easy baking; feel free to swap with homemade sugar cookie dough if you’re up for it.
• For Greasing
- Cooking Spray or Butter – use to grease your baking sheet for an effortless release from the pan; it’s key for preventing sticking.
Dive into these Pistachio Dream Cookie Bars, and enjoy every chewy, nutty moment!
Step‑by‑Step Instructions for Pistachio Dream Cookie Bars
Step 1: Preheat the Oven
Begin by preheating your oven to 375°F (190°C). This is an important step to ensure that your Pistachio Dream Cookie Bars bake evenly and develop a beautiful golden edge. While the oven is heating, prepare your mixing area with all your ingredients and equipment at hand, including a large mixing bowl and baking sheet.
Step 2: Cream the Butter and Eggs
In a large mixing bowl, combine softened unsalted butter, large eggs, and pistachio instant pudding mix. Use an electric mixer to blend these ingredients on medium speed until the mixture is smooth and creamy, taking about 2-3 minutes. The vibrant green color will start to emerge as the ingredients mix, adding excitement to your baking adventure!
Step 3: Incorporate the Cookie Mix
Gradually fold in the sugar cookie mix using a spatula. It’s essential to mix gently until a sticky dough forms, so be careful not to overmix—this will keep your Pistachio Dream Cookie Bars chewy. The dough should be thick and cohesive, indicating it’s ready for the next step.
Step 4: Prepare the Baking Sheet
Take a 10 x 15-inch baking sheet and generously grease it with cooking spray or butter. Ensuring an even coating is crucial for preventing the cookie bars from sticking to the pan. Once greased, use your hands or a spatula to press the dough evenly into the prepared baking sheet, filling the corners to create a uniform layer.
Step 5: Bake the Cookie Bars
Place the baking sheet in the preheated oven and bake for 18 to 22 minutes. Keep an eye on the edges; they should turn lightly golden while the center remains soft. This visual cue is key to achieving the perfect texture for your Pistachio Dream Cookie Bars.
Step 6: Cool Completely
Once baked, remove the sheet from the oven and set it on a wire rack to cool completely. Allowing your bars to cool fully, typically about 30-45 minutes, is essential to get the best texture. Cutting them too soon may lead to crumbling, so exercise a little patience as the delicious aroma fills your kitchen!
Step 7: Slice and Serve
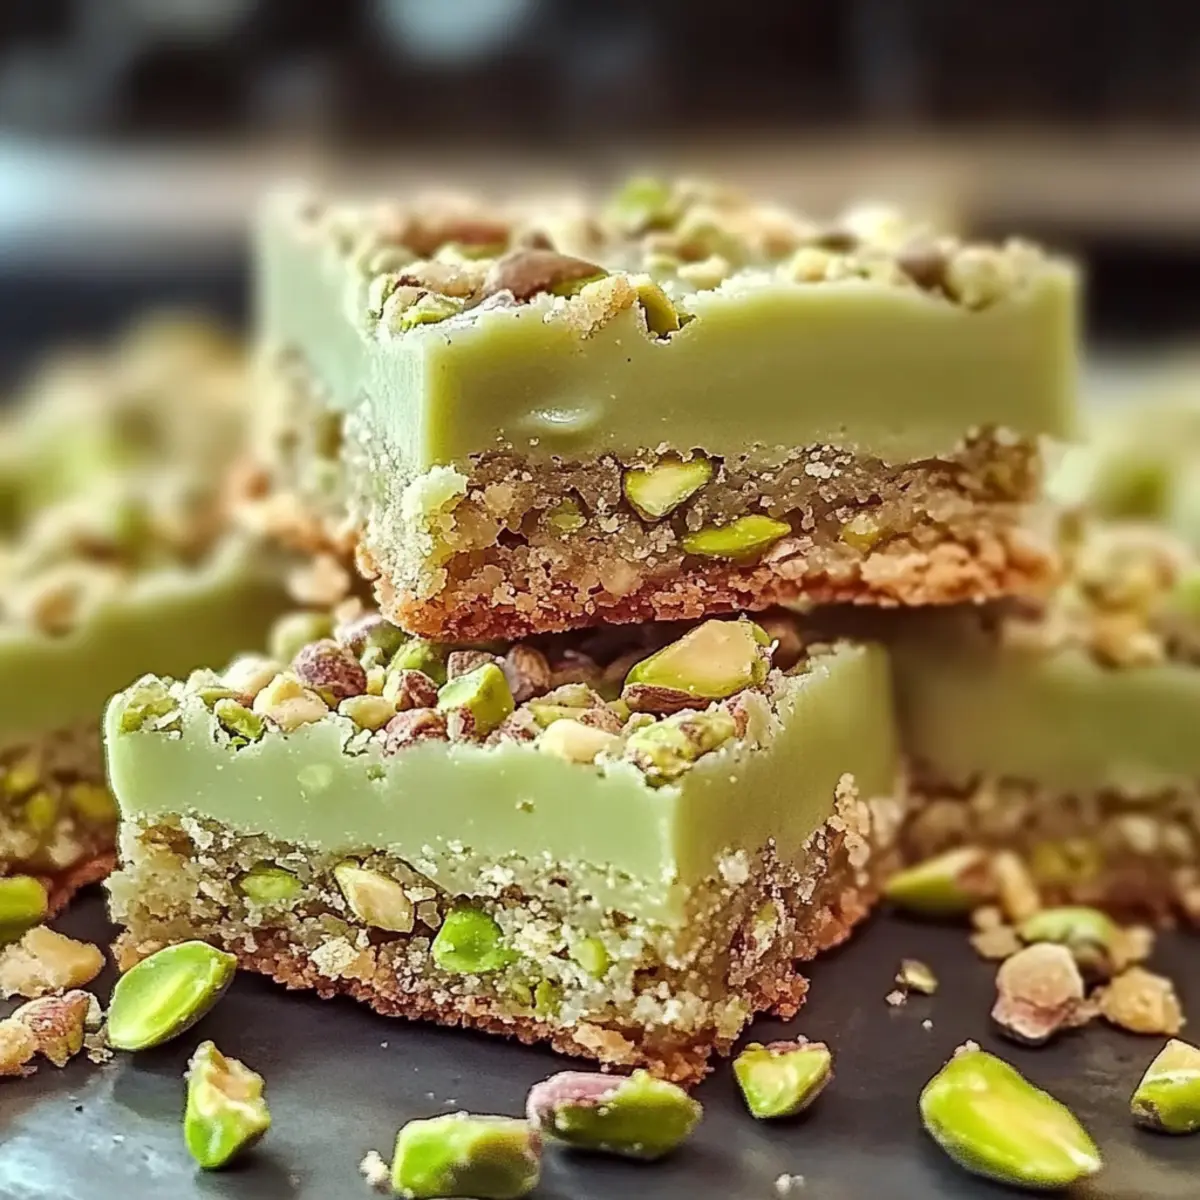
After the bars have cooled, use a sharp knife to cut them into squares. You can create any size you like, but a 2-inch square is a popular choice. These colorful Pistachio Dream Cookie Bars are now ready to be shared and enjoyed; serve them as a delightful treat for friends and family at your next gathering!
Make Ahead Options
These Pistachio Dream Cookie Bars are perfect for busy home cooks looking to save time! You can prepare the dough up to 24 hours in advance by mixing all the ingredients and storing it in an airtight container in the refrigerator. This helps to keep the flavors fresh and ensures your bars are just as delightful when baked. When you’re ready to enjoy, simply take the dough out of the fridge and press it into the greased baking sheet. Bake as directed, and you’ll have freshly baked bars with minimal effort, ideal for a last-minute dessert craving! Enjoy the convenience without compromising on taste!
Expert Tips for Pistachio Dream Cookie Bars
• Room Temperature Ingredients: Ensure your butter and eggs are at room temperature for easier mixing, resulting in a smoother dough that bakes evenly.
• Avoid Overmixing: Mix the dough just until combined. Overmixing can lead to tough cookie bars instead of the chewy texture you desire.
• Don’t Rush the Cooling: Allow your Pistachio Dream Cookie Bars to cool completely before slicing them. This prevents them from crumbling and ensures a perfect texture.
• Storage Solutions: Store leftovers in an airtight container at room temperature for up to 5 days, or refrigerate them for a week. For longer freshness, freeze individually wrapped bars for up to 3 months.
• Greasing the Pan: Use an even coat of cooking spray or butter on your baking sheet to ensure an effortless release of the cookie bars once baked.
Storage Tips for Pistachio Dream Cookie Bars
- Room Temperature: Store leftover bars in an airtight container at room temperature for up to 5 days to maintain their soft and chewy texture.
- Fridge: If you’d like a longer shelf life, refrigerate them in an airtight container for up to 7 days; they’ll still be delicious and fresh.
- Freezer: For extended storage, wrap individual cookie bars tightly in plastic wrap or aluminum foil, then place them in a freezer-safe bag. They’ll remain good for up to 3 months.
- Reheating: To enjoy a warm treat, simply microwave frozen bars for 15-20 seconds or let them sit at room temperature for a bit before digging in!
Pistachio Dream Cookie Bars Variations
Dive into a world of flavors and textures by customizing your Pistachio Dream Cookie Bars to reflect your unique palate!
-
Nutty Crunch: Add chopped pistachios for an extra layer of delightful crunch that enhances the nutty taste.
-
White Chocolate Wonder: Fold in white chocolate chips to introduce a creamy sweetness that beautifully complements the pistachio flavor. The combination is simply heavenly!
-
Chocolate Drizzle: Elevate your bars by drizzling melted chocolate on top after cooling; it adds a stunning visual appeal and a rich, indulgent taste.
-
Gluten-Free Option: Swap the sugar cookie mix with a gluten-free blend to cater to those with dietary restrictions while still delivering a delightful treat.
-
Savory Spice: Stir in a pinch of cinnamon or a dash of cardamom to give your cookie bars a warm, aromatic twist that pairs wonderfully with pistachio.
-
Fruit Fusion: Toss in some dried cranberries or cherries for a pop of tanginess that balances the sweetness, creating a delicious contrast!
-
Elevated Texture: Add crushed graham crackers to the mix; they’ll give your cookie bars a subtle crunch that enhances the overall experience.
Explore these variations to truly make the Pistachio Dream Cookie Bars your own. For more delightful treats to pair with your baking adventures, don’t miss out on my Sweet Potato Pie Bars or Maple Cookies to round out your dessert table!
What to Serve with Pistachio Dream Cookie Bars
Treat your loved ones to a delightful meal by pairing these colorful bars with complementary flavors that elevate the experience.
- Vanilla Ice Cream: The creamy sweetness melts beautifully into the chewy bars, creating an indulgent dessert that’s hard to resist.
- Fresh Berries: A burst of tartness from strawberries or raspberries contrasts perfectly with the nutty flavor, adding a refreshing element.
- Honey Drizzle: A light drizzle of honey not only enhances the pistachio flavor but also adds a touch of elegance to every bite.
- Whipped Cream: Soft and airy, whipped cream pairs wonderfully, bringing a lightness that balances the richness of the cookie bars.
Pair these sweet treats with a comforting drink, as well:
- Chai Latte: The warm spices in chai complement the nuts and add a cozy touch to your dessert table.
- Mint Tea: A fresh, herbaceous mint tea cleanses the palate and offers a bright contrast to the sweetness of your Pistachio Dream Cookie Bars.
- Chocolate Milk: For a nostalgic nod, serve with rich chocolate milk; its sweetness will satisfy any sweet tooth.
With these pairings, your dessert experience will be unforgettable, making every occasion special and joyful!
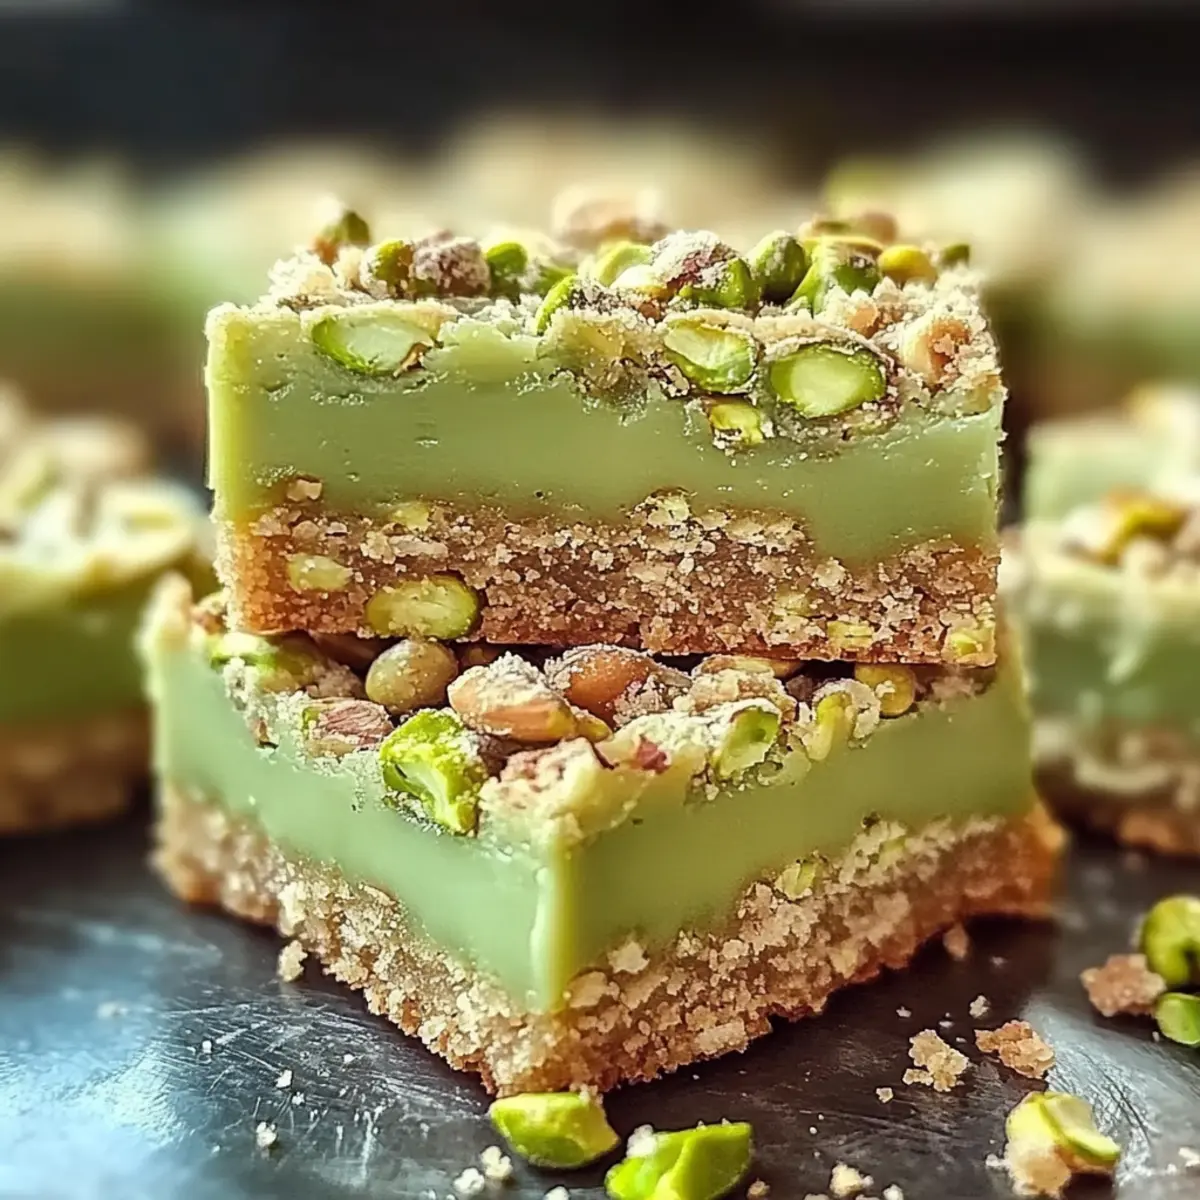
Pistachio Dream Cookie Bars Recipe FAQs
How do I choose ripe pistachios?
Absolutely! When selecting pistachios, look for those that are firm and have a slightly shiny appearance. The shells should be open or barely closed, indicating they are ready to eat. Avoid any nuts with dark spots or signs of mold, as these can indicate spoilage.
What is the best method for storing leftover cookie bars?
Store leftover Pistachio Dream Cookie Bars in an airtight container at room temperature for up to 5 days. If you want them to last longer, refrigerate them for up to 7 days. Just ensure they’re well-sealed to prevent them from drying out!
Can I freeze Pistachio Dream Cookie Bars?
Yes, you can! To freeze, wrap each cookie bar tightly in plastic wrap or aluminum foil, then place them in a freezer-safe bag. Make sure to label the bag with the date. These bars can be frozen for up to 3 months. When you’re ready to enjoy them, thaw them in the fridge overnight or microwave them for 15-20 seconds.
What should I do if my cookie bars turn out too dry?
Very! If your cookie bars end up on the dry side, it’s likely due to overbaking or overmixing the dough. To prevent this next time, keep an eye on them during the last few minutes of baking and check for a lightly golden edge while the center remains soft. Remember, it’s also important not to mix the dough too much, as this leads to tough bars.
Are these cookie bars suitable for those with nut allergies?
Great question! The Pistachio Dream Cookie Bars contain pistachio pudding mix, which is a nut product. Therefore, they are not suitable for those with nut allergies. If you’re looking to make a nut-free version, consider substituting the pistachio pudding mix with vanilla pudding mix and adding an extra dash of flavor with vanilla extract.
How can I enhance the flavor or texture of my cookie bars?
Absolutely! Feel free to add chopped pistachios or white chocolate chips to the dough for added texture and flavor. Drizzling melted chocolate over the top before slicing can also elevate them to a new level of deliciousness. Another fun idea is to sprinkle some sea salt on top after baking for a delightful sweet and salty contrast!
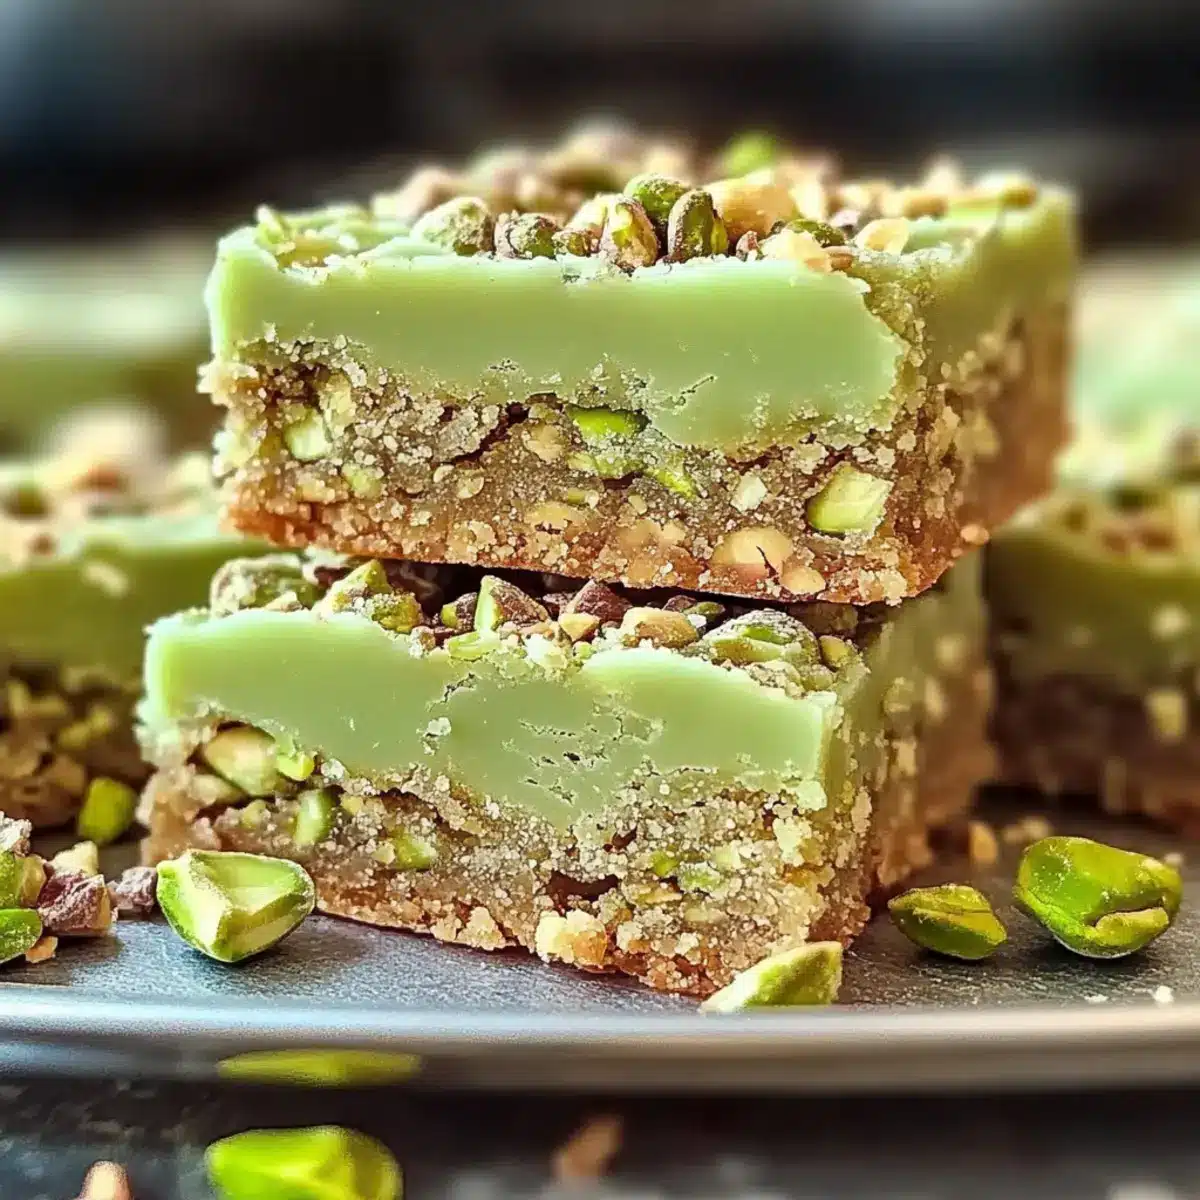
Pistachio Dream Cookie Bars: Irresistibly Chewy and Colorful
Ingredients
Equipment
Method
- Preheat your oven to 375°F (190°C).
- In a large mixing bowl, combine softened unsalted butter, large eggs, and pistachio instant pudding mix. Blend on medium speed until smooth and creamy, about 2-3 minutes.
- Gradually fold in the sugar cookie mix using a spatula until a sticky dough forms.
- Grease a 10 x 15-inch baking sheet with cooking spray or butter and press the dough evenly into the prepared baking sheet.
- Bake for 18 to 22 minutes, keeping an eye on the edges for a lightly golden color.
- Remove the sheet from the oven and let it cool completely on a wire rack for about 30-45 minutes.
- Once cooled, cut the bars into squares and serve.
Leave a Reply