
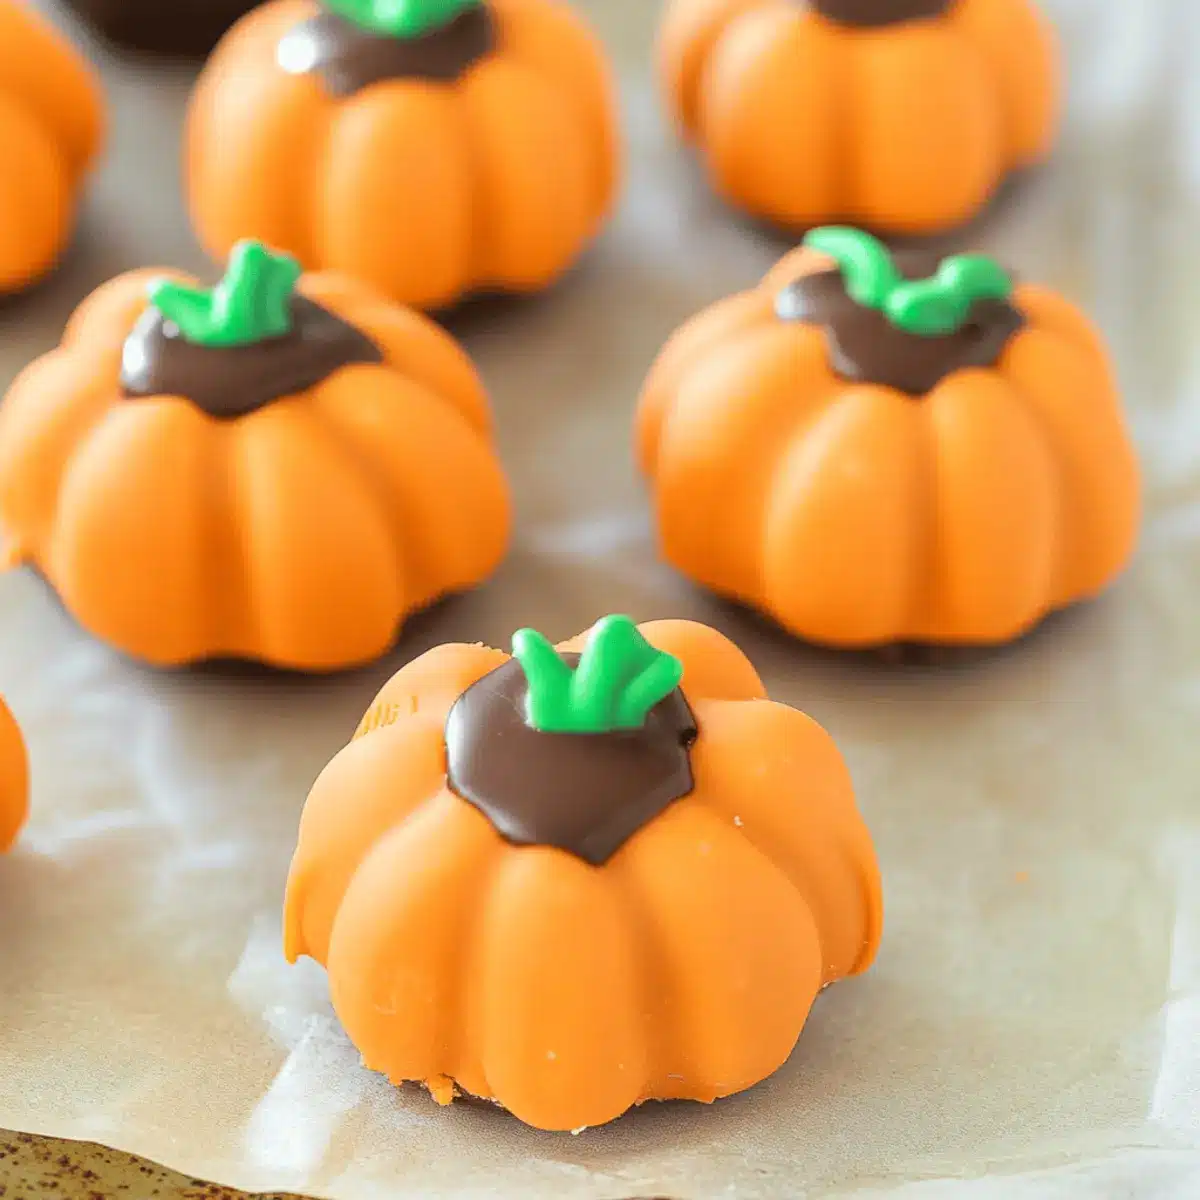
As I watched the leaves turn vibrant shades of orange and gold, the idea of making No-Bake Pumpkin Oreo Balls struck me like a ray of sunshine on a crisp fall day. These delightful little morsels embody the essence of autumn, with their creamy interior and eye-catching orange chocolate coating that instantly transports me to family gatherings and cozy Halloween nights. The best part? They’re a breeze to whip up with just five ingredients, making them a perfect quick dessert for even the busiest of home chefs. Plus, whether you’re hosting a festive Thanksgiving feast or simply embracing the season, these gluten-free treats are guaranteed crowd-pleasers that everyone will adore. Ready to discover how to create these charming pumpkin-shaped bites? Let’s dive into this scrumptious festive fun!
Why are Pumpkin Oreo Balls perfect for fall?
Simplicity at its Core: With just five ingredients, these No-Bake Pumpkin Oreo Balls are a cinch to make, even for kitchen novices.
Festive Fun: They embody the spirit of autumn, with their bright orange coating and pumpkin shape that add a playful touch to any gathering.
Crowd-Pleasing Delight: Whether it’s a Thanksgiving potluck or a Halloween party, these treats are sure to impress adults and kids alike.
Gluten-Free Goodness: Enjoy these delicious bites without worry, as they cater to gluten-free diets while still being irresistibly tasty.
Versatile Variations: Swap regular Oreos for pumpkin spice ones or play around with different toppings for unique twists on this classic treat.
So, gather your ingredients and get ready for some delicious festive fun with these delightful Pumpkin Oreo Balls!
Pumpkin Oreo Balls Ingredients
For the Pumpkin Balls
• Oreo Cookies – These provide sweetness and structure; feel free to substitute with pumpkin spice Oreos for an autumn twist.
• Cream Cheese – Adds the perfect creaminess; ensure it’s softened for easy mixing.
For the Coating
• Orange Candy Melts – This vibrant coating gives your treats a pumpkin-like appearance; you can also use any color of melting chocolate if preferred.
For Decoration
• Pretzel Sticks – Serve as delightful “stems” for your pumpkin-shaped treats; chocolate sticks can be a fun alternative if desired.
• Green Leaf Icing Decorations – Add a charming finishing touch; swap with green M&Ms or homemade icing if you can’t find them.
Get ready to indulge in these delightful Pumpkin Oreo Balls—a true fall favorite that will warm your heart and satisfy your sweet cravings!
Step‑by‑Step Instructions for Pumpkin Oreo Balls
Step 1: Crush Oreos
Start by placing your Oreo cookies in a food processor and pulse until they become finely crumbled. This should take about 30 seconds to 1 minute. If you don’t have a food processor, you can place them in a zip-top bag and crush them with a rolling pin. The fine crumb consistency is crucial for the Pumpkin Oreo Balls.
Step 2: Mix Ingredients
In a large mixing bowl, combine the crushed Oreo cookies with softened cream cheese. Use a spatula or your hands to mix until the ingredients are well blended and form a cohesive dough. This should take about 2-3 minutes. The mixture should be smooth and easy to mold, creating the perfect base for your Pumpkin Oreo Balls.
Step 3: Shape Balls
Scoop out about one tablespoon of the mixture and roll it into a ball, approximately 1 inch in diameter. Place the formed balls on a parchment-lined baking sheet, ensuring there’s some space between them. Once shaped, refrigerate these balls for about 15 minutes to firm up. This chilling step will help them hold their shape later on.
Step 4: Define Shape
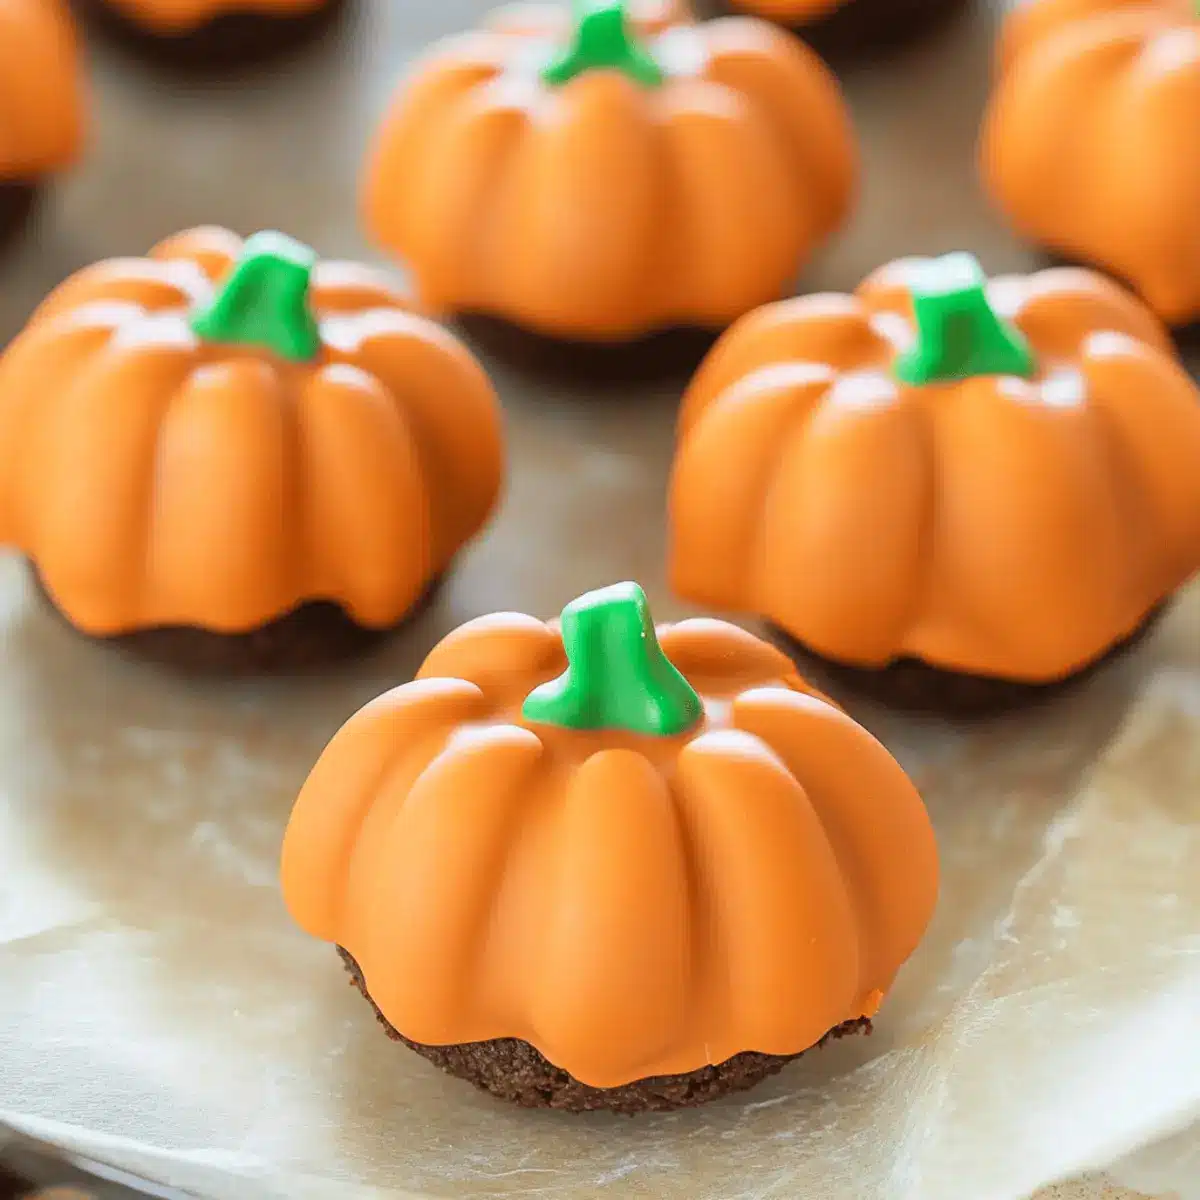
After chilling, take the balls out from the refrigerator. Using a toothpick, gently score lines into each ball to create a pumpkin-like appearance. This step adds detail and visual interest to your Pumpkin Oreo Balls. Return them to the fridge for an additional 10 minutes to set the shapes before coating.
Step 5: Prepare Coating
While the shaped Oreo balls chill, melt the orange candy melts. You can do this using a double boiler on the stove or microwave in short 30-second intervals, stirring in between. Follow the instructions on the package for the best results. Once melted, the candy coating should be smooth and shiny, perfect for enveloping your treats.
Step 6: Dip & Decorate
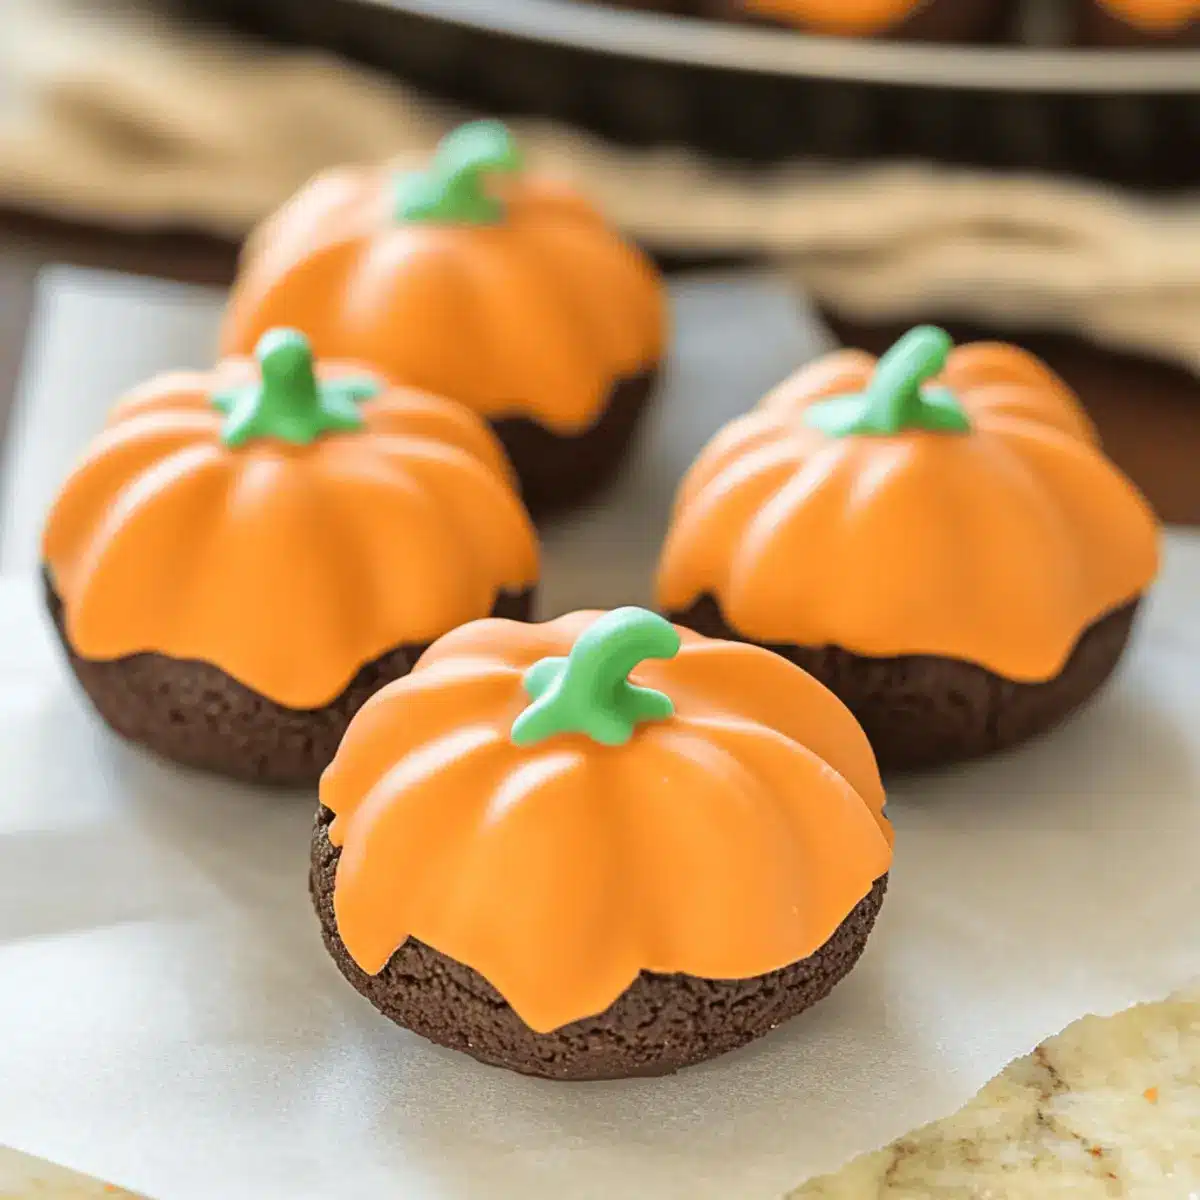
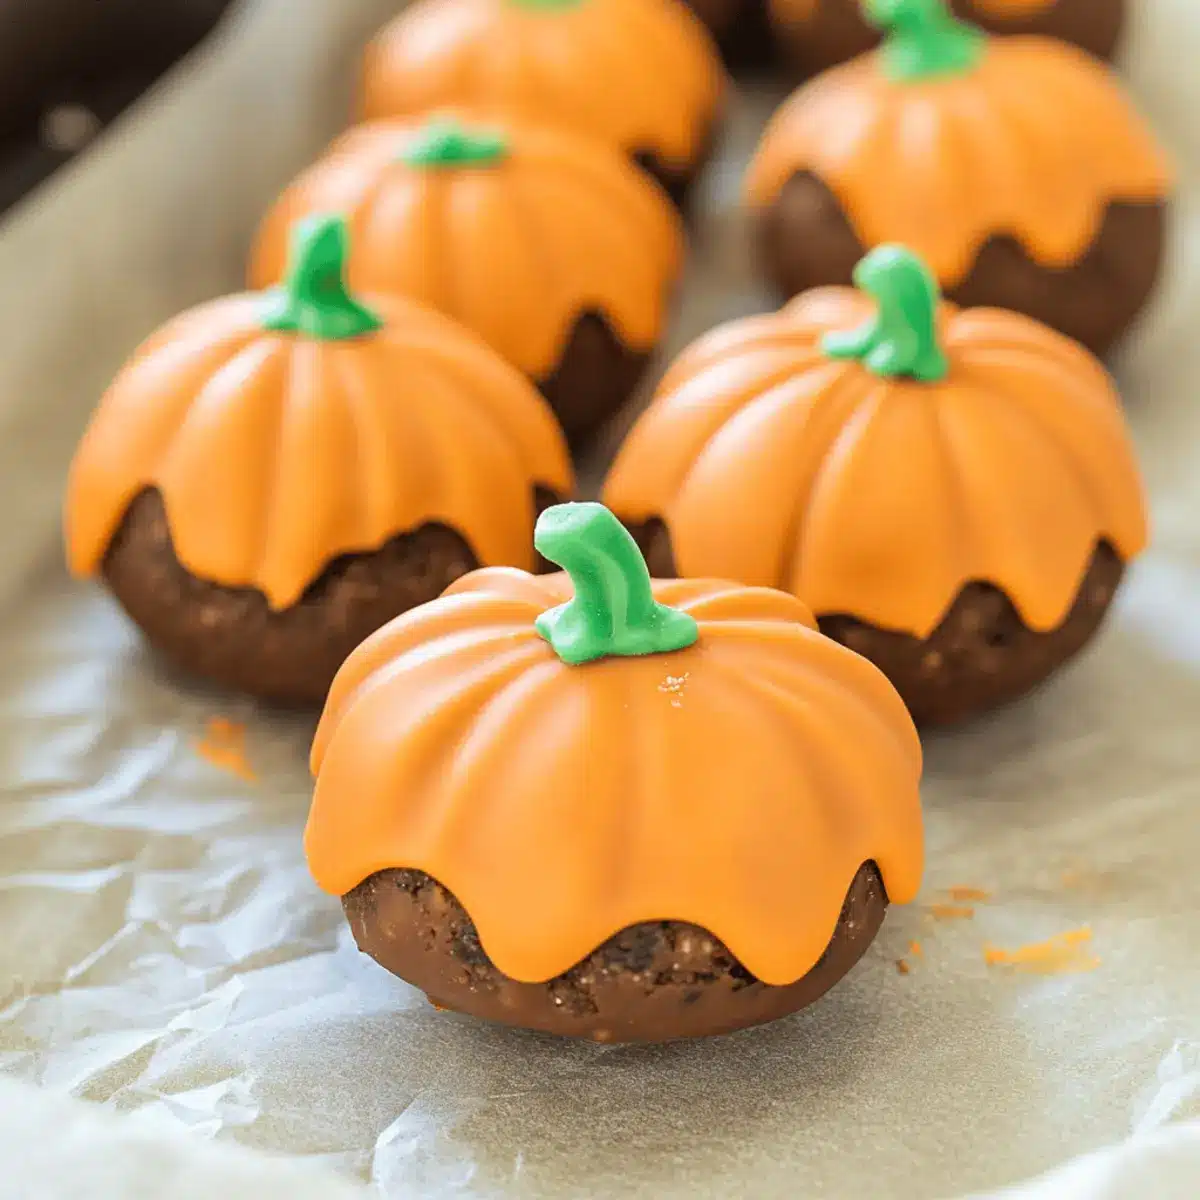
Take each chilled Pumpkin Oreo Ball and dip it into the melted orange candy. Let any excess coating drip off before placing them back onto the lined sheet. Immediately insert a pretzel stick into the top of each ball to serve as a pumpkin stem and add a green icing decoration for a final touch. Work quickly, as the coating will set soon.
Step 7: Refrigerate
Finally, place your decorated Pumpkin Oreo Balls back in the refrigerator. Let them chill for about 30 minutes until the coating is firm. Once they’re ready, you can serve these delightful no-bake desserts at your fall gatherings, delighting friends and family with every creamy, pumpkin-flavored bite!
Pumpkin Oreo Balls: Flavorful Twists Await
Invite your creativity to shine as you customize these delightful treats with some easy variations!
- Pumpkin Spice Oreos: Swap regular Oreos with pumpkin spice Oreos for a seasonal flavor boost that captures the essence of fall.
- Minty Delight: Use mint Oreos to give a refreshing twist, perfect for those who love a playful flavor explosion. Imagine a hint of mint complementing the creamy pumpkin interior!
- Golden Oreo Swap: Switch it up with golden Oreos for a buttery and milder flavor that still pairs wonderfully with the cream cheese. This variation adds a unique twist without losing that classic taste.
- Chocolate Coating: Instead of orange candy melts, dip your balls in dark or milk chocolate for a richer coating. The smooth chocolate hides a creamy inside that will satisfy any sweet tooth!
- Coconut Flakes: Roll the finished balls in shredded coconut after coating for a tropical texture and taste. This extra layer not only adds flavor but also a fun crunch!
- Nutty Addition: Sprinkle crushed nuts like pecans or walnuts on top for a delightful crunch and a surprise bite. They pair beautifully with the creamy filling and make these treats even more tempting.
- Spicy Kick: For those who love heat, add a dash of cayenne or chili powder to the Oreo and cream cheese mixture. This unexpected kick will surprise and delight your tastebuds.
- Colorful Melting Chocolates: Experiment with different melting chocolates like white or pink for an eye-catching aesthetic that might just outshine any dish on your dessert table!
These not only embody the seasonal theme but also invite fun and experimentation in the kitchen. You can even sprinkle a touch of pumpkin spice into your mixture for added warmth! So gather your ingredients, and let’s make these delicious Pumpkin Oreo Balls even more unique!
Expert Tips for Pumpkin Oreo Balls
• Stay Chilled: Keep your Pumpkin Oreo Balls refrigerated until it’s time to serve, as they can soften due to the cream cheese.
• Quick Coating: Dip the balls into the melted candy coating right before serving to maintain their shape and texture for a delightful crunch.
• Decorating Fun: If green icing decorations are hard to find, consider using green M&Ms or homemade icing to add a personal touch to your Pumpkin Oreo Balls.
• Crushing Oreos: Ensure your Oreo crumbs are finely crushed for a smooth mix; any large chunks can lead to uneven texture.
• Mixing Thoroughly: Blend the Oreo and cream cheese mixture until it’s completely combined to create a cohesive dough that’s easy to shape.
Make Ahead Options
These No-Bake Pumpkin Oreo Balls are perfect for meal prep, allowing you to save precious time during busy fall gatherings. You can prepare the Oreo and cream cheese mixture up to 24 hours in advance, simply refrigerate it in an airtight container. When you’re ready to serve, scoop and shape the balls, then chill them for 15 minutes before scoring their pumpkin lines. The orange candy melts can be melted and prepared right before you dip and decorate to ensure the coating remains fresh and vibrant. By prepping ahead, you’ll achieve that festive flair without the last-minute rush, making your gatherings even more enjoyable!
What to Serve with Pumpkin Oreo Balls
Elevate your dessert table with delightful pairings that complement the creamy, chocolatey goodness of these little fall gems.
- Spiced Apple Cider: The warm spices in apple cider enhance the cozy autumn vibe while balancing the sweetness of the Oreo balls.
- Pumpkin Spice Latte: This seasonal favorite creates a comforting, festive drink that pairs exquisitely with the flavors of your treats.
- Chocolate Dipped Pretzels: The crunchy, salty pretzels echo the pretzel “stems” of the Oreo balls, making for a deliciously sophisticated snack.
- Chilled Vanilla Ice Cream: Serve a scoop of creamy vanilla for a rich, creamy contrast that cools down the sweetness of the Pumpkin Oreo Balls.
- Caramel Drizzle: Drizzle some warm caramel sauce over the Oreo balls for an added layer of decadence that perfectly complements their flavor profile.
- Fruit Salad: A refreshing mix of seasonal fruits adds a vibrant, fresh touch, balancing the richness of your treats with bright, tangy notes.
- Ginger Snaps: These spicy cookies add a crunchy contrast and play nicely with the fall theme, enhancing the cozy dessert experience.
- Cranberry Spritzer: A fizzy cranberry drink brings a tart and refreshing burst that compliments the sweet and creamy flavors beautifully.
- Chocolate Fondue: Create a fun dessert interactive experience by pairing with chocolate fondue and dipping fruits or pretzels for a delightful combination.
How to Store and Freeze Pumpkin Oreo Balls
Fridge: Keep Pumpkin Oreo Balls refrigerated in an airtight container for up to one week. This helps maintain their creamy texture and taste.
Freezer: For longer storage, place them in a single layer on a baking sheet until frozen, then transfer to an airtight container. They can be frozen for up to three months.
Thawing: When ready to enjoy, thaw the Pumpkin Oreo Balls in the fridge for a few hours or overnight. Avoid room temperature to prevent softness.
Reheating: These treats are best enjoyed cold; simply serve straight from the fridge for a refreshing bite!
Pumpkin Oreo Balls Recipe FAQs
What type of Oreo cookies should I use for Pumpkin Oreo Balls?
Absolutely! You can use regular Oreo cookies for your Pumpkin Oreo Balls, but for a seasonal twist, I highly recommend using pumpkin spice Oreos. Their flavor perfectly complements the creamy filling and enhances the overall autumn vibe of these treats.
How should I store Pumpkin Oreo Balls and for how long?
Keep your Pumpkin Oreo Balls refrigerated in an airtight container for up to one week. This helps maintain their creamy texture and prevents them from softening too much due to the cream cheese. Enjoy them chilled for the best flavor!
Can I freeze Pumpkin Oreo Balls, and how do I do it properly?
Yes, you can definitely freeze your Pumpkin Oreo Balls! Start by placing them in a single layer on a baking sheet until they are frozen solid. Then, transfer them to an airtight container or freezer bag, ensuring you remove any excess air. They can be frozen for up to three months. When you’re ready to enjoy, simply thaw them in the fridge for a few hours or overnight. This method preserves their delightful texture!
What if my Pumpkin Oreo Balls are too soft to dip in chocolate?
Very! If you find that your Pumpkin Oreo Balls are too soft, it’s best to chill them for an additional 30 minutes to an hour. Making sure the balls are firm will ensure a smooth and even coating when you dip them in the melted candy melts. A well-chilled mixture makes a world of difference when it comes to maintaining their shape.
Are Pumpkin Oreo Balls gluten-free?
Yes, they are! As long as you use gluten-free Oreo cookies, your Pumpkin Oreo Balls are gluten-free and perfect for anyone with gluten sensitivities. Just double-check the packaging to ensure that your Oreos are indeed gluten-free, and enjoy these delicious treats without worry!
Can I use different colors of candy melts for coating?
Absolutely! Feel free to experiment with different colors of candy melts based on your theme or personal preference. Whether it’s white for a ghostly Halloween treat or green for a fun twist, the color can add a unique flair to your Pumpkin Oreo Balls while still delivering that delightful taste!
Delicious Pumpkin Oreo Balls: No-Bake Fall Treats You'll Love
Ingredients
Equipment
Method
- Crush Oreo cookies in a food processor until finely crumbled.
- Mix crushed Oreo cookies with softened cream cheese until well blended.
- Scoop out and roll mixture into balls, refrigerate for 15 minutes.
- Score lines into each ball using a toothpick for a pumpkin-like shape.
- Melt orange candy melts until smooth.
- Dip each ball into melted candy, insert pretzel stick, and add icing decoration.
- Refrigerate decorated balls for 30 minutes until coating is firm.
Leave a Reply