
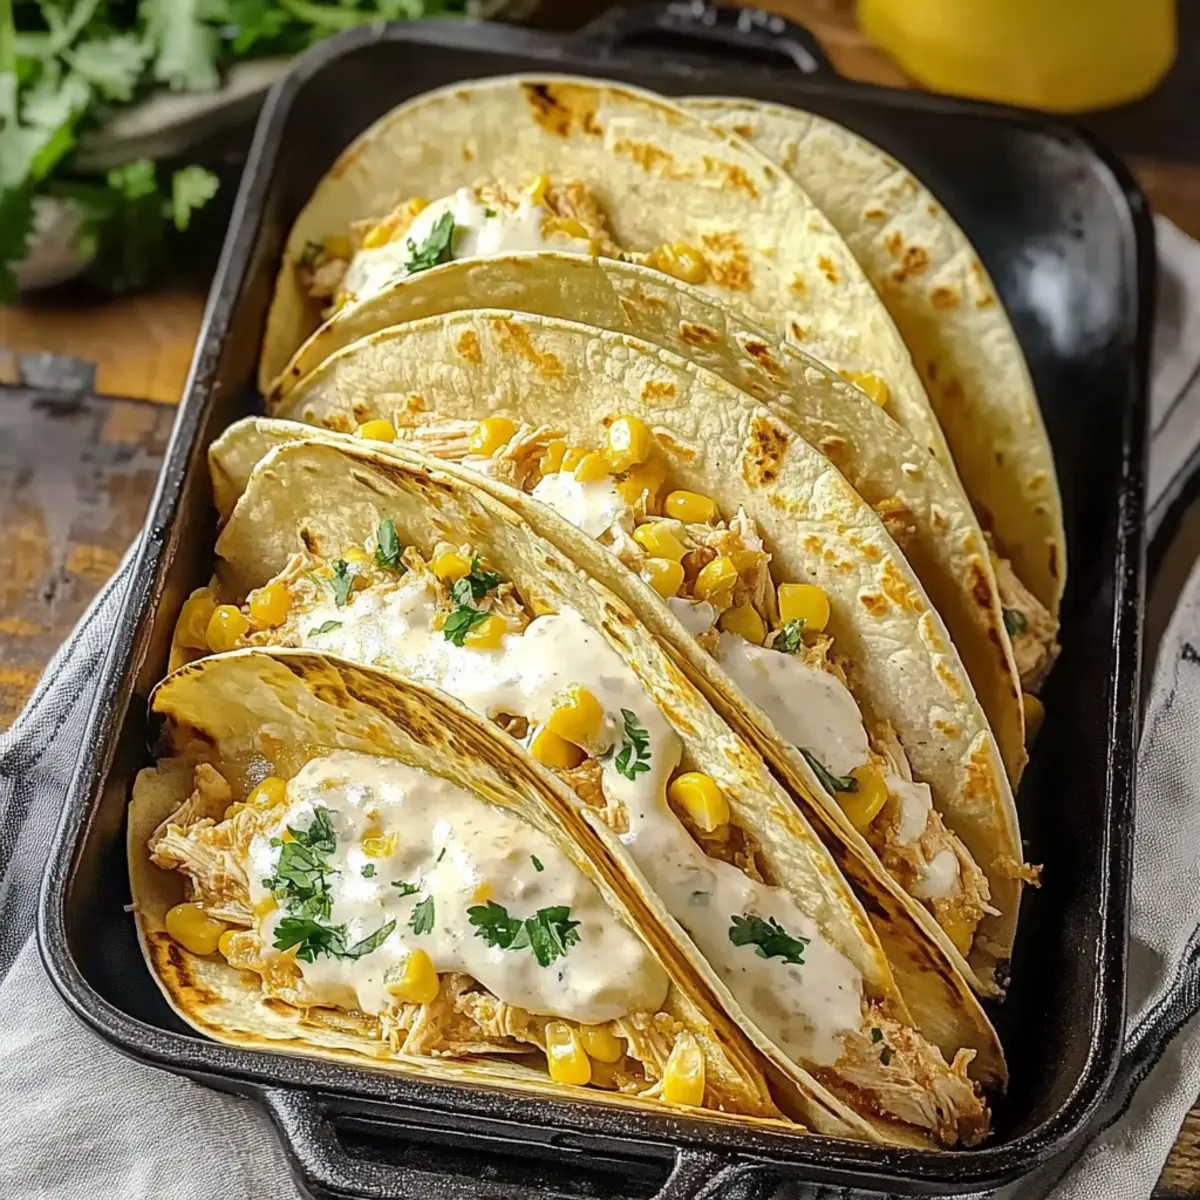
As I stood in my kitchen, the comforting aroma of warm tortillas sizzling in the skillet whisked me away to my childhood. These Creamy White Chicken Chili Tacos have become a staple in my home, combining the savory goodness of rotisserie chicken with a luscious sauce that clings to every bite. Perfect for busy weeknights, they whip up quickly, making them a go-to for anyone tired of fast food. Not only are they creamy and satisfying, but they’re also incredibly versatile—adapt them to fit your family’s preferences! Want to ditch the chicken? Swap in some turkey or try a veggie twist. I can’t wait for you to dive into this family-friendly recipe that’s sure to become a new favorite. Ready to bring some joy back to dinner? Let’s get cooking!
Why are White Chicken Chili Tacos irresistible?
Creamy Comfort: The silky sauce made with sour cream and chilis creates a lush, satisfying texture that envelops each bite.
Quick and Easy: Whip these up in under 30 minutes, making them perfect for a last-minute dinner solution when time is tight.
Family-Friendly: These tacos cater to every palate, ensuring that even picky eaters will be begging for seconds!
Versatile Ingredients: Feel free to adapt with different proteins like turkey or shredded veggies, letting you enjoy this dish again and again without the monotony.
Freezer-Friendly: Make a big batch and freeze the filling for busy days, making future dinners a breeze. You can even serve them alongside Honey Chili Smashed Sweet Potatoes for a delightful combo!
White Chicken Chili Tacos Ingredients
For the Creamy Sauce
• Sour Cream – Adds creaminess and flavor; best used at room temperature for smooth blending.
• Canned Green Chilis – Introduces mild heat; fresh chilis can substitute for a bolder flavor or omit for a milder taste.
• Ground Cumin – Offers an earthy flavor; freshly ground enhances the overall taste.
• All-Purpose Flour – Essential for creating a roux to thicken the sauce; opt for King Arthur for the best results.
• Chili Powder – Contributes spiciness and depth; adjust the amount to suit your family’s taste preferences.
• Skim Milk – Loosens the sauce while adding creaminess; switch to whole milk for a richer texture.
• Chicken Broth – Enhances the sauce’s flavor; vegetable or turkey broth can be used as alternatives.
• Unsalted Butter – Adds richness; use olive oil for a lighter twist if desired.
For the Tacos
• Shredded Chicken – The main protein; rotisserie chicken brings out the best flavor. Leftover chicken works wonders too!
• Frozen Corn – Adds sweetness and texture; feel free to replace it with fresh corn if it’s available.
• Corn Tortillas – The perfect wrap for the filling; warm these to prevent cracking, or swap for flour tortillas as an alternative.
• Shredded Mozzarella Cheese – Melts beautifully, adding a creamy texture; cheddar is a flavorful alternative if you prefer.
For Garnishing
• Green Onions – Freshness and mild onion flavor; can be replaced with chives or omitted if necessary.
Step‑by‑Step Instructions for White Chicken Chili Tacos
Step 1: Preheat the Oven
Begin by preheating your oven to 400°F (200°C). This ensures that your Creamy White Chicken Chili Tacos cook evenly and get that golden texture we all love. While the oven warms up, gather your baking sheet and set it aside, as you’ll need it for the final step.
Step 2: Prepare the Ingredients
Next, prepare all your ingredients to streamline the cooking process. Measure out the skim milk, chicken broth, and sour cream, keeping them at room temperature for easier blending. Chop the canned green chilis and fresh green onions finely, laying them out to be added later into your creamy filling.
Step 3: Create the Roux
In a medium saucepan over medium heat, melt 2 tablespoons of unsalted butter until bubbly, about 1 minute. Gradually whisk in 2 tablespoons of all-purpose flour, mixing continuously until you form a roux that’s light golden and fragrant. This roux will form the base of your creamy sauce for the White Chicken Chili Tacos, so let it cook for about another minute for the best flavor.
Step 4: Make the Creamy Sauce
Slowly whisk in 1 cup of skim milk and 1 cup of chicken broth into the roux, stirring until completely smooth. Continue to whisk frequently for about 3-5 minutes, or until the mixture thickens slightly and is free of lumps. Once thickened, remove it from the heat, then mix in 1 cup of sour cream for that creamy goodness that epitomizes these tacos.
Step 5: Add the Flavorings
Stir in 1 teaspoon of ground cumin, 1 can of chopped green chilis, 1 tablespoon of chili powder, and season with salt and pepper to taste. Return the saucepan to low heat and let the mixture simmer gently for another 3-5 minutes, allowing the flavors to meld together beautifully, while you prepare the chicken filling.
Step 6: Combine the Filling
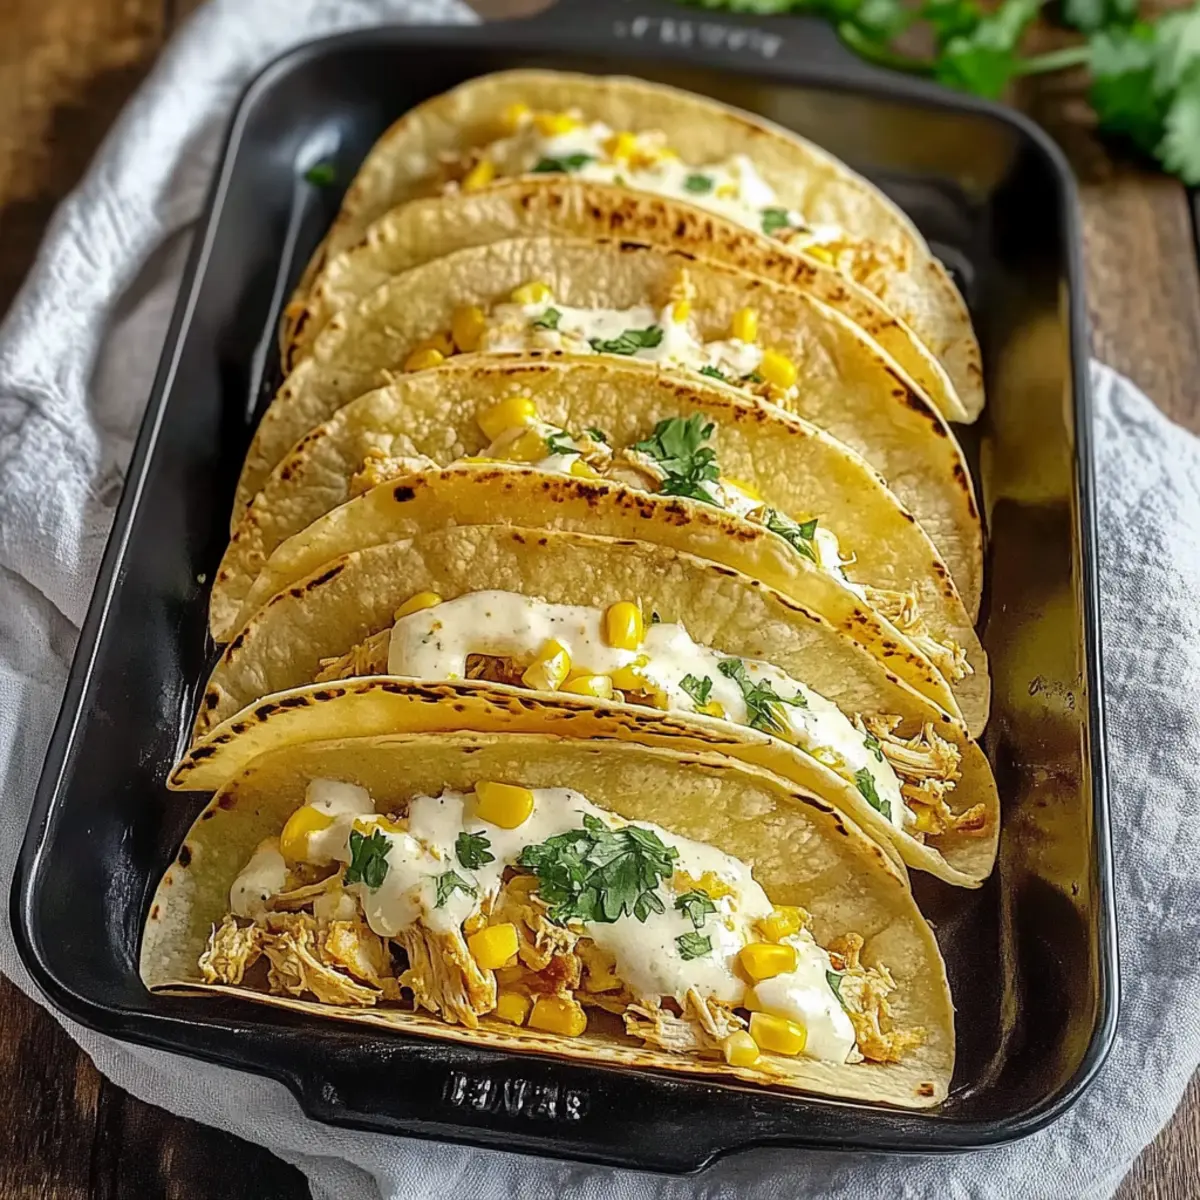
In a large mixing bowl, combine 2 cups of shredded rotisserie chicken and 1 cup of frozen corn. Pour your warm creamy sauce over the chicken mixture and gently fold everything together until well combined. This luscious filling is the heart of your White Chicken Chili Tacos and is ready to be assembled.
Step 7: Warm the Tortillas
In a skillet over medium heat, warm 8 corn tortillas for about 30 seconds on each side, just enough to make them pliable and prevent cracking when filling. This quick step ensures you have soft, delicious wraps that will cradle your creamy chicken filling perfectly.
Step 8: Assemble the Tacos
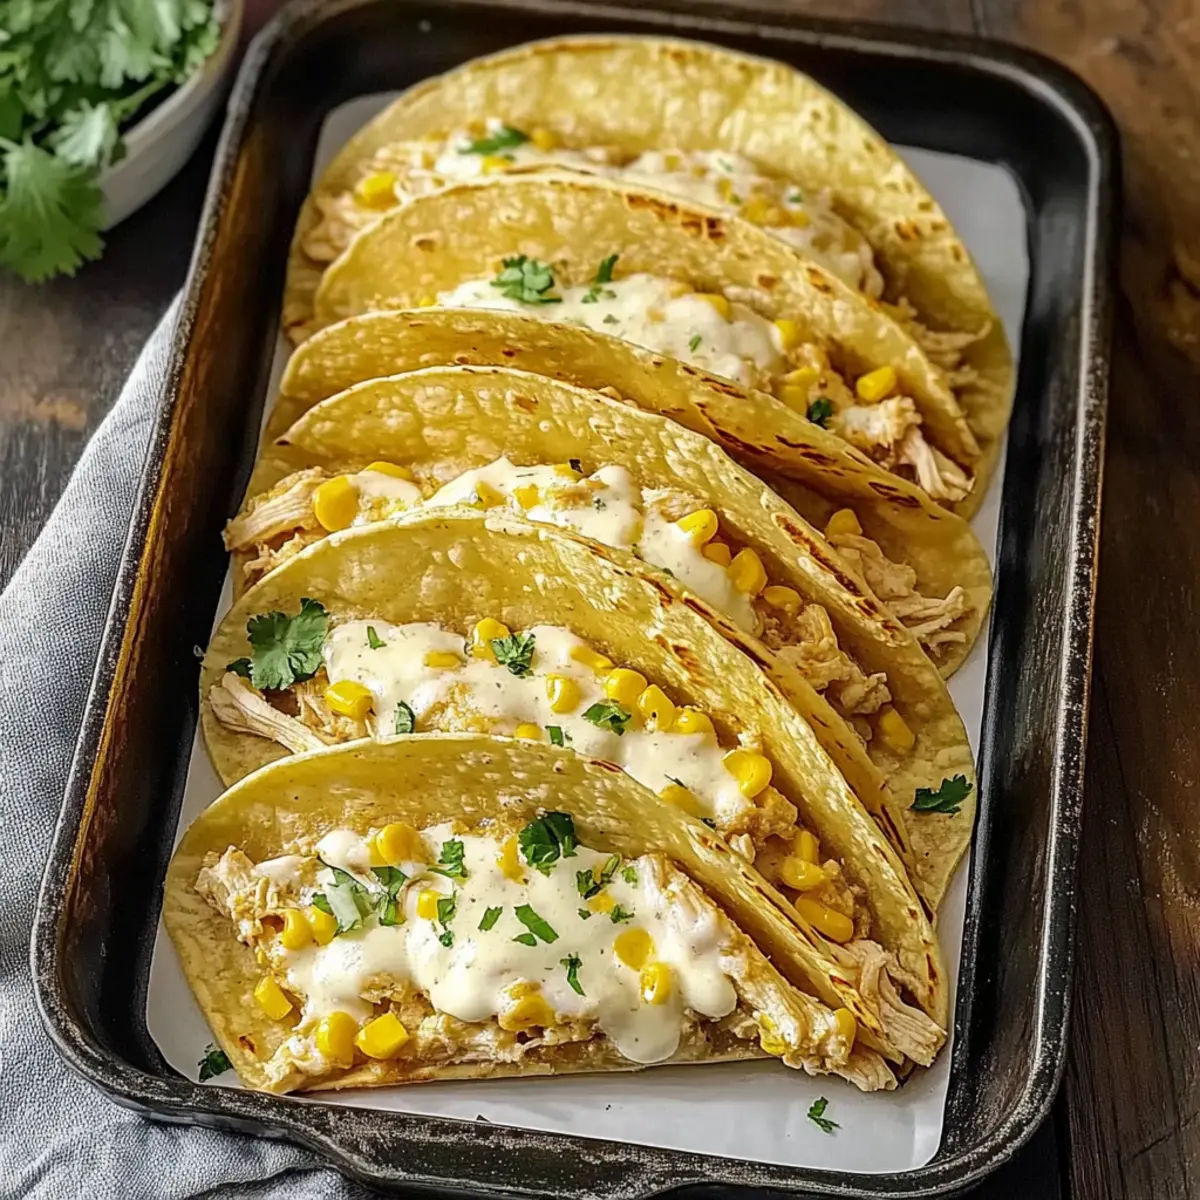
Spoon 2-3 tablespoons of the creamy chicken filling onto the center of each warmed tortilla. Sprinkle a generous amount of shredded mozzarella cheese on top, allowing the cheese to melt beautifully during baking, adding that comforting touch to your White Chicken Chili Tacos.
Step 9: Bake Until Golden
Fold the tortillas in half, placing them seam-side up on your prepared baking sheet. Bake in the preheated oven for 12-15 minutes, or until the tortillas are golden brown and the cheese is bubbly and melted. Keep an eye on them to ensure they reach that perfect crispy texture.
Step 10: Serve and Enjoy
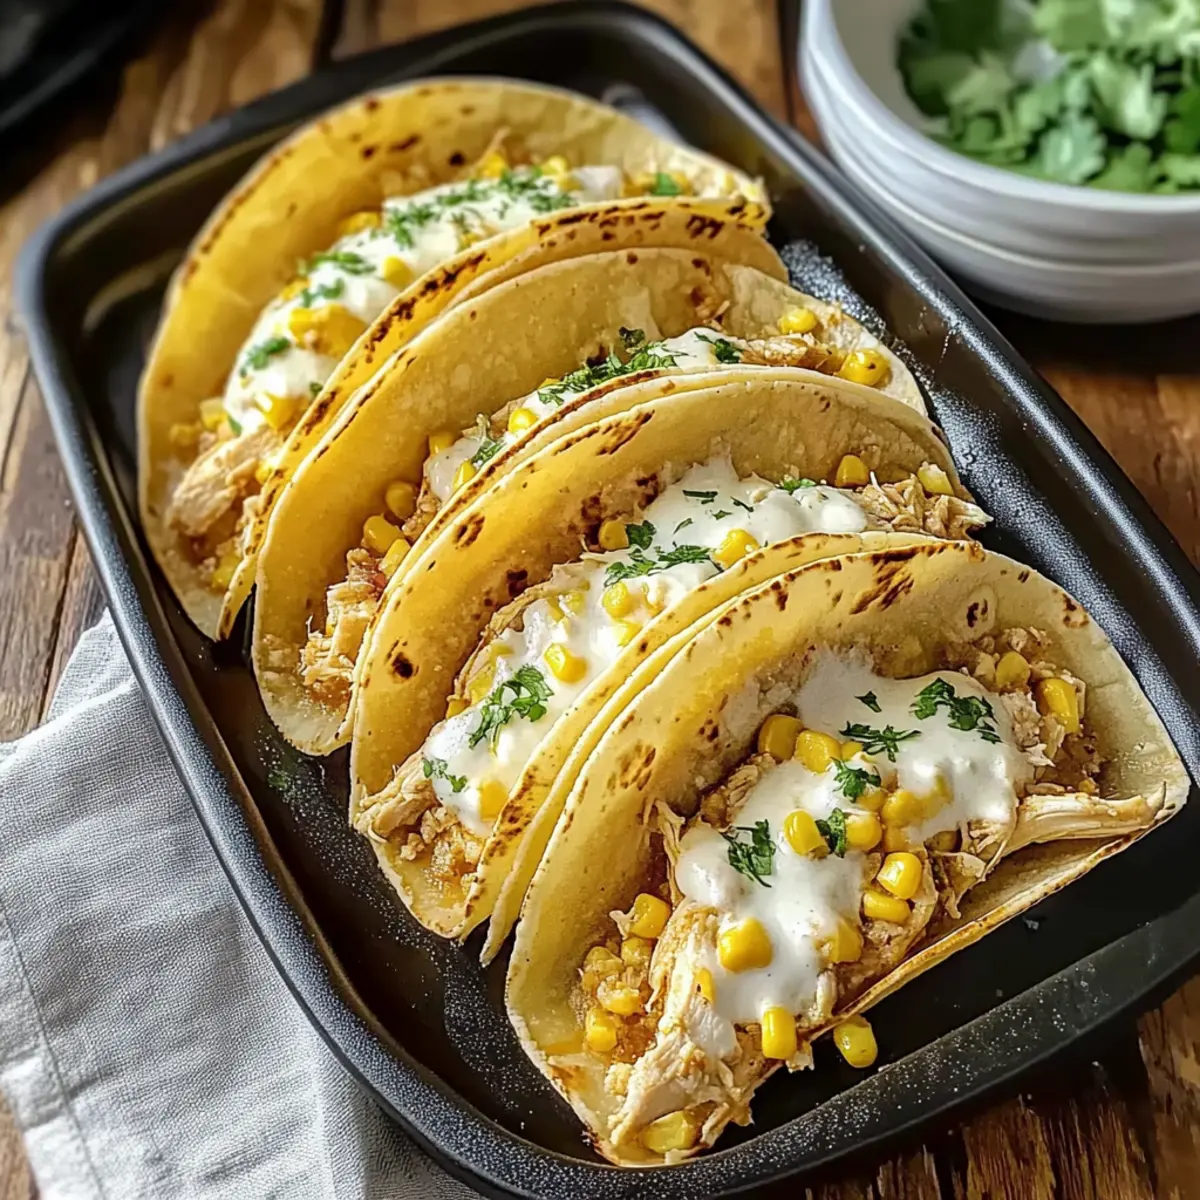
Once baked, remove the tacos from the oven and let them cool for 1-2 minutes. Serve your creamy White Chicken Chili Tacos with optional toppings like chopped green onions, salsa, or avocado, and enjoy a delightful dinner that your family will love!
How to Store and Freeze White Chicken Chili Tacos
Fridge: Store leftover white chicken chili filling in an airtight container for up to 4 days, ensuring it remains fresh and flavorful. Keep tortillas wrapped separately to maintain their texture.
Freezer: The filling freezes beautifully for up to 3 months; portion it out before freezing for easy meal prep on busy nights. Just thaw and reheat when you crave these comforting tacos.
Reheating: Reheat the filling in a saucepan over low heat until warm, stirring occasionally. Warm tortillas in a skillet or microwave just before serving to retain their softness.
Meal Prep: Make an extra batch of white chicken chili filling on a weekend and have it ready to whip up tacos in no time during the week, making family dinners a breeze!
Make Ahead Options
These Creamy White Chicken Chili Tacos are perfect for busy home cooks who appreciate meals prepped in advance! You can prepare the creamy filling up to 3 days ahead, allowing the flavors to meld beautifully. Simply combine the shredded chicken, corn, and creamy sauce as instructed and refrigerate it in an airtight container. When you’re ready to serve, warm your tortillas and fill them with the prepped filling, then bake as directed for that delightful, golden finish. For longer storage, the filling freezes well for up to 3 months—just thaw overnight in the fridge and proceed to bake. Enjoy the convenience and save valuable time on those hectic weeknights!
White Chicken Chili Tacos Variations
Feel free to customize your tacos and make them your own, adding that personal touch to elevate your family dinner!
-
Turkey Swap: Replace shredded chicken with turkey for a delicious post-Thanksgiving option. The flavors remain rich and comforting while giving you a chance to use leftovers creatively.
-
Cream Cheese Kick: Stir in a couple of ounces of cream cheese for an even creamier texture. This twist enhances the sauce’s richness and makes it extra indulgent.
-
Veggie Delight: Swap shredded chicken for sautéed mushrooms and spinach for a hearty vegetarian twist. This not only keeps it plant-based but also packs a nutrient punch!
-
Spicy Heat: Add diced jalapeños or a dash of hot sauce to the creamy sauce if your family enjoys heat. Adjust the spice level to suit your taste buds, and let the flavor adventure begin!
-
Cheese Medley: Mix various cheeses, like pepper jack for spiciness and Monterey Jack for creaminess. This blend will heighten the flavor and create a gooey, cheesy delight!
-
Black Bean Option: Replace corn with black beans for a different texture and a nice protein boost. Black beans’ richness will complement the creamy filling beautifully.
-
Herb Infusion: Fresh cilantro or parsley can add bright herbal notes to the creamy filling. Stir them in at the end before assembling to really freshen up the dish.
Looking for more delicious ideas? Consider pairing these tacos with a side of Chopped Chicken Bacon or enjoy the refreshing taste of Lemon Chicken Deliciously to round out your meal.
Each of these variations will surely keep boredom at bay and give your family something exciting to look forward to at the dinner table!
Expert Tips for White Chicken Chili Tacos
-
Perfect Roux: Ensure your roux is cooked long enough to avoid any raw flour taste; this enhances the flavor of your creamy sauce.
-
Whisk Gradually: Whisk in milk and broth slowly to prevent lumps; a smooth sauce is key to luscious White Chicken Chili Tacos.
-
Tortilla Care: Warm your corn tortillas in the skillet to make them flexible and prevent cracking when filled—this is crucial for easy handling.
-
Controlled Filling: Be mindful not to overfill tacos; 2-3 tablespoons of filling keeps them from spilling during baking, ensuring a delightful bite every time.
-
Layer of Cheese: Adding cheese on top of the filling before baking creates a melty crown, enhancing the creamy texture and flavor of your tacos.
What to Serve with Creamy White Chicken Chili Tacos
Transform your dinner into a delightful feast with these tempting pairings that enhance every creamy bite.
- Mexican Rice: Fluffy rice seasoned with lime and herbs makes a fragrant base, complementing the creaminess of the tacos beautifully.
- Fresh Pico de Gallo: This vibrant salsa adds a refreshing burst of flavor, cutting through the richness with its zesty tomatoes and cilantro.
- Avocado Salad: Cool avocado salad with lime dressing brings a creamy texture that harmonizes effortlessly with the spicy tacos.
- Crispy Tortilla Chips: Perfect for dipping in guacamole or spicy salsa, these crunchy sides add texture and fun to your fiesta.
- Black Bean Soup: This hearty, savory soup offers a balanced, protein-packed side that pairs wonderfully with the spicy kick of the tacos.
- Grilled Corn on the Cob: Sweet, smoky corn brings a summer vibe, making it a perfect contrast alongside the creamy white chicken chili tacos.
- Zesty Limeade: A refreshing drink that complements the flavors of the tacos, cutting through the richness with its tangy sweetness.
- Chocolate Flan: This indulgent dessert provides a sweet ending, rich enough to balance the savory tacos while keeping dinner deliciously cohesive.
White Chicken Chili Tacos Recipe FAQs
How do I choose ripe ingredients for my White Chicken Chili Tacos?
Absolutely! When selecting ingredients, look for sour cream that is fresh and not past its expiration date to ensure creaminess. Fresh green chilis should be vibrant in color, free from dark spots or blemishes. For the best corn, choose sweet frozen corn without ice crystals, or if using fresh, it should be bright yellow and firm to the touch.
How should I store leftovers from White Chicken Chili Tacos?
Very! Store the leftover chicken chili filling in an airtight container in the refrigerator for up to 4 days. To keep your corn tortillas fresh, wrap them in foil or plastic wrap and store them separately. This way, the tortillas won’t get soggy!
Can I freeze the filling for my White Chicken Chili Tacos?
Of course! You can freeze the chicken chili filling for up to 3 months. To do this, portion the filling into freezer-safe containers or bags, making sure to remove as much air as possible to prevent freezer burn. When you’re ready to use it, just thaw it in the fridge overnight and reheat it slowly on the stove.
What if my sauce for the tacos turns out too thick?
No worries at all! If your creamy sauce becomes too thick, simply whisk in a splash of milk or chicken broth over low heat until you reach your desired consistency. Ensure you stir continuously to integrate the liquid without lumps.
Are there any dietary considerations with the ingredients in White Chicken Chili Tacos?
Absolutely! If you’re concerned about allergies, be aware that sour cream contains dairy and the canned green chilis may include preservatives. For gluten-free options, substitute all-purpose flour with a gluten-free blend. Always check labels if serving to guests with dietary restrictions, and feel free to adapt the recipe to fit your family’s needs!
How can I make these tacos kid-friendly?
Very easy! To keep it kid-friendly, consider cutting back on the chili powder and green chilis to reduce the heat. You can also let your children choose their own toppings, like diced tomatoes or extra cheese, making them more excited about dinner. The more the merrier!
Creamy White Chicken Chili Tacos Your Family Will Love
Ingredients
Equipment
Method
- Preheat your oven to 400°F (200°C) and gather your baking sheet.
- Prepare your ingredients: measure milk, broth, and sour cream; chop chilis and onions.
- Melt butter in a saucepan and whisk in flour to create a roux.
- Whisk in milk and broth into the roux until smooth; then mix in sour cream.
- Stir in cumin, chilis, chili powder, and heat gently for 3-5 minutes.
- Combine chicken and corn in a bowl, then mix in the creamy sauce.
- Warm tortillas in a skillet for about 30 seconds on each side.
- Assemble tacos with filling and sprinkle cheese on top before folding.
- Bake for 12-15 minutes until golden brown and cheese is bubbly.
- Serve with optional toppings and enjoy!
Leave a Reply