
Crunching through a tangy, crisp pickle is a small joy that never fails to brighten my day. When the summer heat arrives, there’s something magical about whipping up a batch of Easy Refrigerator Dill Pickles. This straightforward recipe makes it effortless to enjoy homemade pickles that are not only fresh but also packed with vibrant flavor—all without the fuss of traditional canning. With just a handful of ingredients and minimal prep time, you can create the perfect crunchy snack that elevates sandwiches or stands proudly on its own. Plus, they’re refrigerator-friendly, which means you can make a big batch and enjoy them throughout the week. Ready to dive into homemade goodness? Let’s pickle!
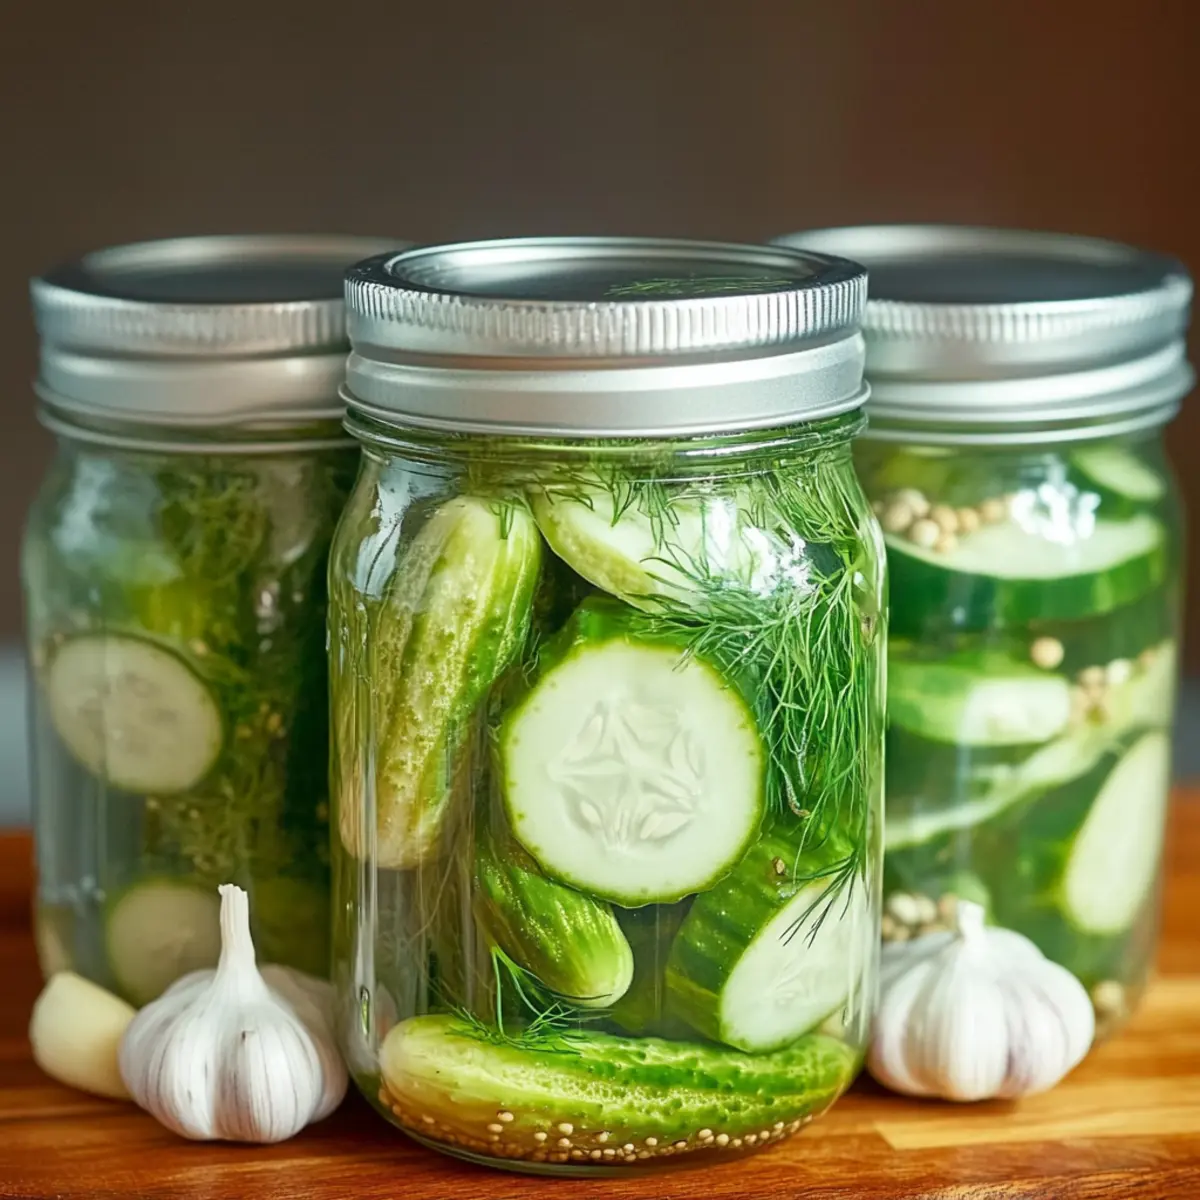
Why Try Homemade Refrigerator Dill Pickles?
Freshness at Your Fingertips: Enjoy the satisfaction of crafting your very own pickles at home with minimal effort!
Quick Preparation: With just a few steps, you’ll have crunchy pickles ready to pair with your favorite meals.
Customized Flavor: Feel free to play with the garlic and dill to match your palate perfectly—these pickles are all about you!
Budget-Friendly: Homemade pickles are a cost-effective way to enjoy a delightful snack without breaking the bank.
Embrace the summer vibe and elevate your dishes with these tangy delights, perfect for serving alongside a refreshing salad.
Refrigerator Dill Pickles Ingredients
- For the Pickles
- Pickling Cucumbers – the star of the recipe; select smaller, firm cucumbers for the best crunch.
- Water – essential for diluting the vinegar to create a balanced brine.
- White Vinegar – brings the necessary acidity and tang; while other vinegars work, white vinegar’s clean flavor is ideal.
- Kosher Salt – crucial for flavor enhancement and preservation; can be replaced with sea salt or pink salt if needed.
- Sugar – balances the brine; feel free to adjust or omit based on your sweetness preference.
- Fresh Dill – lends aromatic flavors; adjust the amount to amplify or soften its taste based on your liking.
- Garlic – boosts the flavor profile; modify the number of cloves for a gentle or robust garlic note.
- Peppercorns – add a touch of heat and complexity; tweak the quantity to match your spiciness threshold.
Feel the joy of crafting your own refrigerator dill pickles—they’re crunchy, fresh, and oh-so-delicious!
Step‑by‑Step Instructions for Refrigerator Dill Pickles
Step 1: Prepare Ingredients
Begin by washing your pickling cucumbers thoroughly under running water. Slice them into 1/4-inch thick rounds or spears, depending on your preference. Next, lightly smash the garlic cloves to release their flavors, and separate the fresh dill from all stems. Make sure your jars are sanitized and ready to hold your crunchy refrigerator dill pickles.
Step 2: Make Brine
In a medium saucepan, combine equal parts water and white vinegar, then add kosher salt and sugar to the mix. Heat the brine over medium-high, stirring until the salt and sugar dissolve completely. Once dissolved, remove the saucepan from the heat and allow the mixture to cool to room temperature, creating a perfectly balanced brine for your pickles.
Step 3: Layer Ingredients
Now it’s time to stack your ingredients in the sanitized jars. Start by adding a layer of the sliced cucumbers, then sprinkle in fresh dill, a few smashed garlic cloves, and some peppercorns for a hint of spice. Repeat the layering until you’ve filled your jars, leaving some space at the top for the brine.
Step 4: Add Brine
Carefully pour your cooled brine over the layered cucumbers in each jar, ensuring the ingredients are fully submerged. You want every piece to soak up that delicious flavor! Once filled, seal each jar with an airtight lid, keeping those fresh ingredients tightly packed inside for maximum taste.
Step 5: Refrigerate
Place your jars in the refrigerator and let the flavors meld together for at least one week. While you can technically enjoy your refrigerator dill pickles sooner, waiting a week allows the flavors to deepen beautifully. These delightful pickles will stay fresh in the fridge for about 4-6 weeks, ready to add a tasty crunch to your meals.
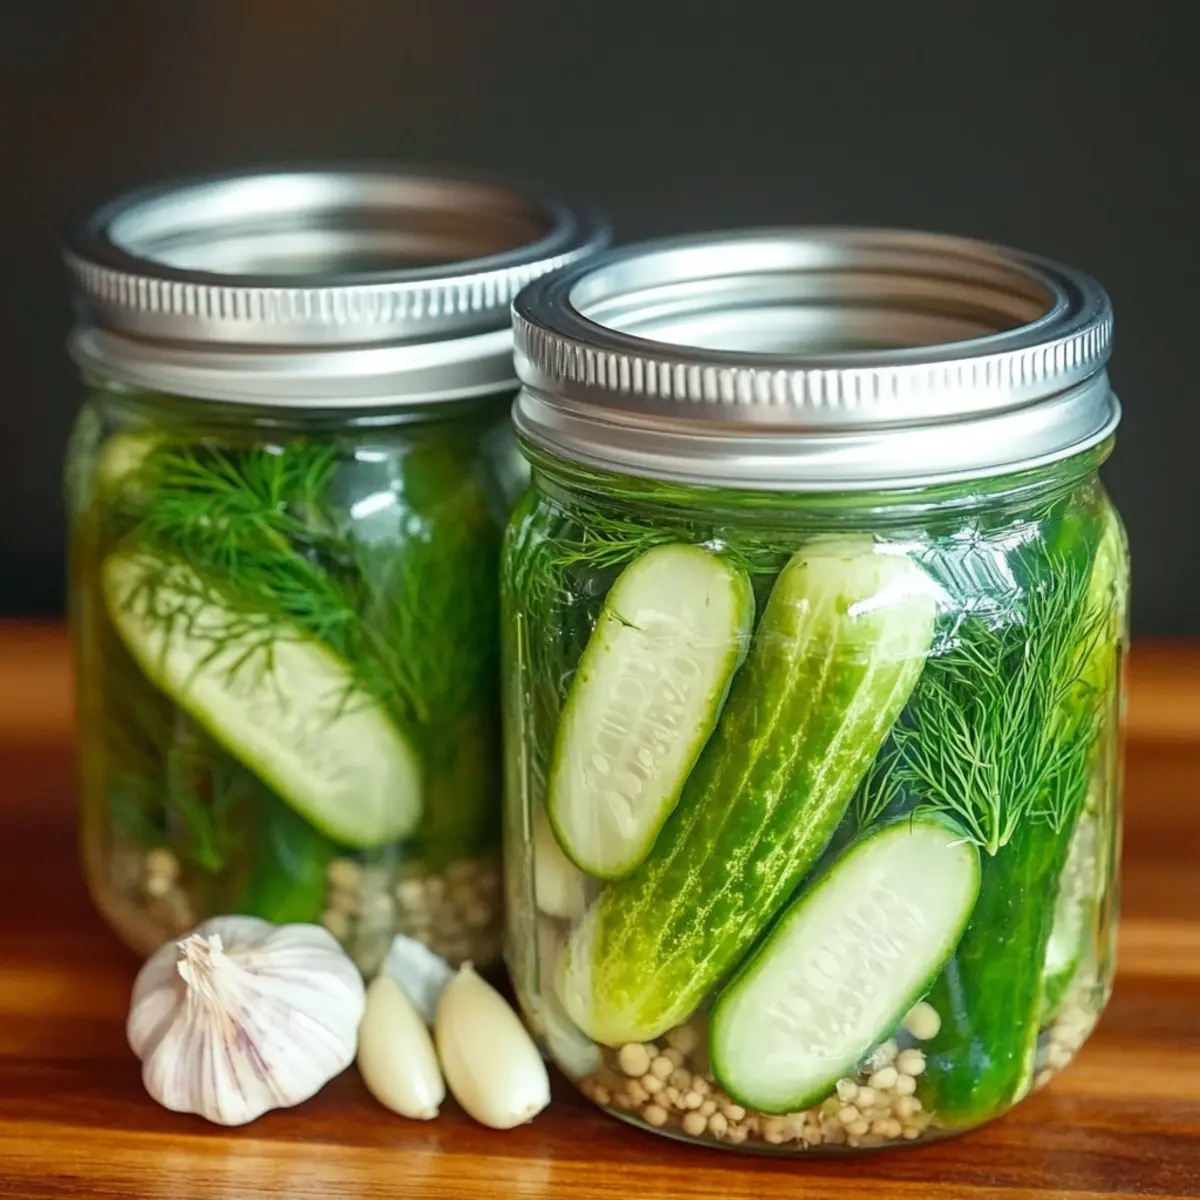
Refrigerator Dill Pickles Variations
Make these pickles your own with fun twists and substitutions!
-
Spicy Kick: Add crushed red pepper flakes to the brine for an exciting heat that brings an extra layer of flavor.
-
Herbal Bliss: Infuse your brine with additional herbs like thyme or tarragon for a unique flavor twist that’s delightful and aromatic.
-
Sugar-Free: Substitute sugar with honey or a sugar alternative to craft a lower-calorie version without sacrificing taste.
-
Vinegar Swap: Use apple cider vinegar for a milder flavor or rice vinegar for a slightly sweeter profile—experiment to find your favorite!
-
Crunchy Additions: Toss in slices of bell peppers or carrots for added color and a delightful crunch that brings variety to every bite.
-
Garlic Lovers: Double the garlic cloves for an explosion of flavor, or try black garlic for a sweet and rich take on the classic.
-
Cucumber Alternatives: Swap regular cucumbers with zucchini for a different texture and flavor profile that’s equally refreshingly crunchy.
-
Tangy Twist: Add a tablespoon of mustard seeds or dill seeds to the brine for a nuanced taste that elevates the classic pickle experience.
Whatever you choose, don’t forget to pair your refrigerator dill pickles with refreshing dishes, like a zesty summer salad, or try them on a delightful charcuterie board! Let your creativity shine!
Expert Tips for Refrigerator Dill Pickles
- Sanitize Jars: Ensure your jars are properly sanitized before use to prevent bacterial growth and keep your refrigerator dill pickles fresh longer.
- Layer Thoughtfully: Layer ingredients loosely in jars; this allows for proper brining and infuses each piece with flavor, maximizing the crunch.
- Use Fresh Ingredients: Opt for fresh cucumbers, dill, and garlic for the best taste and texture—older produce might lead to soggier pickles.
- Taste Test: Feel free to taste the brine before pouring it over the cucumbers; adjust sugar or salt levels to suit your preference perfectly.
- Experiment with Add-ins: Don’t hesitate to experiment! Try adding mustard seeds or crushed red pepper for a unique twist on your refrigerator dill pickles.
How to Store and Freeze Refrigerator Dill Pickles
Fridge: Keep your refrigerator dill pickles stored in the fridge, and they will stay fresh for 4-6 weeks. Make sure the jars are sealed tightly to avoid any air exposure.
Room Temperature: Avoid storing refrigerator dill pickles at room temperature, as they require refrigeration to maintain their crispness and flavor.
Airtight Jars: When you open a jar, always use a clean utensil to scoop some out; this will help preserve freshness and prevent contamination.
Longer Storage: For long-term storage beyond 6 weeks, consider freezing as a last option; however, note that the texture might change after thawing, turning softer.
Make Ahead Options
These Easy Refrigerator Dill Pickles are perfect for busy home cooks looking to save time in the kitchen! You can prepare the cucumbers by washing and slicing them up to 24 hours in advance. Simply store the sliced cucumbers in an airtight container in the refrigerator to maintain their crispness. The brine can also be made ahead—prepare it and allow it to cool up to 3 days before you plan to pickle. When you’re ready to finish the pickles, simply layer the cucumbers, dill, garlic, and peppercorns in your sanitized jars, pour the brine over, seal, and refrigerate. This way, you’ll have vibrant, crunchy pickles waiting for you anytime you need a refreshing snack or sandwich garnish!
What to Serve with Easy Refrigerator Dill Pickles
When it comes to enjoying the zesty, crunchy delight of pickles, it’s all about pairing them with the right flavors and textures to elevate your meals.
- Sandwiches: These pickles provide a crunchy contrast to the softness of bread, making every bite more exciting. Their tanginess cuts through rich ingredients, enhancing the overall flavor.
- Grilled Burgers: Juicy burgers and sharp pickles make the perfect match! The acidity of the pickles brightens up the savory flavors of grilled meats, giving you a delightful bite.
- Charcuterie Boards: Add a vibrant touch to your grazing table with these colorful pickles. They act as a palate cleanser between rich cheeses and cured meats, keeping your taste buds refreshed.
- Potato Salad: Toss some chopped pickles into your favorite creamy potato salad for a delightful crunch and a flavor boost! The contrast between the creamy texture and crunchy pickles is divine.
- Tacos: Serve these pickles on the side of tacos for a pop of flavor! Their brightness complements the spices in the tacos, adding a refreshing twist to each bite.
- Beer or Craft Beverages: Pairing your pickles with a cold beverage is always a hit! The sharpness of the pickles can balance the maltiness of a beer, making it a refreshing combination.
- Deviled Eggs: Add a touch of finely chopped pickles to your deviled egg filling for an added flavor punch. They contribute a delightful crunch against the creaminess of the eggs!
Enjoy experimenting with these pairings, and let the bright, tangy essence of your refrigerator dill pickles shine through every dish!
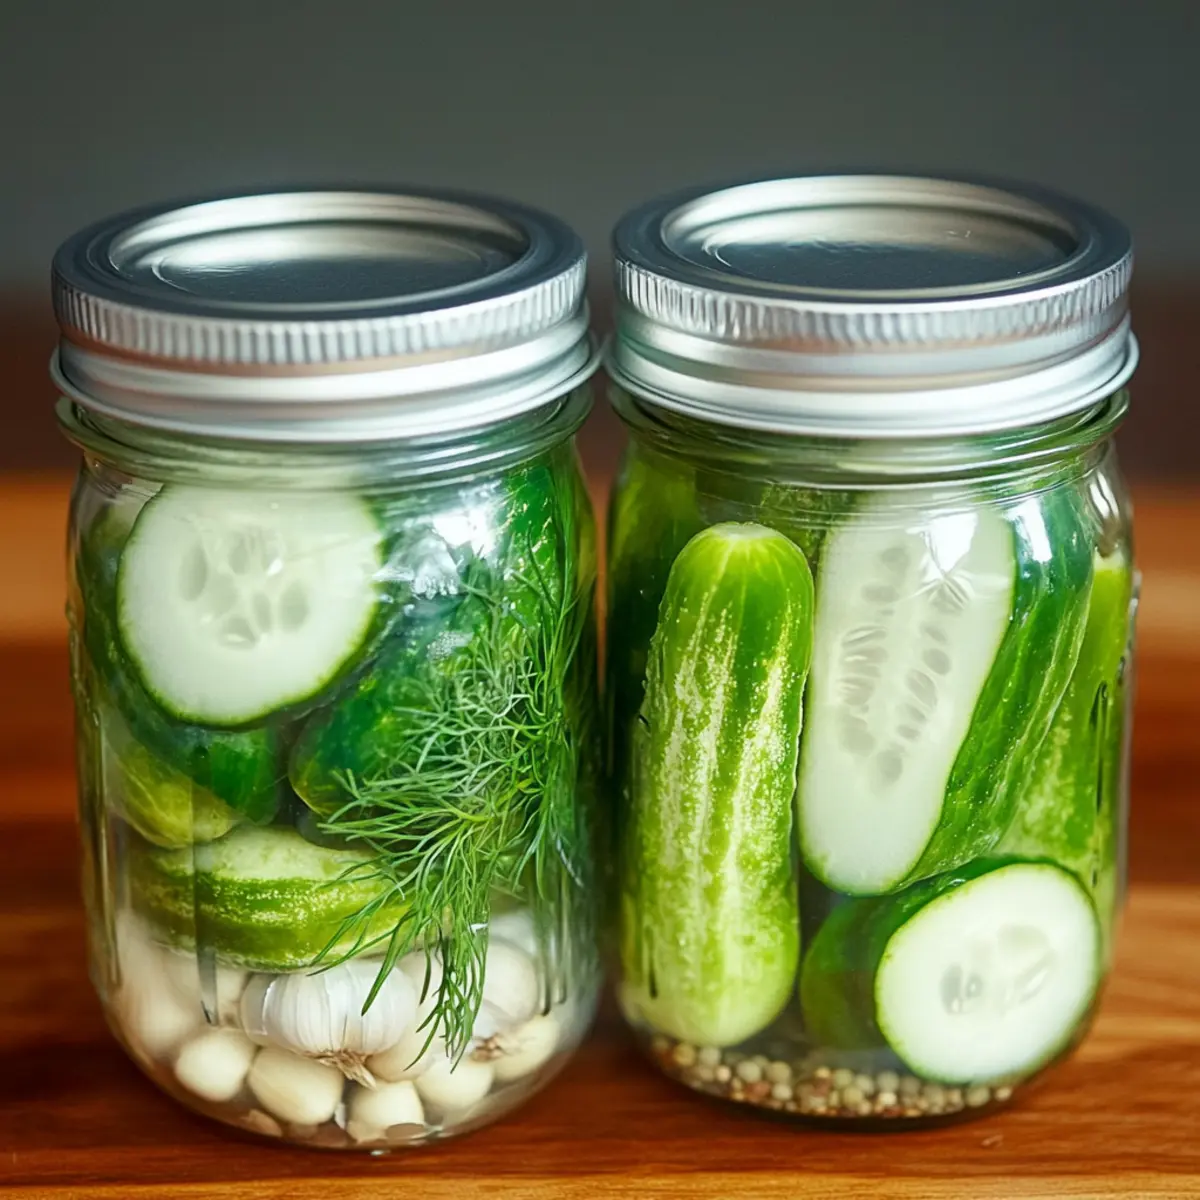
Easy Refrigerator Dill Pickles Recipe FAQs
How do I choose the best cucumbers for pickling?
Absolutely! For the best crunch, select smaller pickling cucumbers, ideally around 4-6 inches long. Look for firm ones without any dark spots or blemishes, as these can indicate overripeness or spoilage. Fresh cucumbers should feel heavy for their size and have a vibrant green color.
What is the best way to store refrigerator dill pickles?
Very! Store your refrigerator dill pickles in an airtight jar in the fridge. They should stay fresh for about 4-6 weeks. Always ensure the jar is tightly sealed to prevent air exposure, which can ruin their crispness and flavor.
Can I freeze refrigerator dill pickles?
While it’s not typical, you can freeze refrigerator dill pickles. However, keep in mind that their texture may become softer after thawing. If you choose to freeze them, follow these steps:
- Pack your pickles into freezer-safe bags or containers.
- Leave some headspace for expansion.
- Label with the date and freeze. They can last up to 3 months. When ready to use, let them thaw in the refrigerator overnight.
What should I do if my pickles are too salty or too sweet?
No worries! If your refrigerator dill pickles turn out too salty, you can try dill pickle dilution. In a separate saucepan, create a new brine with equal parts of water and vinegar with less salt. Pour the diluted brine over your pickles until submerged; this helps to balance the flavors. If they’re too sweet, consider increasing the vinegar in your brine mix.
Can anyone eat these pickles? Are there any dietary restrictions?
Yes! Homemade refrigerator dill pickles are generally safe for most diets. However, those with dietary restrictions regarding sodium should be cautious due to salt content. For a low-sodium version, reduce the amount of kosher salt in the brine. Always check for allergies to garlic and any spices used, and adjust based on your dietary needs.
How can I ensure my pickles are properly brined?
Absolutely, proper brining is key! Make sure to use enough cool brine to completely submerge your pickling cucumbers. After layering your cucumbers and flavorings in the jar, leave a little space at the top before pouring in the brine. A full submersion is crucial for that tangy flavor and crunch you desire.
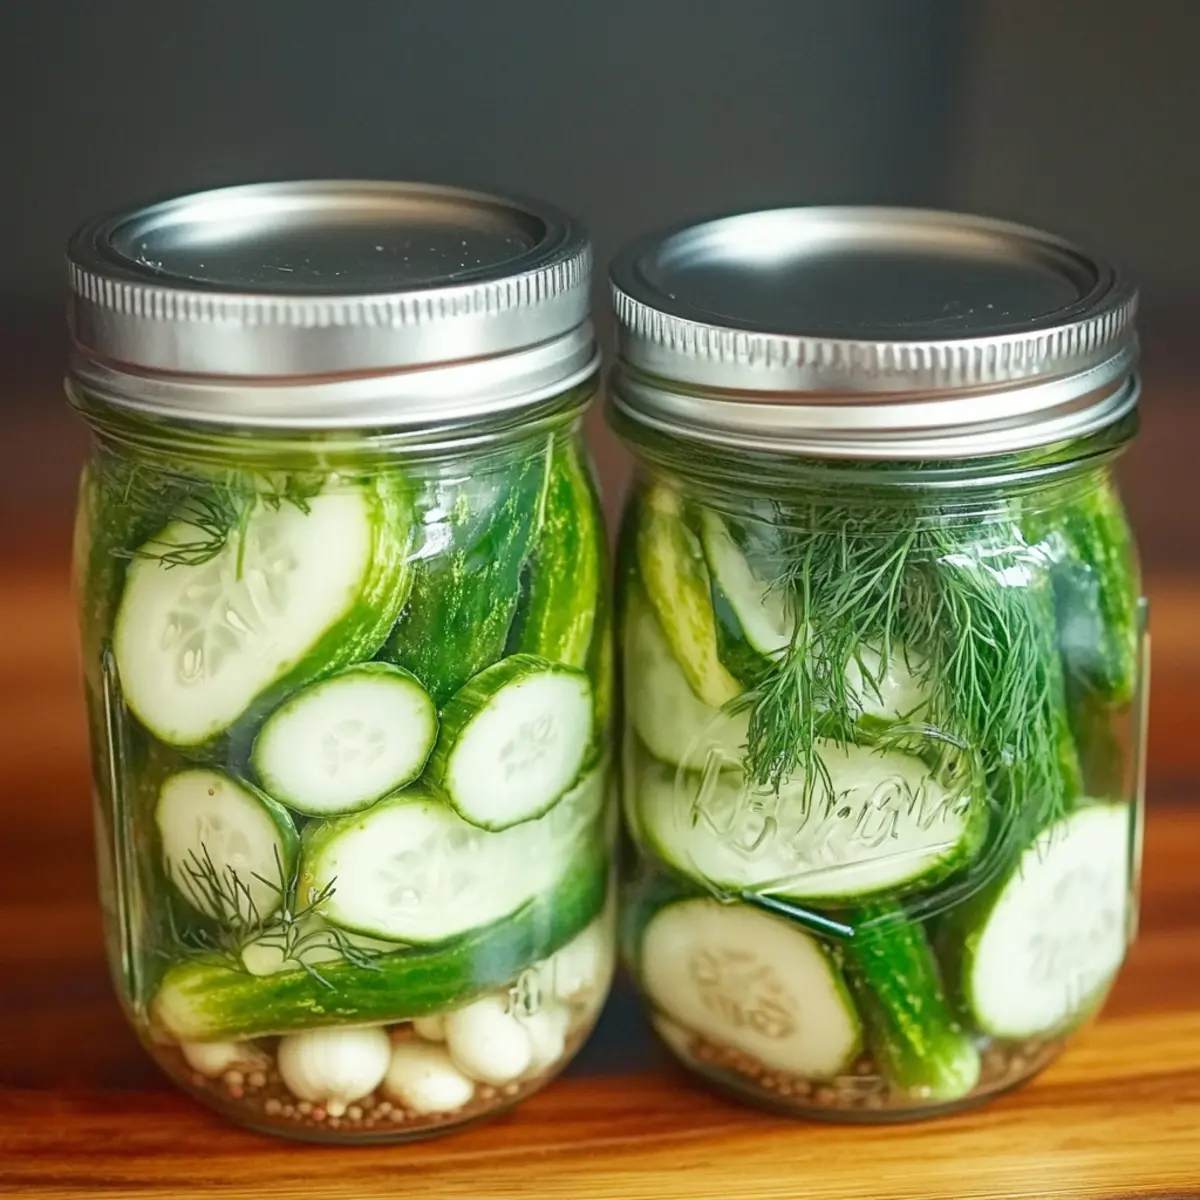
Refrigerator Dill Pickles: Crunchy Freshness at Home
Ingredients
Equipment
Method
- Wash pickling cucumbers thoroughly and slice them into 1/4-inch thick rounds or spears, depending on preference. Lightly smash garlic cloves and separate fresh dill from stems. Sanitize jars.
- In a medium saucepan, combine equal parts water and white vinegar, then add kosher salt and sugar. Heat over medium-high, stirring until salt and sugar dissolve. Remove from heat and allow to cool to room temperature.
- Layer sliced cucumbers, fresh dill, smashed garlic cloves, and peppercorns in the sanitized jars. Repeat until jars are filled, leaving space for brine.
- Carefully pour cooled brine over layered ingredients in jars, ensuring everything is submerged. Seal jars with airtight lids.
- Refrigerate jars for at least one week to meld flavors; they will stay fresh for about 4-6 weeks.
Leave a Reply