
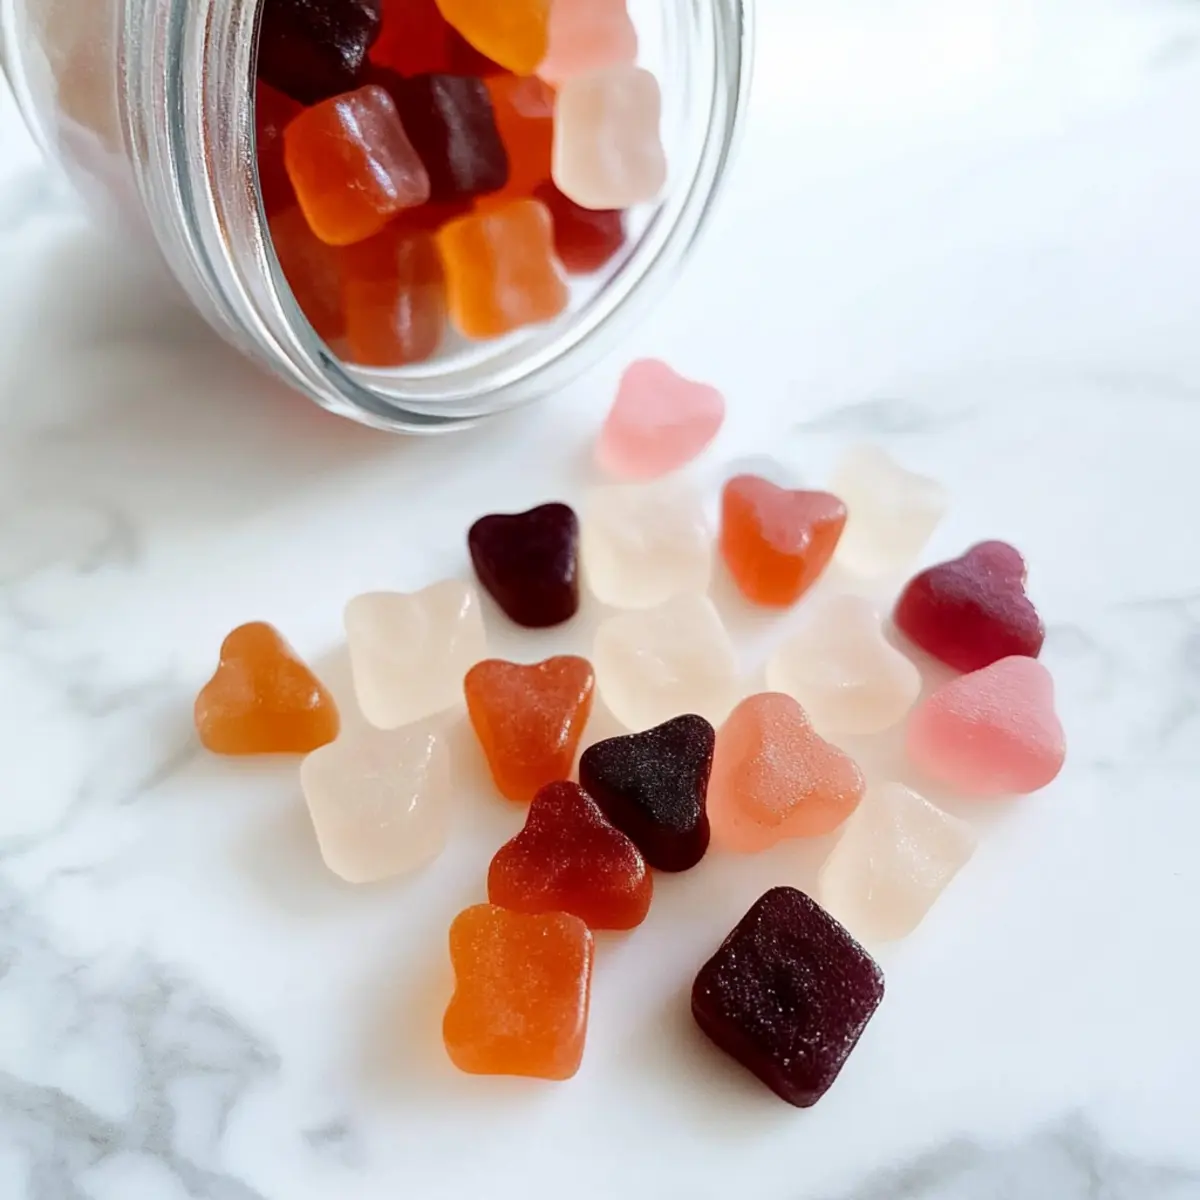
The gummy candy aisle at the grocery store holds memories of carefree childhood snacking, but what if I told you those delightful treats could be healthy too? Enter my Gut Healing Gummies, a creative fusion of fun and wellness that will not only satisfy your sweet tooth but also promote digestive health. The simplicity of making these gummies allows you to take charge of your wellness journey with flavor-packed ingredients like fresh fruit juices—think tart cranberry to tropical mango. You’ll adore how quick they are to whip up, making these gluten-free and dairy-free snacks perfect for any occasion. Plus, they make for a great alternative to store-bought sweets, ensuring you know exactly what you’re fueling your body with. Are you ready to explore the delicious world of these guilt-free goodies?
Why Are Gut Healing Gummies a Game Changer?
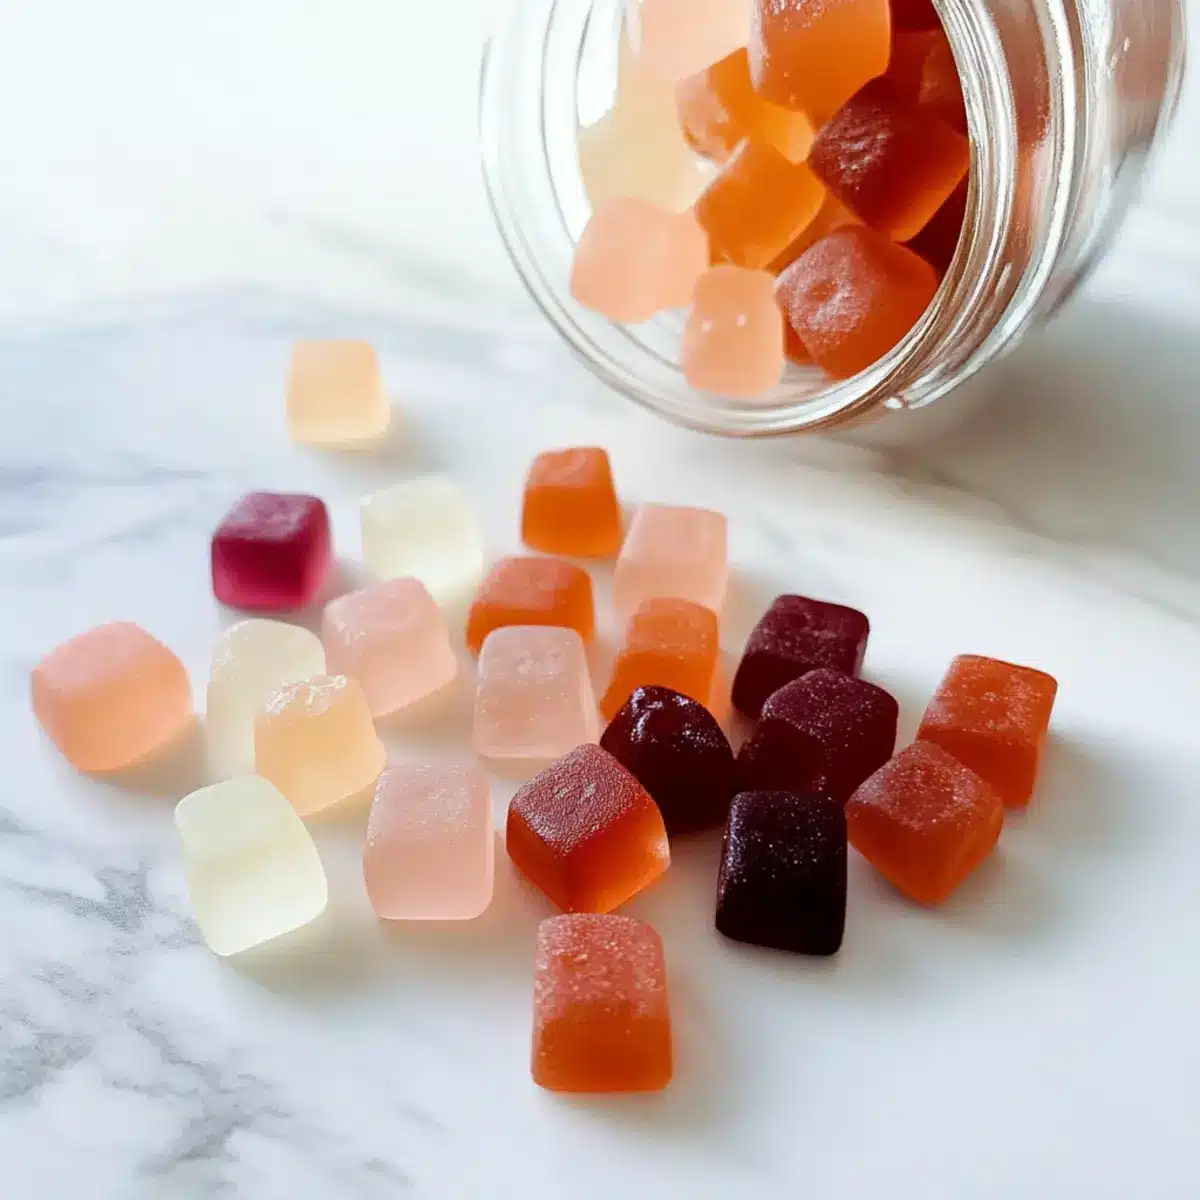
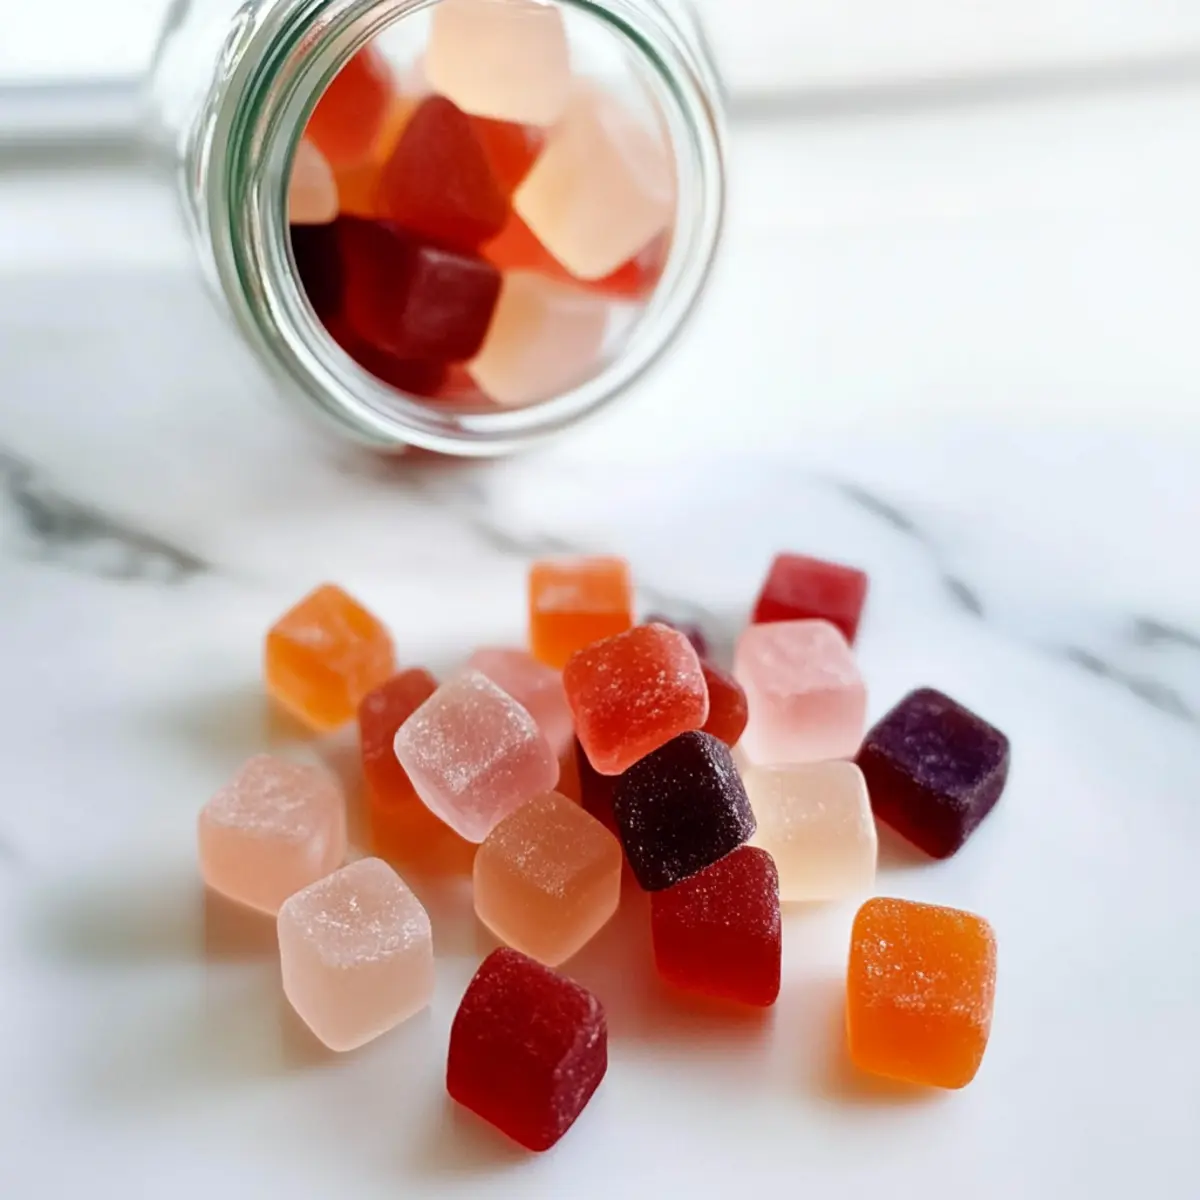
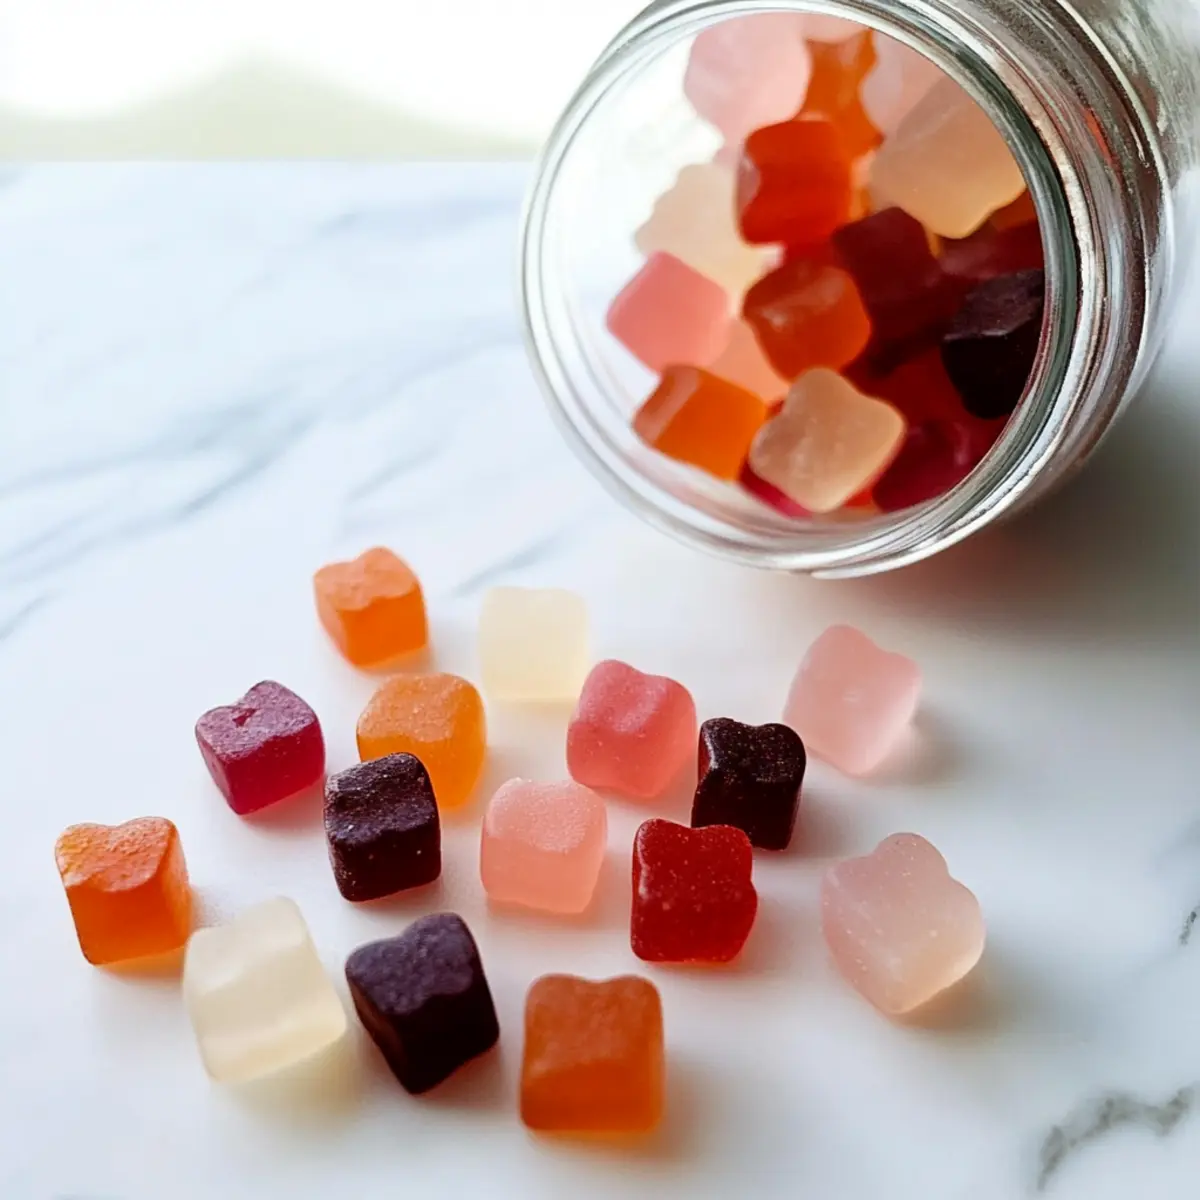
Flavorful Variety: The flexibility of using different fruit juices like cranberry, mango, or guava ensures that you can customize the taste to your liking, keeping things exciting!
Health Benefits: These gummies not only satisfy your sweet craving but also promote digestive health, making them a delicious way to support your gut.
Quick & Easy: With just a few simple steps, you’ll have a batch ready in no time—this recipe is perfect for busy days when you need a healthy snack on hand.
Guilt-Free Treat: Enjoy the chewy texture and tangy sweetness without worrying about harmful additives. These gummies stand out as a perfect alternative to sugar-laden store-bought snacks.
Family-Friendly: Children and adults alike will love these treats, making them great as after-meal snacks or fun additions to lunchboxes. Looking for more healthy snack ideas? Check out our guide on gluten-free dessert options for more delicious inspiration!
Gut Healing Gummies Ingredients
For the Gummies
• Gelatin – Provides structure and gut health benefits; using pasture-raised gelatin like Vital Proteins yields the best results.
• Juice (4 cups, divided) – Adds flavor and natural sweetness; avoid pineapple juice as it can break down the gelatin, with delicious alternatives being cranberry, watermelon, mango, peach, or guava juice.
• Coconut oil – Used to grease the pan and prevent sticking, ensuring easy removal of your dreamy gummies.
With these Gut Healing Gummies ingredients, you’re just a few steps away from a delightful homemade snack that’s both tasty and nourishing!
Step-by-Step Instructions for Gut Healing Gummies
Step 1: Grease the Pan
Start by greasing an 8”x8” pan with coconut oil, ensuring it’s evenly coated to prevent the gummies from sticking. Use a paper towel to spread the oil generously across the bottom and sides of the pan. This crucial first step sets the stage for easy removal of your homemade Gut Healing Gummies once they are fully set.
Step 2: Bloom the Gelatin
In a shallow bowl, combine 3 cups of your chosen juice (like cranberry or mango) with the gelatin. Sprinkle the gelatin over the juice and let it sit for 3-5 minutes. This process, known as blooming, allows the gelatin to absorb the liquid and soften, creating a smooth texture in your gummies when combined later.
Step 3: Heat the Remaining Juice
Pour the remaining 1 cup of juice into a saucepan and heat it over medium-low heat. Stir occasionally and monitor closely until it reaches a gentle simmer—look for small bubbles forming around the edges. Be cautious not to boil the juice, as high heat can affect the gelatin’s ability to set properly in your Gut Healing Gummies.
Step 4: Combine and Dissolve
Once the juice is warmed, add the bloomed gelatin mixture to the saucepan. Stir continuously until the gelatin is fully dissolved, and the mixture appears clear and uniform. This step takes about 2-3 minutes; you’ll know it’s ready when no lumps remain, and the mix has a velvety consistency perfect for creating your delicious gummies.
Step 5: Pour into the Pan
Carefully pour the warm gelatin mixture into the greased pan, promoting even distribution. Using a spatula, slowly spread it to ensure it fills the corners. Try to avoid bubbles forming by pouring smoothly. Afterward, let it sit at room temperature for a few minutes before transferring it to the refrigerator for the next crucial step.
Step 6: Chill to Set
Refrigerate the mixture for 4-5 hours, allowing it to firm up completely. Keep the pan covered with plastic wrap to prevent moisture from affecting the gumminess. You’ll know it’s ready when the surface is firm to the touch and holds its shape without sticking. This refrigeration period is vital for enjoying a chewy texture in your Gut Healing Gummies.
Step 7: Cut and Serve
Once set, remove the pan from the refrigerator and carefully cut the gummies into squares or your desired shapes. A sharp knife or cookie cutter works wonders! If using silicone molds, gently flex them to release the gummies without damage. Now, your delightful Gut Healing Gummies are ready to be enjoyed as a nutritious snack or treat!
Expert Tips for Gut Healing Gummies
-
Blooming Gelatin: Ensure you let the gelatin bloom properly in juice for a smooth texture. Avoid rushing this step for the best results.
-
Juice Variety: Choose a mix of juices for unique flavors, but stick to fruit options without pineapple, as it can hinder the gelatin’s setting process.
-
Mold Considerations: If using molds, prefer smoother designs for easier gummy release. A bit of coconut oil in the molds can also help.
-
Storage Wisdom: Keep your Gut Healing Gummies in an airtight container in the refrigerator, where they’ll stay fresh and tasty for about a week.
-
Texture Check: Be mindful of the setting time; they need around 4-5 hours in the fridge to achieve that perfect chewy consistency you’d expect from gummies.
What to Serve with Gut Healing Gummies?
These vibrant snacks not only make for a delightful treat but also can be paired with various dishes to create a wholesome meal experience.
-
Creamy Yogurt Parfait:
Layer yogurt with fresh berries and granola to create a satisfying breakfast that complements the gummies’ fruity flavor. -
Tropical Smoothie Bowl:
A refreshing mix of banana, mango, and spinach topped with coconut flakes will provide vibrant textures that match the cheerful nature of your gummies. -
Nutty Trail Mix:
A handful of pumpkin seeds, dried cranberries, and almonds offers a crunchy counterpart, making for a balanced snack with healthy fats and fiber. -
Zesty Salad:
A bright citrus salad with arugula, avocado, and grapefruit can detoxify the palate, making your sweet gummies even more enjoyable afterward. -
Herbal Iced Tea:
Pair with a refreshing glass of mint or hibiscus iced tea for a cooling drink that enhances the gummies’ bright fruit flavors. -
Dark Chocolate Squares:
Indulge in a few pieces of dark chocolate as a dessert that contrasts beautifully with the sweetness of the gummies while adding a touch of richness. -
Fresh Fruit Platter:
Create a harmonious spread of seasonal fruits like kiwi, berries, and watermelon to echo the natural flavors of your gummies.
With these pairing options, you can transform your Gut Healing Gummies into part of a delightful and nutritious dining experience!
Make Ahead Options
These Gut Healing Gummies are perfect for meal prep enthusiasts looking to save time during busy weeks! You can bloom the gelatin and combine it with the juice up to 24 hours in advance for a smoother and quicker process later on. Simply refrigerate the mixture until you’re ready to heat it. Additionally, after the gummies set, they can be stored in an airtight container in the refrigerator for up to 7 days, ensuring you always have a nutritious snack ready to go. Just remember to cut and serve them only when you’re ready to enjoy, as this helps maintain their delightful chewy texture!
How to Store and Freeze Gut Healing Gummies
Fridge: Keep your Gut Healing Gummies in an airtight container in the refrigerator, where they’ll stay fresh for up to 1 week, maintaining their chewy texture.
Freezer: For long-term storage, freeze the gummies in a single layer on a baking sheet. Once frozen, transfer them to a freezer-safe container for up to 3 months.
Thawing: When ready to enjoy, simply thaw the gummies in the fridge overnight or at room temperature for an hour.
Reheating: These gummies are best enjoyed chilled and don’t require reheating. Just grab and go for a tasty gut-friendly snack!
Gut Healing Gummies: Fun Twists Await!
Feel free to explore these delightful variations that will elevate your gummies to entirely new levels of tasty enjoyment!
- Seasonal Swaps: Use fresh juice from seasonal fruits like cranberry in the fall or peach in the summer for refreshing flavors.
- Vegan Option: Replace gelatin with agar agar for a plant-based alternative that sets similarly, though the texture may differ slightly.
- Flavor Booster: Add a hint of aloe vera juice for extra gut health benefits and a subtle herbal taste that complements fruit flavors beautifully.
- Citrus Zing: Incorporate a splash of lemon or lime juice into your fruit mix for a refreshing tang that brightens the overall flavor.
- Sweeteners Galore: For a touch of natural sweetness, consider mixing in a bit of honey or maple syrup, adjusting based on your preference.
- Texture Play: Try blending in a sprinkle of chia seeds for added texture and a dose of omega-3 fatty acids, enhancing the nutrient profile significantly.
- Spicy Kick: Experiment by adding a dash of ginger juice or cayenne pepper for a warming, zesty twist that packs a flavorful punch.
- Fun Molds: Use unique silicone molds shaped like stars or hearts for playful gummies that are perfect for kids’ lunchboxes or parties.
With these variations, you’re bound to find a combination that suits your taste perfectly! For more fun ideas, don’t miss our collection of healthy snack recipes to keep your kitchen vibrant and exciting!
Gut Healing Gummies Recipe FAQs
What juice can I use for Gut Healing Gummies?
Absolutely! You can use a variety of fruit juices for your Gut Healing Gummies, such as cranberry, watermelon, mango, peach, or guava. However, do avoid pineapple juice, as it contains bromelain which can break down the gelatin and prevent your gummies from setting properly.
How should I store my Gut Healing Gummies?
Keep your Gut Healing Gummies in an airtight container in the refrigerator. They will stay fresh for about 1 week, maintaining their delightful chewy texture. If you notice them becoming a bit tacky, that’s a sign they may need to be eaten soon!
Can Gut Healing Gummies be frozen?
Yes! For long-term storage, freeze your Gut Healing Gummies in a single layer on a baking sheet to prevent them from sticking together. Once solid, transfer them to a freezer-safe container, where they will last for up to 3 months. Just be sure to thaw them in the fridge overnight or at room temperature before enjoying.
What should I do if my gummies don’t set?
If your gummies don’t set properly, it may be due to not blooming the gelatin long enough or using the wrong juice. Make sure to let the gelatin bloom for 3-5 minutes before heating the mixture. If you suspect too much juice has been added, you can remelt the mixture, re-bloom more gelatin, and re-mix everything. Just ensure you do it carefully to avoid curdles!
Are Gut Healing Gummies safe for children?
Definitely! These Gut Healing Gummies are family-friendly and do not contain any allergens such as gluten, dairy, or nuts. They are a fun and healthy snack option for children, offering a tasty way to support their digestive health. Just keep an eye on portion sizes since they can be quite tempting!
Gut Healing Gummies: Your Delicious Path to Better Digestion
Ingredients
Equipment
Method
- Grease an 8"x8" pan with coconut oil to prevent sticking.
- In a shallow bowl, combine 3 cups of juice with gelatin and let it bloom for 3-5 minutes.
- Heat the remaining 1 cup of juice in a saucepan over medium-low heat until it simmers.
- Add the bloomed gelatin mixture to the warmed juice, stirring continuously until dissolved.
- Pour the gelatin mixture into the greased pan, ensuring even distribution.
- Refrigerate for 4-5 hours to set; cover with plastic wrap.
- Once set, cut the gummies into squares and enjoy.
Leave a Reply