
As I sat on my back porch, savoring the warm sun on my shoulders, a thought crossed my mind: nothing beats a quick and delightful snack that you can whip up without breaking a sweat. That’s when I knew I had to share my No-Bake Chocolate Peanut Butter Bars with you. This recipe not only captures the essence of sweet and salty perfection but is also a breeze to prepare, perfect for those busy days when fast food seems too tempting. Plus, they’re gluten-free and vegan, making them a guilt-free indulgence you can feel great about. Whether you’re packing them for a picnic or enjoying a late-night treat, these bars are sure to satisfy your cravings. Are you ready to discover how simple deliciousness can be?
Why are these bars a must-try?
Decadent Flavor: Rich and creamy, these No-Bake Chocolate Peanut Butter Bars offer the perfect balance of sweet and salty that everyone loves.
Quick & Easy: No baking required! Just mix, chill, and enjoy—ideal for busy lifestyles when you crave a homemade treat without the fuss.
Versatile Options: Customize to your taste by swapping peanut butter for almond or cashew butter, or add your favorite nuts for extra crunch.
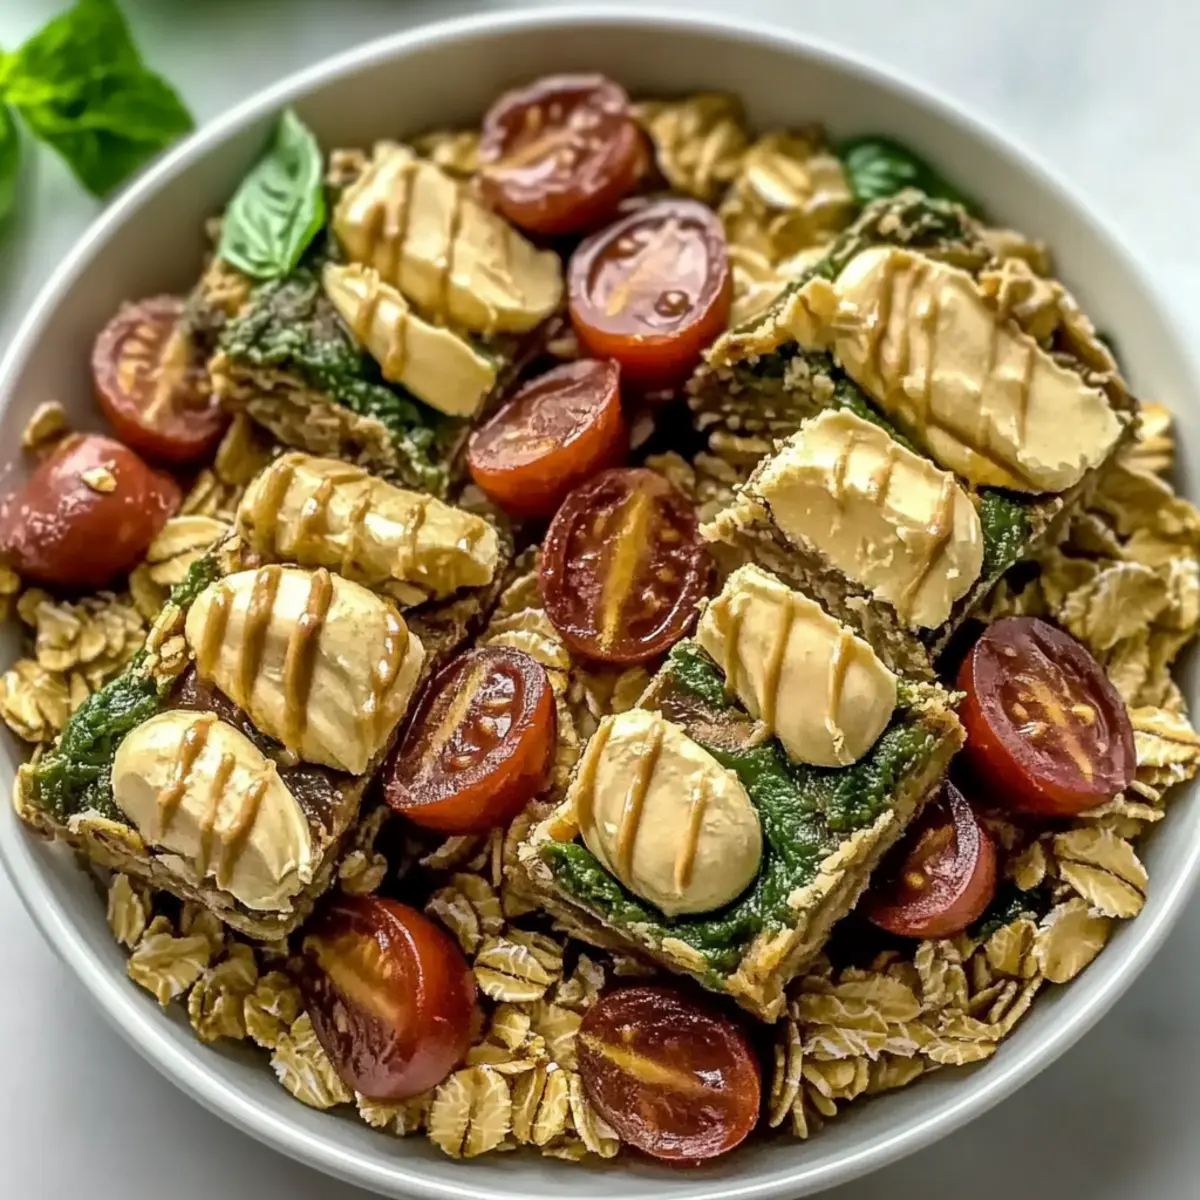
Healthy Indulgence: Packed with nutrients, these bars are gluten-free and vegan, making them an excellent alternative to store-bought snacks. For a refreshing meal idea, check out my Chicken Pesto Pasta Salad!
Crowd-Pleaser: Perfect for gatherings—these bars will wow your friends and family, whether at a picnic, party, or game night.
No-Bake Chocolate Peanut Butter Bars Ingredients
• Perfect for quick cravings!
For the Base
- Peanut Butter – Provides creaminess and flavor; feel free to swap for sun butter if needed.
- Oats – Serve as the base for texture; use certified gluten-free oats for gluten-free bars.
- Maple Syrup – Adds sweetness and moisture; you can substitute agave syrup or honey for a different twist.
- Cocoa Powder – Supplies a rich chocolate flavor; consider milk chocolate powder if you prefer a sweeter taste.
- Almond Flour – Adds nutrition and structure; can replace with coconut flour, but adjust the quantity accordingly.
For the Topping
- Chocolate Chips – Used to create a luscious topping; dark chocolate or dairy-free chips work well based on your dietary preferences.
These ingredients come together to create the perfect no-bake chocolate peanut butter bars that you’ll love for their simplicity and rich flavor!
Step‑by‑Step Instructions for No-Bake Chocolate Peanut Butter Bars
Step 1: Mix the Base Ingredients
In a large mixing bowl, combine 1 cup of peanut butter, 1 cup of oats, ½ cup of maple syrup, and ¼ cup of cocoa powder. Use a sturdy spatula to blend these ingredients together until the mixture is cohesive and thick, about 3-5 minutes. You want a texture that holds together without being too dry, so add a splash of almond milk if needed.
Step 2: Incorporate Almond Flour
Next, gently fold in ½ cup of almond flour into the mixture. Stir until you achieve a firm yet pliable batter that can easily be pressed into shape. This step adds structure to your bars while enhancing their nutty flavor. Make sure everything is well combined, ensuring no dry flour remains visible.
Step 3: Form the Base Layer
Line an 8×8 inch baking dish with parchment paper for easy removal, then transfer the mixture into the dish. Press it down firmly and evenly with a spatula or your hands, smoothing the surface to create a solid base layer. Aim for an even thickness, about 1 inch, and make sure it fills the corners of the dish.
Step 4: Melt the Chocolate Topping
In a microwave-safe bowl, melt 1 cup of chocolate chips in 30-second intervals, stirring after each interval until smooth and creamy. This should take about 1-2 minutes total. Once melted, pour the chocolate evenly over the pressed base layer, using a spatula to spread it out for a glossy finish that covers every corner.
Step 5: Chill Until Firm
Refrigerate the baking dish for at least 2 hours, allowing the chocolate topping to set and the bars to firm up. The chilling time is crucial for achieving the right texture, so resist the temptation to cut them too early. You’ll know they’re ready when the chocolate feels solid to the touch.
Step 6: Cut and Serve
Once fully chilled and firm, remove the bars from the baking dish by lifting the parchment paper. Place them on a cutting board and slice into squares or rectangles, about 1 to 2 inches in size. These delightful No-Bake Chocolate Peanut Butter Bars can be served chilled or at room temperature, making them a perfect treat for any occasion.
Expert Tips for No-Bake Chocolate Peanut Butter Bars
-
Smooth Peanut Butter: Ensure your peanut butter is smooth for easy mixing. Chunky peanut butter can lead to a grainy texture in the bars.
-
Firmness Adjustment: If you want a firmer texture, slightly increase the almond flour or oats. Too much moisture can make them too soft.
-
Cooling Chocolate: Let the melted chocolate cool slightly before pouring it over the base. This prevents it from melting the bottom layer and maintains layering.
-
Moisture Check: If your mixture seems too dry, don’t hesitate to add a splash of almond milk to achieve the perfect consistency. This will help the bars hold together beautifully.
-
Storage Tips: Store your bars in an airtight container in the refrigerator to maintain freshness, ensuring they remain a healthy and delicious snack option.
-
Creative Variations: Feel free to explore different nut butters or mix-ins; almond butter or cashew butter can create exciting variations of this no-bake bar recipe!
How to Store and Freeze No-Bake Chocolate Peanut Butter Bars
Fridge: Keep your bars in an airtight container in the refrigerator for up to one week. This helps maintain their fresh taste and texture.
Freezer: For longer storage, freeze the bars in an airtight container or well-wrapped for up to 3 months. Thaw in the fridge before serving.
Reheating: Enjoy them cold or bring them to room temperature before indulging for a softer bite. Avoid microwaving, as it can change the texture.
Serving Tip: Cut the bars into individual squares before storing to make it easy to grab a quick, healthy snack whenever the craving strikes!
What to Serve with No-Bake Chocolate Peanut Butter Bars
There’s nothing quite like pairing a sweet treat with delightful sides and sips to create a memorable snacking experience.
-
Creamy Almond Milk: The nutty flavor of almond milk perfectly complements the rich taste of these bars, making for a refreshing, nourishing drink. Enjoy it chilled for a soothing experience.
-
Fresh Berries: A burst of juicy raspberries or strawberries not only adds color but also enhances the sweetness, creating a delightful contrast with the rich chocolate and peanut butter.
-
Crunchy Veggie Sticks: Crisp cucumber and carrot sticks offer a light, refreshing crunch that balances the density of the bars. A touch of hummus can add a complementary savory note.
-
Minty Iced Tea: The cool, refreshing taste of mint iced tea cuts through the richness of the bars while providing a thirst-quenching contrast. Serve with a sprig of mint for the perfect touch!
-
Decadent Dark Chocolate Drizzle: Elevate the chocolate experience by drizzling some extra melted dark chocolate over a fresh fruit salad for an indulgent treat that pairs beautifully with the bars.
-
Sweet Coffee: Brewed coffee, whether hot or cold, harmonizes with the chocolate and peanut butter flavors, offering a warm comforting note to your afternoon snack. A dash of cream or nut milk pairs perfectly!
-
Homemade Granola: For added texture, serve a small bowl of homemade granola alongside the bars. Its crunchy oats and nuts enhance the overall snacking experience and make for a delightful contrast.
These pairings will not only elevate your enjoyment of the bars but also create a full and flavorful moment of indulgence!
Make Ahead Options
These No-Bake Chocolate Peanut Butter Bars are perfect for meal prep, allowing you to save time during your busy week! You can prepare the base layer and refrigerate it up to 24 hours in advance; just press the mixture into the baking dish and cover tightly to keep it fresh. Then, melt the chocolate topping just before serving, pouring it over the base layer when you’re ready to indulge. To store, simply keep the bars in an airtight container in the refrigerator for up to 7 days. By prepping ahead, you’ll have a delightful homemade treat waiting for you, just as delicious and satisfying!
No-Bake Chocolate Peanut Butter Bars Variations
Feel free to get creative and customize your No-Bake Chocolate Peanut Butter Bars to perfectly suit your tastes!
- Nut Butter Swap: Try almond butter or cashew butter for a different flavor profile that adds a unique twist.
- Dried Fruits: Mix in some chopped dried fruits, like cranberries or apricots, to add a chewy texture and a burst of sweetness.
- Coconut Flakes: For a tropical twist, incorporate shredded coconut into the mixture, enhancing both flavor and texture.
- Protein Boost: Stir in protein powder for an extra nutritional kick, perfect for a post-workout snack. A scoop of your favorite vanilla protein can add creaminess without overpowering the chocolate flavor.
- Spicy Kick: Add a pinch of cayenne pepper or some cinnamon for an unexpected heat that contrasts beautifully with the sweetness.
- Different Chocolate: Switch out the chocolate chips for white chocolate or butterscotch chips for a different level of sweetness. Just remember, each choice will bring its unique flair to your bars!
- Nut-Free Option: Use sun butter instead of peanut or almond butter for a delicious nut-free alternative that keeps the bars tasty and satisfying.
- Crunchy Texture: Add a handful of chopped nuts or puffed rice into the mixture for a delightful crunch that complements the creamy base.
These variations can transform your bars into a variety of delightful treats, and if you love adding layers of flavor, be sure to check out my recipes for Lemon Garlic Chicken or Chopped Chicken Bacon Ranch Sandwich for more delicious ideas!
No-Bake Chocolate Peanut Butter Bars Recipe FAQs
What is the best peanut butter to use?
Absolutely! For the best taste and texture, use smooth peanut butter. It mixes easily and provides a delightful creaminess to the bars. If you prefer, sun butter makes a fantastic nut-free alternative that doesn’t compromise on flavor!
How should I store these bars?
You can store your No-Bake Chocolate Peanut Butter Bars in an airtight container in the refrigerator for up to one week. This will keep them fresh and ready for snacking. If you’d like to save them for longer, you can freeze them for up to 3 months. Just be sure to wrap them well to avoid freezer burn.
Can these bars be frozen? How?
Yes, these bars freeze beautifully! To freeze, cut them into individual squares, then place them in an airtight container or wrap each piece in plastic wrap before placing them in a resealable freezer bag. When you’re ready to enjoy, simply thaw them in the refrigerator overnight. This way, they’re waiting for you when those late-night cravings strike!
What should I do if the mixture is too dry?
If your mixture feels too dry, don’t worry! Simply add a tablespoon of almond milk at a time until you reach your desired consistency. The mixture should be firm yet pliable. Keep mixing until everything is well-blended, ensuring no dry spots remain. You want a consistency that holds together nicely when pressed into the baking dish.
Are there any allergen considerations?
Definitely! This recipe can be made allergen-friendly. For a nut-free option, use sun butter instead of peanut butter and ensure your oats are certified gluten-free for those with gluten sensitivities. If you are serving these to children or anyone with food allergies, always double-check all ingredient labels to avoid any cross-contamination.
Can I use other toppings besides chocolate?
Very! While chocolate chips are a delicious topping, feel free to get creative! You could use melted white chocolate for a different flavor, or sprinkle some crushed nuts or dried fruit on top before the chocolate sets for added texture and taste. The more the merrier—mix and match according to your preferences!
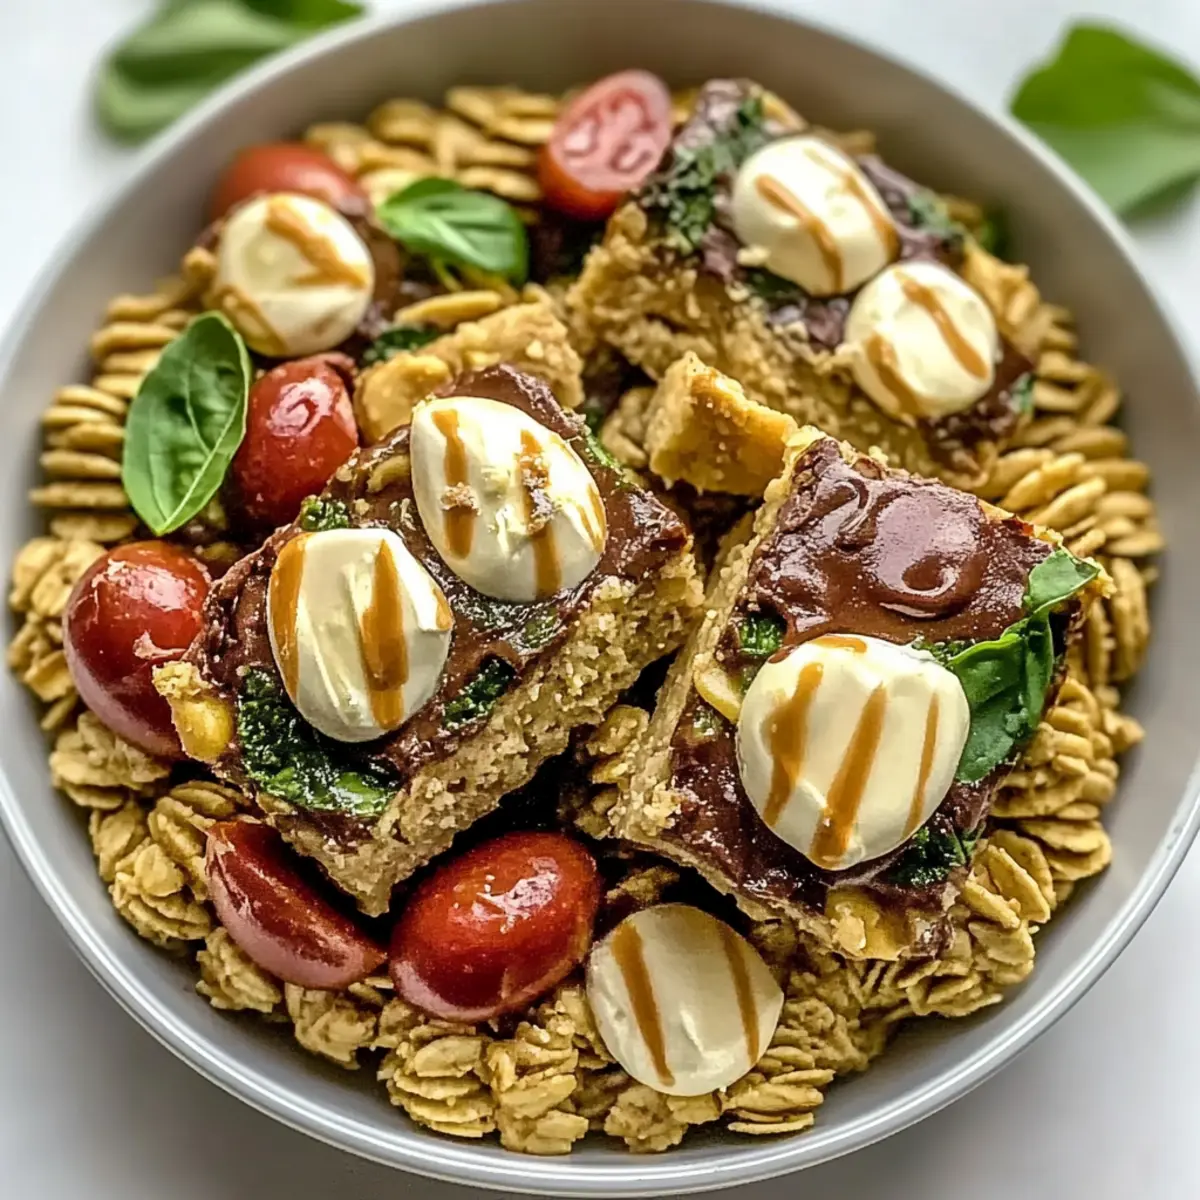
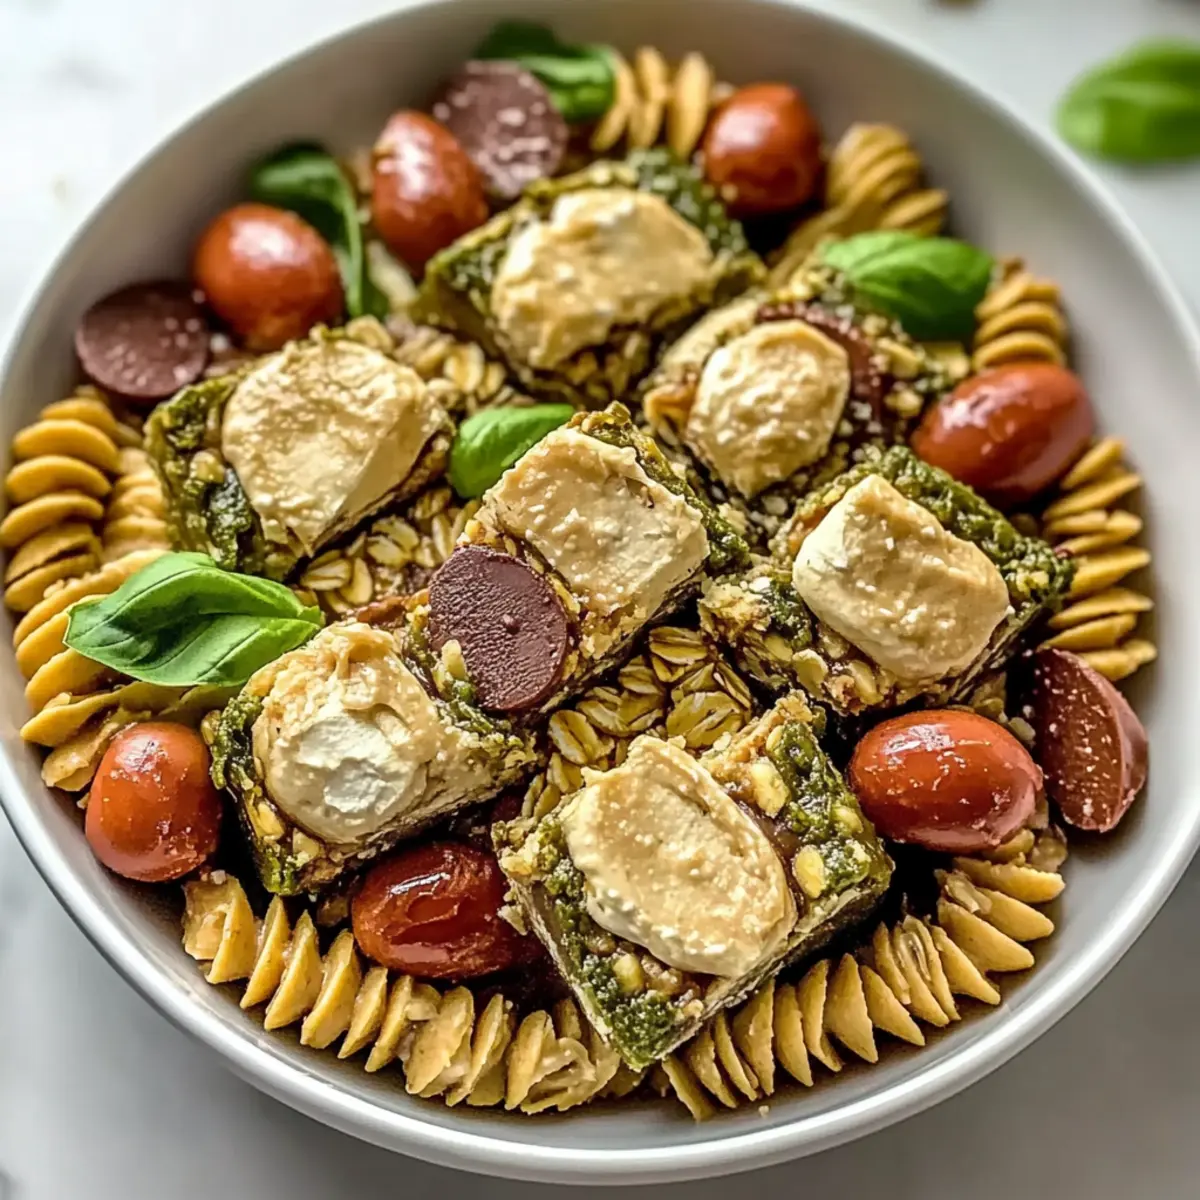
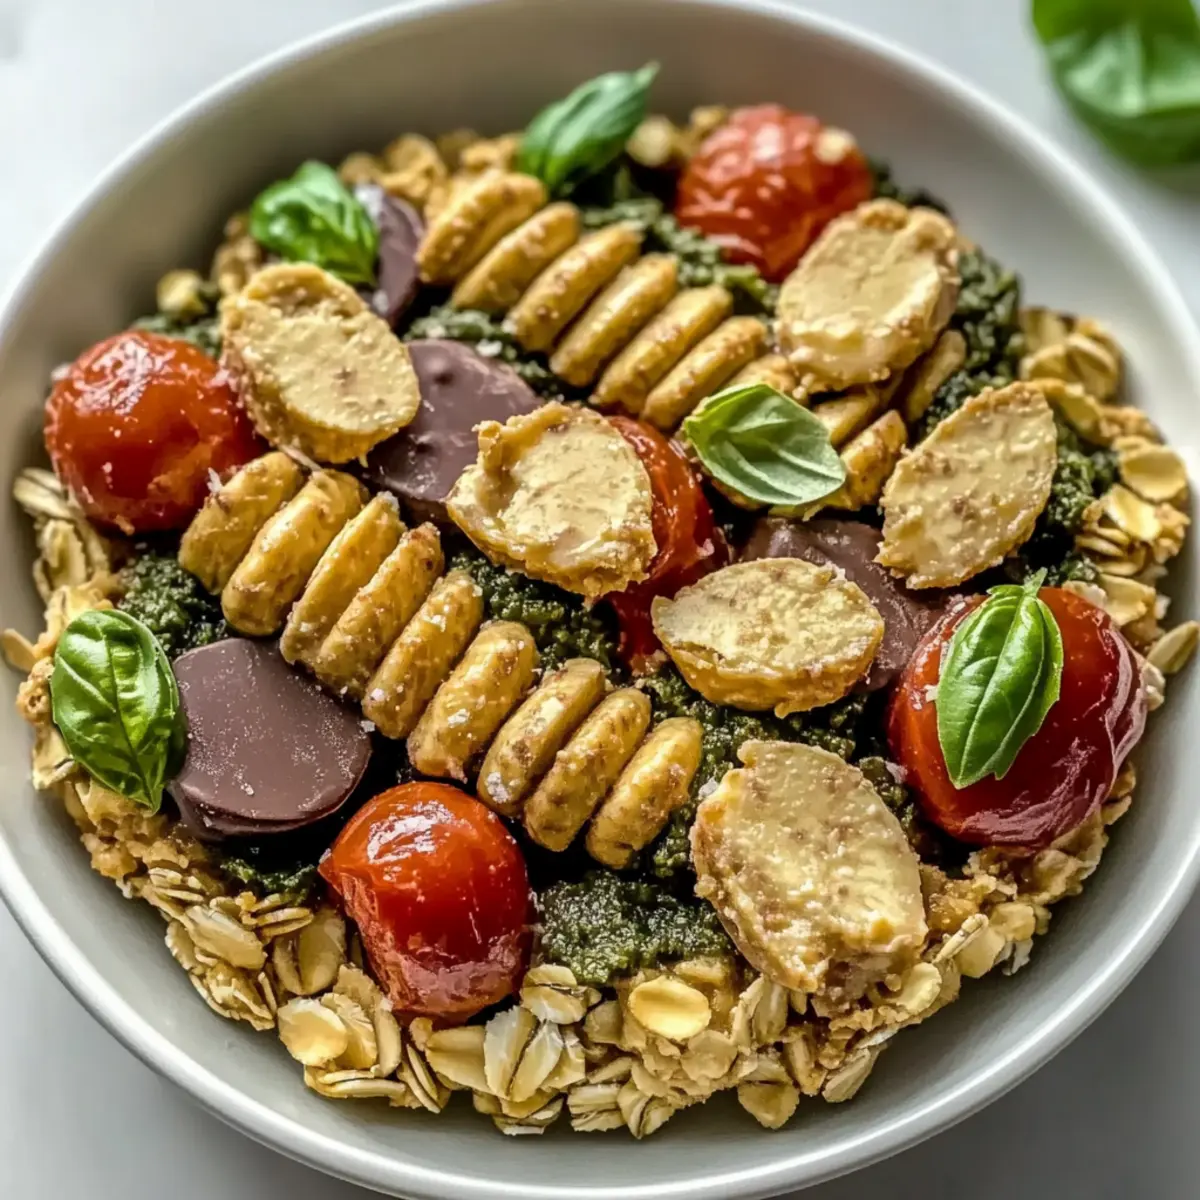
Chicken Pesto Pasta Salad for a Fresh, Flavorful Feast
Ingredients
Equipment
Method
- Mix the Base Ingredients: In a large mixing bowl, combine peanut butter, oats, maple syrup, and cocoa powder. Blend until cohesive and thick, about 3-5 minutes.
- Incorporate Almond Flour: Gently fold in almond flour until well combined.
- Form the Base Layer: Line an 8x8 inch baking dish with parchment paper, press the mixture evenly into the dish.
- Melt the Chocolate Topping: In a microwave-safe bowl, melt chocolate chips in 30-second intervals, stirring until smooth.
- Chill Until Firm: Refrigerate for at least 2 hours or until chocolate is set.
- Cut and Serve: Remove from the baking dish and slice into squares.
Leave a Reply