
As the sun dipped lower, painting the sky in hues of orange and pink, I found myself scavenging through my pantry for a quick pick-me-up. That’s when I stumbled upon the ingredients to make these No-Bake Chocolate Peanut Butter Protein Bars. Not only do they deliver a rich fusion of creamy peanut butter and decadent chocolate, but they’re also a breeze to whip up—no baking required! Perfect for the busy home chef seeking a healthy snack, these bars are also gluten-free and high in protein, making them ideal for post-workout fueling or a satisfying afternoon treat. Want to elevate your on-the-go snack game? Let’s dive into this irresistible recipe together!
Why Are These Protein Bars a Must-Try?
Convenience at Its Finest: With no baking involved, these bars are incredibly quick to prepare, making them perfect for busy days.
Nutritious and Delicious: Packed with protein and healthy fats, they provide the energy boost you need without compromising on flavor.
Versatile Base: Feel free to mix and match your favorite nut butters, or add some nuts, seeds, or dried fruits for extra crunch!
Satisfying Texture: Enjoy a delightful chewy density that feels indulgent without the guilt—perfect as a post-workout treat or a snack.
Meal Prep Friendly: Make a batch ahead and store them in the fridge for a week, or freeze for longer storage. Check out my Shrimp Dirty Rice for more easy meal prep ideas!
Crowd-Pleaser: Everyone will love these bars—serve them at gatherings or keep them all to yourself!
No-Bake Chocolate Peanut Butter Protein Bars Ingredients
• Here’s what you’ll need to whip up these delightful treats!
For the Base
• Rolled Oats – Provide structure and a chewy texture; use gluten-free oats for a gluten-free version.
• Natural Peanut Butter – Adds creaminess and rich flavor; almond butter can work well as a tasty alternative.
• Honey or Maple Syrup – Serves as a sweetener and binder; agave syrup is a great vegan option.
• Dark Cocoa Powder – Contributes a rich chocolate flavor; opt for unsweetened cocoa for less sweetness.
• Protein Powder – Increases protein content; vanilla or chocolate flavors complement the bars beautifully.
For the Mix-ins
• Dark Chocolate Chips – Add a burst of sweetness and texture; try dairy-free chips for a vegan-friendly option.
Remember, these No-Bake Chocolate Peanut Butter Protein Bars are not only a healthy treat but also super simple to prepare! Enjoy crafting these delicious bites!
Step‑by‑Step Instructions for No-Bake Chocolate Peanut Butter Protein Bars
Step 1: Combine Dry Ingredients
In a large mixing bowl, add 2 cups of rolled oats, ½ cup of dark cocoa powder, and 1 cup of protein powder. Stir these dry ingredients well, ensuring they are evenly mixed. You should have a uniform brown mixture, which provides the base for your no-bake chocolate peanut butter protein bars.
Step 2: Mix Wet Ingredients
In a separate bowl, blend together 1 cup of natural peanut butter, ½ cup of honey or maple syrup, and 1 teaspoon of vanilla extract until smooth. This mixture will be creamy and cohesive, ready to integrate with the dry ingredients. The texture should be thick yet pourable, making it easy to fold into the dry mix.
Step 3: Combine Mixtures
Pour the wet peanut butter mixture into the bowl of dry ingredients. Using a spatula, mix thoroughly until everything is well combined, and you have a sticky dough-like consistency. Everything should be evenly coated and clumping together, giving you a good indication that your no-bake chocolate peanut butter protein bars are coming together nicely.
Step 4: Add Chocolate Chips
Now, fold in ½ cup of dark chocolate chips into the mixture. Gently stir until the chips are evenly dispersed throughout the dough. They should be scattered and visible throughout the mixture, offering delightful bursts of chocolate in every bite of your protein bars.
Step 5: Prepare the Baking Dish
Line a square or rectangular baking dish (about 8×8 inches) with parchment paper. Make sure the paper hangs over the sides for easy removal later. This will help keep the bars from sticking and make cutting them into squares much easier once they’ve set.
Step 6: Spread and Press Mixture
Transfer the mixture into the prepared dish, spreading it evenly. Use your hands or a spatula to press the mixture down firmly into the corners and flatten the top. It’s important to compact the mixture well for a firmer texture in your no-bake chocolate peanut butter protein bars, so take your time with this step.
Step 7: Chill to Set
Cover the baking dish with plastic wrap and place it in the refrigerator. Let the bars chill for at least 1-2 hours to fully set. They should become firm and hold their shape well when pressed. Checking the firmness is key, as you want them slightly dense to ensure they stay intact when cut.
Step 8: Cut and Store
Once they are set, remove the bars from the dish using the parchment paper. Place them on a cutting board and slice them into equal-sized bars using a sharp knife. Store your no-bake chocolate peanut butter protein bars in an airtight container in the refrigerator for up to a week or freeze them for longer storage. Enjoy your delicious and nutritious homemade snacks!
Expert Tips for No-Bake Protein Bars
- Compact the Mixture: Ensure the mixture is tightly pressed in the baking dish for a firmer texture. This prevents crumbly bars that fall apart easily.
- Sharp Knives Rule: Use a sharp knife when cutting the bars to maintain clean edges and an appealing presentation.
- Storage Savvy: Keep bars in an airtight container in the fridge to maintain freshness. They can also be frozen; just thaw before enjoying!
- Mix-In Choices: Don’t hesitate to experiment with different nut butters or add-ins. Remember, stick to the base ingredients for the perfect no-bake chocolate peanut butter protein bars.
- Taste Test Swaps: Swap any flavor of protein powder to customize taste, making every batch exciting and unique!
What to Serve with No-Bake Chocolate Peanut Butter Protein Bars?
Elevate your snacking experience with delicious pairings that enhance the flavors and textures of these scrumptious bars.
- Fresh Fruit Salad: An array of seasonal fruits adds a refreshing and vibrant contrast; the natural sweetness complements the rich chocolate perfectly.
- Greek Yogurt with Honey: This creamy addition provides a tangy balance to the sweetness of the bars, making it a satisfying snack.
- Nutty Trail Mix: A crunchy blend of nuts and seeds introduces different textures, ensuring each bite of your protein bars remains exciting.
- Chocolate Almond Milk: This delightful drink not only mirrors the chocolate flavor but also offers a smooth, indulgent sip to enjoy alongside your bars.
- Coconut Chips: Adding a tropical flair, these chews provide a desirable crunch and a hint of sweetness that pairs beautifully with chocolate and peanut butter.
- Homemade Granola: A scoop of granola can elevate your protein bars into a wholesome breakfast option, with its crunchy texture offering great contrast while being nutritious.
- Iced Coffee: The rich, bold flavor invigorates the senses, and is perfect for a mid-afternoon pick-me-up alongside your bars.
- Vanilla Ice Cream: For a decadent treat, serve your bars with a scoop of vanilla ice cream; this combination is pure indulgence and will delight everyone!
How to Store and Freeze No-Bake Chocolate Peanut Butter Protein Bars
Fridge: Store the bars in an airtight container in the refrigerator for up to 1 week to keep them fresh and delicious.
Freezer: For longer storage, freeze the bars wrapped in plastic wrap or in a freezer-safe bag for up to 3 months. Thaw them in the fridge before enjoying.
Room Temperature: While you can keep them out for a short period, it’s best to avoid room temperature storage to maintain texture and flavor.
Reheating: There’s no need to reheat—these No-Bake Chocolate Peanut Butter Protein Bars are perfect straight from the fridge or freezer!
Make Ahead Options
These No-Bake Chocolate Peanut Butter Protein Bars are a fantastic option for meal prep, saving you time during busy weeknights! You can prepare the mixture up to 24 hours in advance; simply combine the dry ingredients and wet mixture, and store them separately in airtight containers in the refrigerator. This helps maintain the quality and prevents the oats from becoming too soggy. When you’re ready to make the bars, just mix everything together, spread it in the baking dish, and chill for 1-2 hours to set. You can also freeze the bars for up to 3 months; just thaw them overnight in the fridge before serving. Enjoy a nutritious snack that’s just as delicious as freshly made!
No-Bake Chocolate Peanut Butter Protein Bars Variations
Feel free to personalize these protein bars with delicious twists that suit your taste and dietary needs!
- Dairy-Free: Swap dark chocolate chips for dairy-free chips to keep these bars vegan-friendly. You’ll still enjoy the same delightful sweetness!
- Nut Butter Alternatives: Use almond butter or cashew butter in place of peanut butter for a different flavor profile. Each nut brings its unique essence to the bars.
- Add Crunch: Toss in some chopped nuts or seeds like almonds or chia seeds for extra texture and crunch. They’ll elevate each bite with satisfying little surprises!
- Flavor Boost: Experiment with flavored protein powders, like vanilla or mocha, to add extra depth and richness to your bars. This makes each batch a new adventure!
- Sweetener Swaps: Try agave syrup instead of honey for a vegan version. It offers a similar sweetness while keeping everything stickily delightful.
- Fruity Add-Ins: Fold in dried fruits like cranberries or raisins for a burst of sweetness and chewiness that perfectly complements the chocolate.
- Heat It Up: For a touch of spice, add a pinch of cayenne pepper or cinnamon to the mix. It creates an unexpected flavor kick that intrigues the palate!
- No-Bake Chocolate Peanut Butter Protein Bars with a Twist: If you love textures, layer your mixture in the pan with a layer of your favorite granola for additional crunch, creating a unique snacking experience.
These variations allow you to make every batch special. And if you’re looking for more meal prep ideas, check out my Chipotle Chicken Panini or indulge in some Shrimp Dirty Rice. Happy snacking!
No-Bake Chocolate Peanut Butter Protein Bars Recipe FAQs
What type of oats should I use for the bars?
For this recipe, rolled oats work best as they provide structure and a chewy texture. If you’re following a gluten-free diet, simply substitute regular oats with certified gluten-free rolled oats. This way, you can enjoy the bars without compromising on dietary needs or flavor!
How should I store the protein bars?
To keep your no-bake chocolate peanut butter protein bars fresh, store them in an airtight container in the refrigerator for up to a week. This keeps them deliciously moist and ready for snacking whenever you need a healthy treat. If you want to enjoy them longer, you can freeze them—simply wrap them individually in plastic wrap and place them into a freezer-safe bag. They can stay good for up to 3 months, just thaw them in the fridge before serving.
Can I freeze these protein bars?
Absolutely! Freezing is a great option for meal prep. After cutting your bars, wrap each one tightly in plastic wrap or place them in a freezer-safe container. For easy serving, I often write the date on the container to keep track. When you’re ready to indulge, just take out a bar and let it thaw in the fridge for a couple of hours—or overnight—and you’ll have a delicious, on-the-go snack!
What if my mixture feels crumbly?
If the mixture seems too crumbly and doesn’t hold together when you press it into the baking dish, you might want to add a little more of the wet ingredients—such as peanut butter or honey. Start with a tablespoon at a time until you achieve a sticky dough-like consistency that holds its shape when pressed firmly in the dish. Remember, compacting the mixture is key!
Are these bars suitable for people with nut allergies?
While these bars feature peanut butter, you can easily adapt the recipe for nut allergies! Instead of peanut butter, use sun butter (made from sunflower seeds) or soy nut butter for a nut-free alternative. Additionally, make sure to check the protein powder for allergens to ensure they’re safe for everyone. Always remember to be cautious and substitute wisely based on individual dietary needs!
Can I add extra ingredients to customize my bars?
The more the merrier! You can definitely customize your no-bake protein bars by adding in your favorite mix-ins like chopped nuts, seeds, or even dried fruits like cranberries or raisins. Just keep the total volume in mind—adding more than a cup of mix-ins might change the texture and bind well, so it’s best to stick with about 1 cup for optimal results!
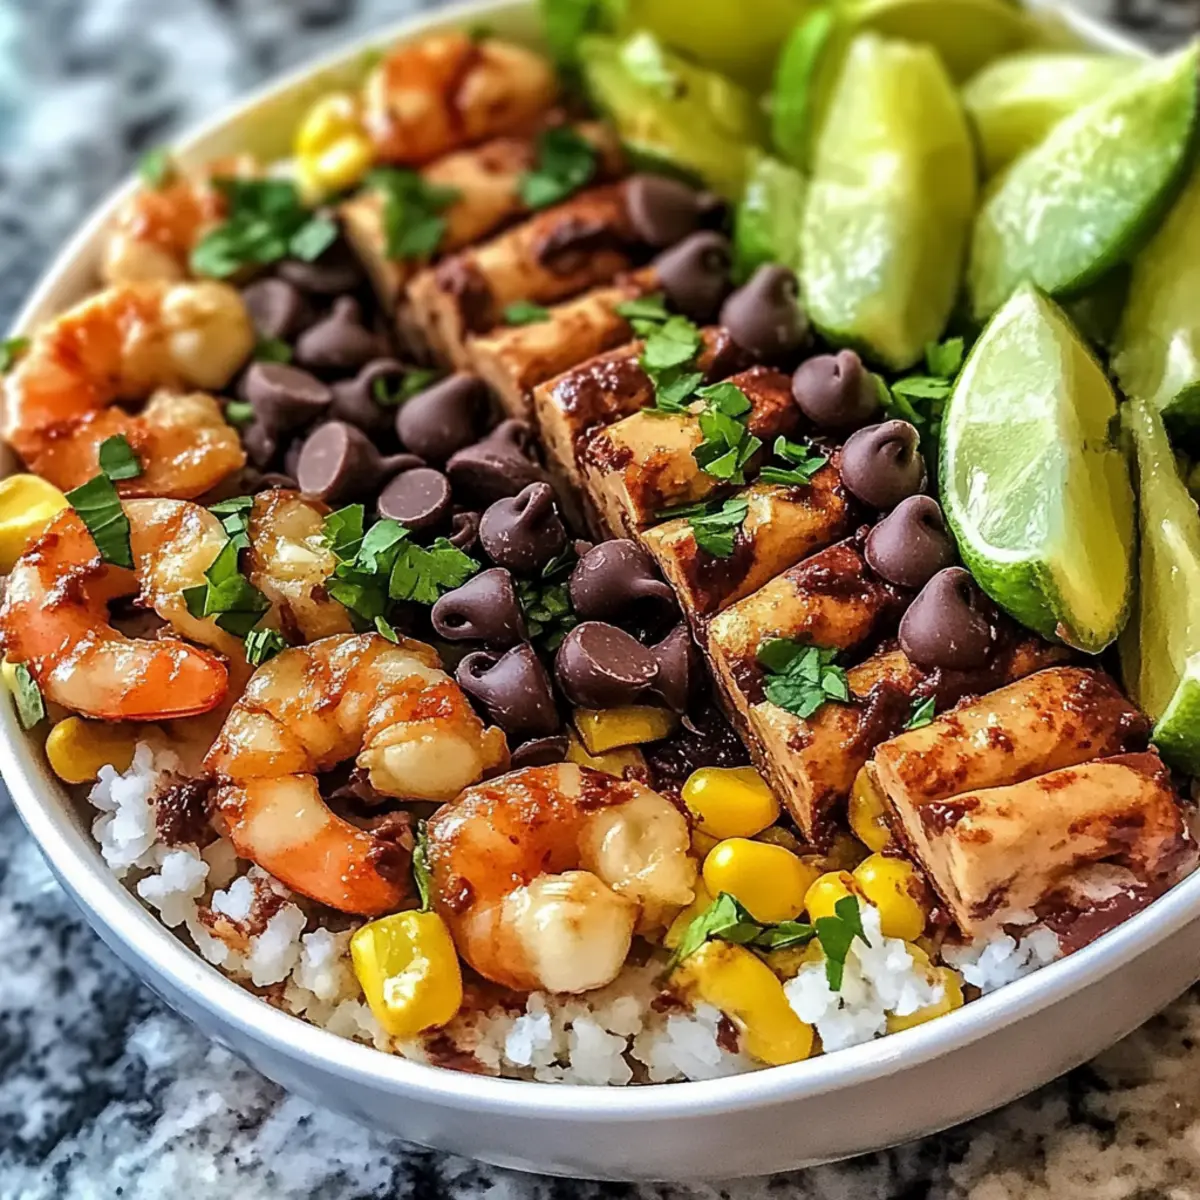
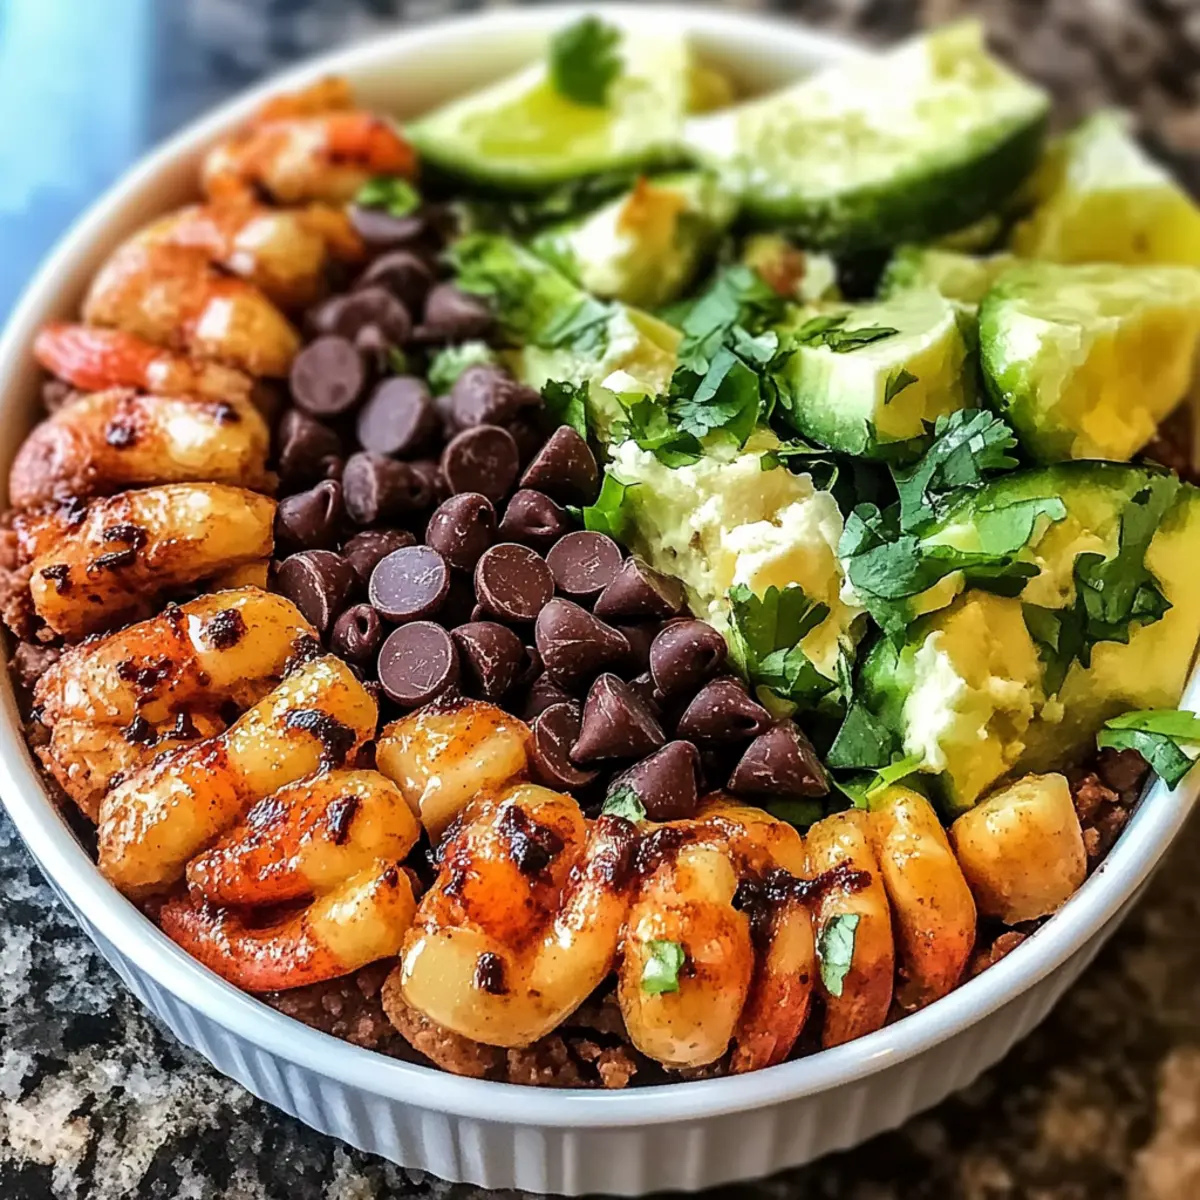
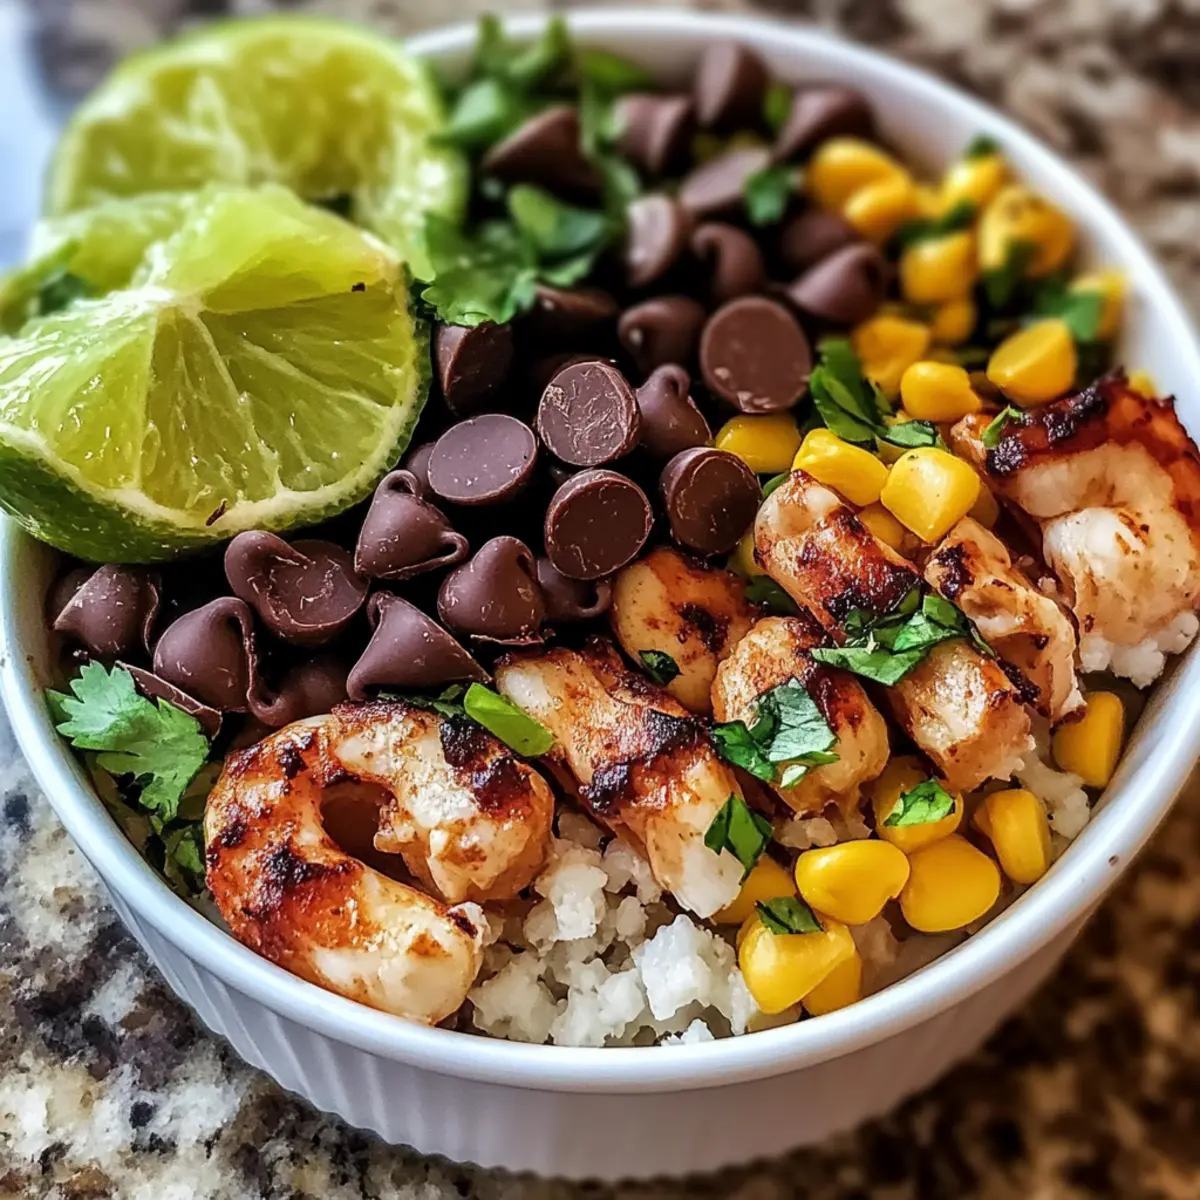
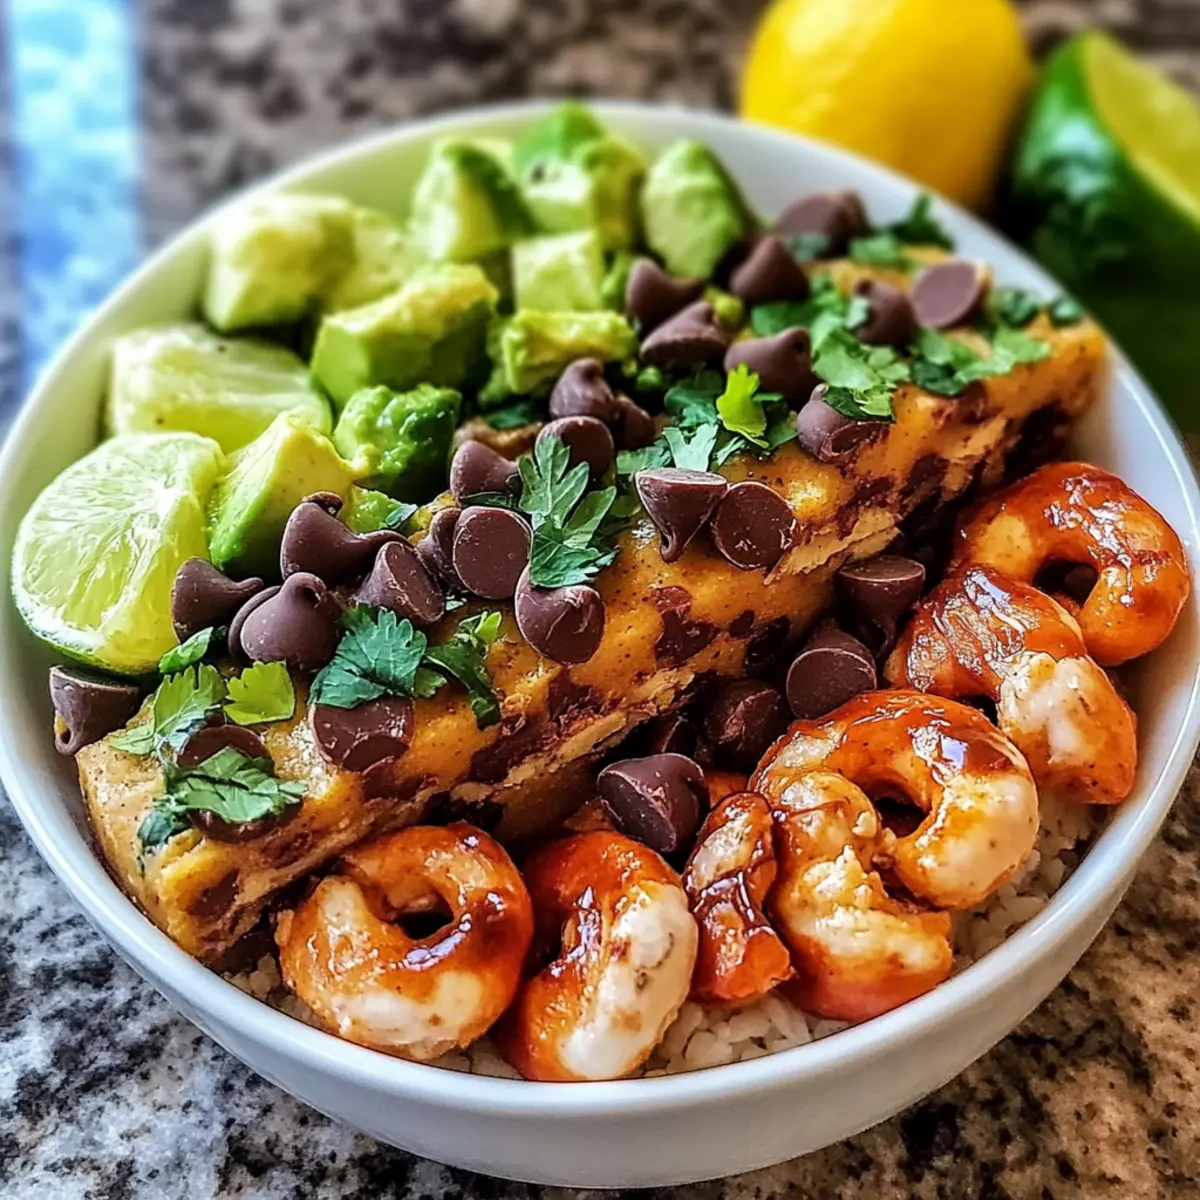
Zesty Chipotle Lime Shrimp Bowl That Brightens Your Day
Ingredients
Equipment
Method
- In a mixing bowl, combine shrimp, olive oil, chipotle powder, lime juice, and garlic powder. Mix well to coat the shrimp.
- Heat a skillet over medium heat and cook the shrimp for about 2-3 minutes on each side until they are pink and opaque.
- In a bowl, layer cooked brown rice, black beans, corn, and topped with the cooked shrimp.
- Garnish with diced avocado, cilantro, and serve with lime wedges on the side.
Leave a Reply