
In the midst of a hectic day, I often find myself craving something sweet yet healthy. That’s when these No-Bake Protein Balls come to the rescue! Combining the nutty goodness of oats with the rich texture of peanut butter, this recipe is ideal for busy people who want a quick, nutritious snack without turning on the oven. Not only are they packed with protein, but they also offer a delightful foundation for endless customization—feel free to toss in your favorite mix-ins! Whether you’re looking for a post-workout pick-me-up or just a guilt-free treat, these little bites are here to satisfy. Curious about how to whip up these deliciously easy snacks? Let’s dive in!
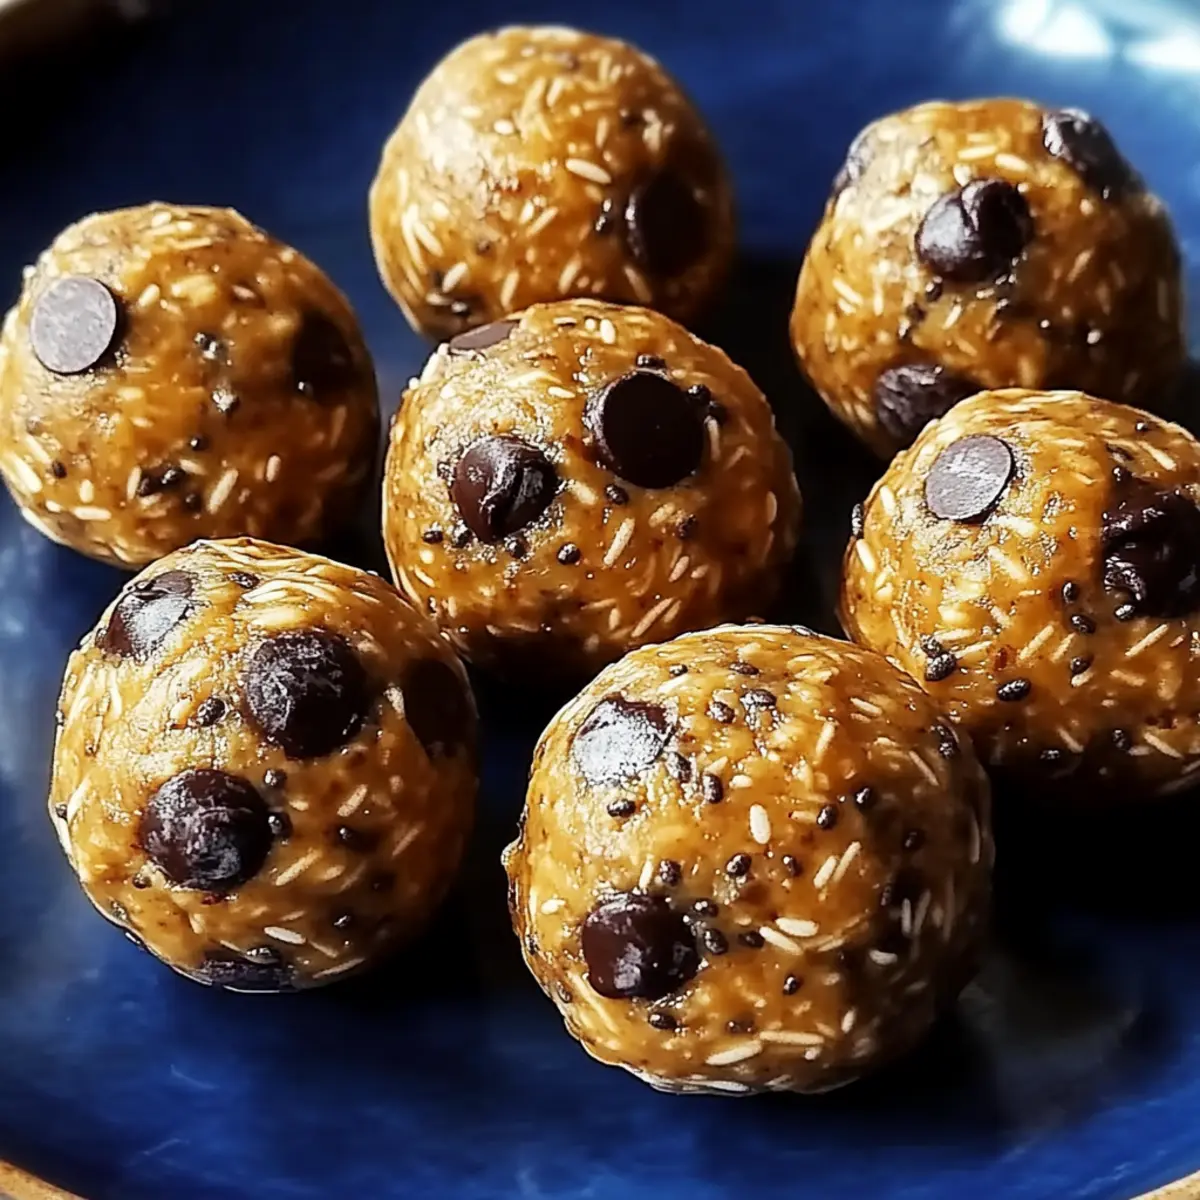
Why Choose No-Bake Protein Balls?
Convenience: These No-Bake Protein Balls take just minutes to prepare, making them the perfect solution for those busy days.
Customizable: Change up ingredients to match your taste—try adding dried fruits or nuts for a delightful twist.
Healthy Fuel: Packed with protein and wholesome ingredients, they provide sustained energy without the guilt of processed snacks.
Diet-Friendly: Suitable for gluten-free and vegan diets, everyone can enjoy these tasty treats!
Crowd-Pleasing: They’re not just for you; these protein balls are a hit with family and friends too. Consider serving them alongside other favorites like Greek Chicken Meatballs or Carb Enchilada Meatballs to impress guests!
No-Bake Protein Balls Ingredients
• Here’s what you’ll need to make these delightful bites!
For the Base
- Old-Fashioned Oats – Provides chewy texture and a sturdy base; substitute with gluten-free oats for a gluten-free version.
- Peanut Butter – Acts as a creamy binding agent; swap it out for almond or sunflower butter to accommodate different dietary needs.
- Honey – Adds the right amount of sweetness and moisture; use maple syrup for a vegan-friendly alternative.
- Vanilla Extract – Infuses an aromatic flavor; opt for pure vanilla for the best taste experience.
For the Fun Add-Ins
- Chocolate Chips – Enhance flavor and enjoyment with sweet, melty morsels; consider dark chocolate for a richer taste.
- Chia Seeds – Boost healthy fats and fiber; if you prefer, flax seeds make a great alternative.
Feel free to customize based on your preferences and dietary requirements, while keeping the spirit of these No-Bake Protein Balls intact!
Step‑by‑Step Instructions for No-Bake Protein Balls
Step 1: Combine Ingredients
In a large mixing bowl, combine 1 cup of old-fashioned oats, 1 cup of peanut butter, ½ cup of honey, and 1 teaspoon of vanilla extract. Using a sturdy spatula, stir everything together until the mixture is well combined and sticky. This should take about 2–3 minutes, and you’ll know it’s ready when all the dry oats are coated with the wet ingredients.
Step 2: Fold in Add-Ins
Next, gently fold in ½ cup of chocolate chips and 2 tablespoons of chia seeds into the mixture. Use a spatula to ensure the add-ins are evenly distributed throughout the dough-like consistency. This process should take another 2 minutes, and the mixture should now feel thicker and more compact.
Step 3: Chill Mixture
Once thoroughly mixed, cover the bowl with plastic wrap or a lid and place it in the refrigerator. Allow the mixture to chill for about 30 minutes. Chilling helps the mixture firm up, making it easier to shape into balls later, so keep an eye on the clock until the time is up!
Step 4: Shape Balls
After the mixture has chilled, remove it from the refrigerator. With your hands, scoop out small amounts—about 1 tablespoon each—and roll them into balls approximately 1 inch in diameter. Place each ball on a baking sheet lined with parchment paper. You should end up with about 20–25 protein balls, all perfectly shaped and ready for storage.
Step 5: Store
Finally, transfer the rolled No-Bake Protein Balls to an airtight container and store them in the refrigerator for up to one week. If you want to keep them longer, pop them in the freezer, where they’ll last for up to three months. Make sure to label your container so you can enjoy them whenever the craving strikes!
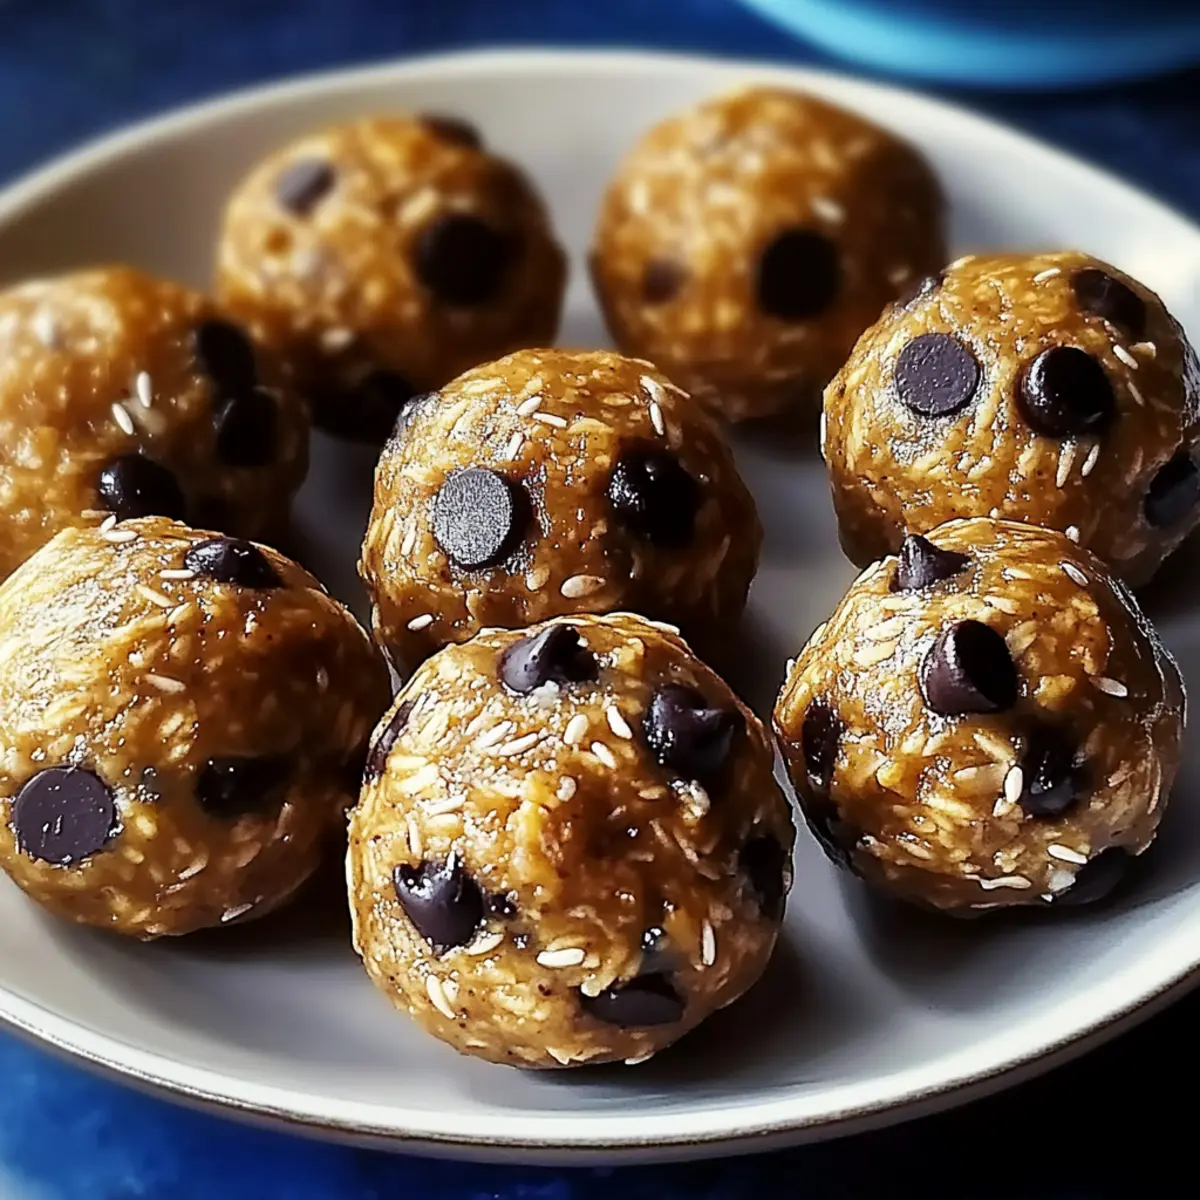
Expert Tips for No-Bake Protein Balls
-
Oat Type Matters: Using old-fashioned oats ensures the perfect chewy texture; quick oats can make your protein balls mushy.
-
Mix-in Variety: Feel free to experiment with different add-ins like chopped nuts, seeds, or dried fruit to enhance flavor and nutritional value.
-
Chill Time is Key: Don’t skip the chilling step! It helps the mixture firm up, making shaping the balls much easier and more manageable.
-
Portion Control: Roll the balls to a uniform size (about 1 inch) for even snacking portions—this helps in keeping your calorie count in check.
-
Storage Secrets: Store your No-Bake Protein Balls in an airtight container to maintain freshness, keeping them refrigerated for up to a week or frozen for three months.
Make Ahead Options
These No-Bake Protein Balls are perfect for meal prep enthusiasts looking to save time during busy weeks! You can mix the base ingredients and refrigerate the mixture for up to 24 hours before shaping the balls. Simply combine 1 cup of old-fashioned oats, 1 cup of peanut butter, ½ cup of honey, and 1 teaspoon of vanilla extract, then store it covered in the fridge to maintain freshness. For the best quality, shape the balls fresh and store them in an airtight container; they’ll stay good in the fridge for up to one week or freeze beautifully for up to three months. When you’re ready to enjoy, simply grab a few from the fridge or freezer, and you’ll have a nutritious snack ready in an instant!
How to Store and Freeze No-Bake Protein Balls
Fridge: Keep your No-Bake Protein Balls in an airtight container in the refrigerator for up to one week. This ensures they remain fresh and perfectly chewy.
Freezer: For longer storage, freeze the protein balls for up to three months. Store them in a freezer-safe container, and layer parchment paper between the balls to prevent sticking.
Thawing: When ready to enjoy, simply transfer the frozen No-Bake Protein Balls to the fridge for a few hours or leave them at room temperature for about 30 minutes before serving.
Room Temperature: If you’re on the go, these protein balls can sit at room temperature for up to two hours—perfect for snacks during outings!
No-Bake Protein Balls Customization
Feel free to get creative with these No-Bake Protein Balls—let your taste buds guide you!
-
Dairy-Free: Substitute honey with maple syrup to make it vegan-friendly. The sweetness remains, and it’s just as delicious!
-
Nut-Free: Swap peanut butter for sunflower seed butter. This keeps the creamy texture while accommodating nut allergies.
-
Low-Sugar: Reduce or eliminate the honey, and add mashed bananas for natural sweetness. You’ll still enjoy a satisfying snack without the extra sugar.
-
Cocoa Boost: Add 2 tablespoons of unsweetened cocoa powder for a chocolatey twist. It pairs perfectly with chocolate chips for chocolate lovers!
-
Fruit-Infused: Mix in dried cranberries or apricots for a natural fruity sweetness. The chewy bites create a delightful contrast to the nutty base.
-
Extra Crunch: Incorporate chopped nuts like walnuts or almonds for added texture and healthy fats. This adds a delightful crunch to each bite.
-
Spiced Up: Add a sprinkle of cinnamon or nutmeg for a warm, cozy flavor. It’s a quick way to elevate the taste profile.
Try these variations and make each batch uniquely yours! For more inspirations, you might enjoy whipping up a batch of Tomato Orzo Meatballs or giving a new spin to your favorites with Greek Chicken Meatballs. Happy snacking!
What to Serve with No-Bake Protein Balls?
Imagine a delightful snack spread that perfectly complements your homemade protein balls—come along as we explore some exciting pairing ideas!
-
Fresh Fruit Platter: A colorful array of berries or apple slices adds a refreshing, juicy contrast to the chewy texture of the protein balls. The sweetness of the fruit elevates your snacking experience.
-
Greek Yogurt Dip: Creamy and rich, a Greek yogurt dip isn’t just delicious; it adds protein and tang that beautifully balances the sweet notes of your No-Bake Protein Balls. Plus, it’s a perfect way to enjoy an extra layer of flavor!
-
Nutty Trail Mix: A crunchy trail mix can enhance your snack time with varied textures and flavors. The combination of nuts and seeds pairs beautifully with the oats in your protein balls, creating harmony in every bite.
-
Veggies and Hummus: For those craving something savory, a fresh vegetable platter dipped in creamy hummus provides a nutritious crunch that complements the sweet and nutty protein balls.
-
Smoothie Bowl: A refreshing smoothie bowl topped with granola and fresh fruit can be a delightful companion to your No-Bake Protein Balls. Blend up your favorites for a refreshing, energizing boost that is visually appealing and nourishing.
-
Herbal Tea: A relaxing cup of herbal tea serves as a warm, soothing contrast to your snacking adventure. Opt for chamomile or peppermint to invigorate your taste buds, creating a cozy atmosphere perfect for enjoying these delightful bites.
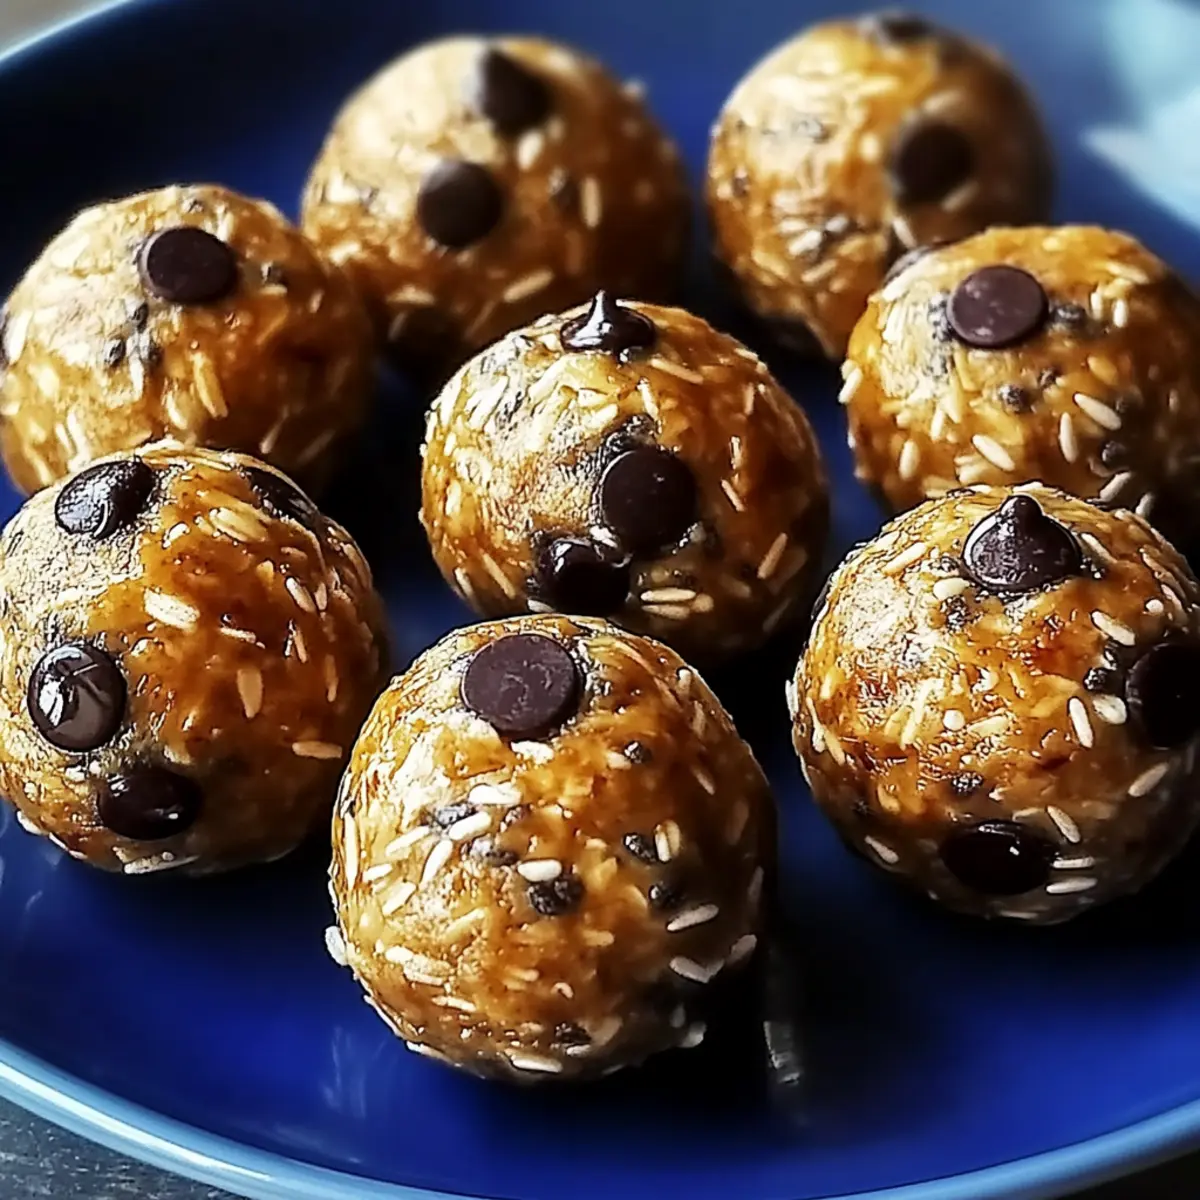
No-Bake Protein Balls Recipe FAQs
How do I know if my ingredients are ripe or fresh?
Absolutely! When selecting old-fashioned oats, look for a clean package without any signs of mold or moisture. For peanut butter, choose one that has a balanced texture—creamy without separation. Honey should be clear and smooth, with no crystallization. If using chocolate chips, make sure they aren’t dull or discolored as this may indicate staleness.
How should I store No-Bake Protein Balls, and how long do they last?
For optimal freshness, store your No-Bake Protein Balls in an airtight container in the refrigerator, where they will stay fresh for up to one week. You can also keep them at room temperature for up to two hours if you’re on the go—just ensure they’re kept in a cool place to maintain texture and flavor.
Can I freeze No-Bake Protein Balls, and what is the best method?
Very! Freezing is a fantastic way to extend the life of your No-Bake Protein Balls. To freeze, simply lay them on a baking sheet in a single layer and pop the sheet into the freezer for about 1-2 hours until firm. Once frozen, transfer them to a freezer-safe container, adding parchment paper between layers to prevent sticking. They can be frozen for up to three months!
What should I do if my protein balls are too crumbly?
If your mixture turns out crumbly, don’t worry! Just add a little more peanut butter or honey—start with a tablespoon at a time. Mix thoroughly until the ingredients bind together better. You can also try compressing the mixture harder when rolling into balls to create a tighter consistency.
Are No-Bake Protein Balls safe for people with allergies?
Absolutely! These protein balls can be easily customized to accommodate various dietary needs. For those with nut allergies, swap peanut butter for sunflower butter. To keep them vegan-friendly, make sure to use maple syrup instead of honey. Always check the labels for allergens in chocolate chips or any add-ins you choose!
Can my pet enjoy No-Bake Protein Balls?
It’s best to steer away from sharing No-Bake Protein Balls with your furry friends. The ingredients, such as chocolate and honey, can be harmful to pets. If you want to include them in your culinary adventures, make a special pet-friendly treat with oats and pumpkin puree instead!
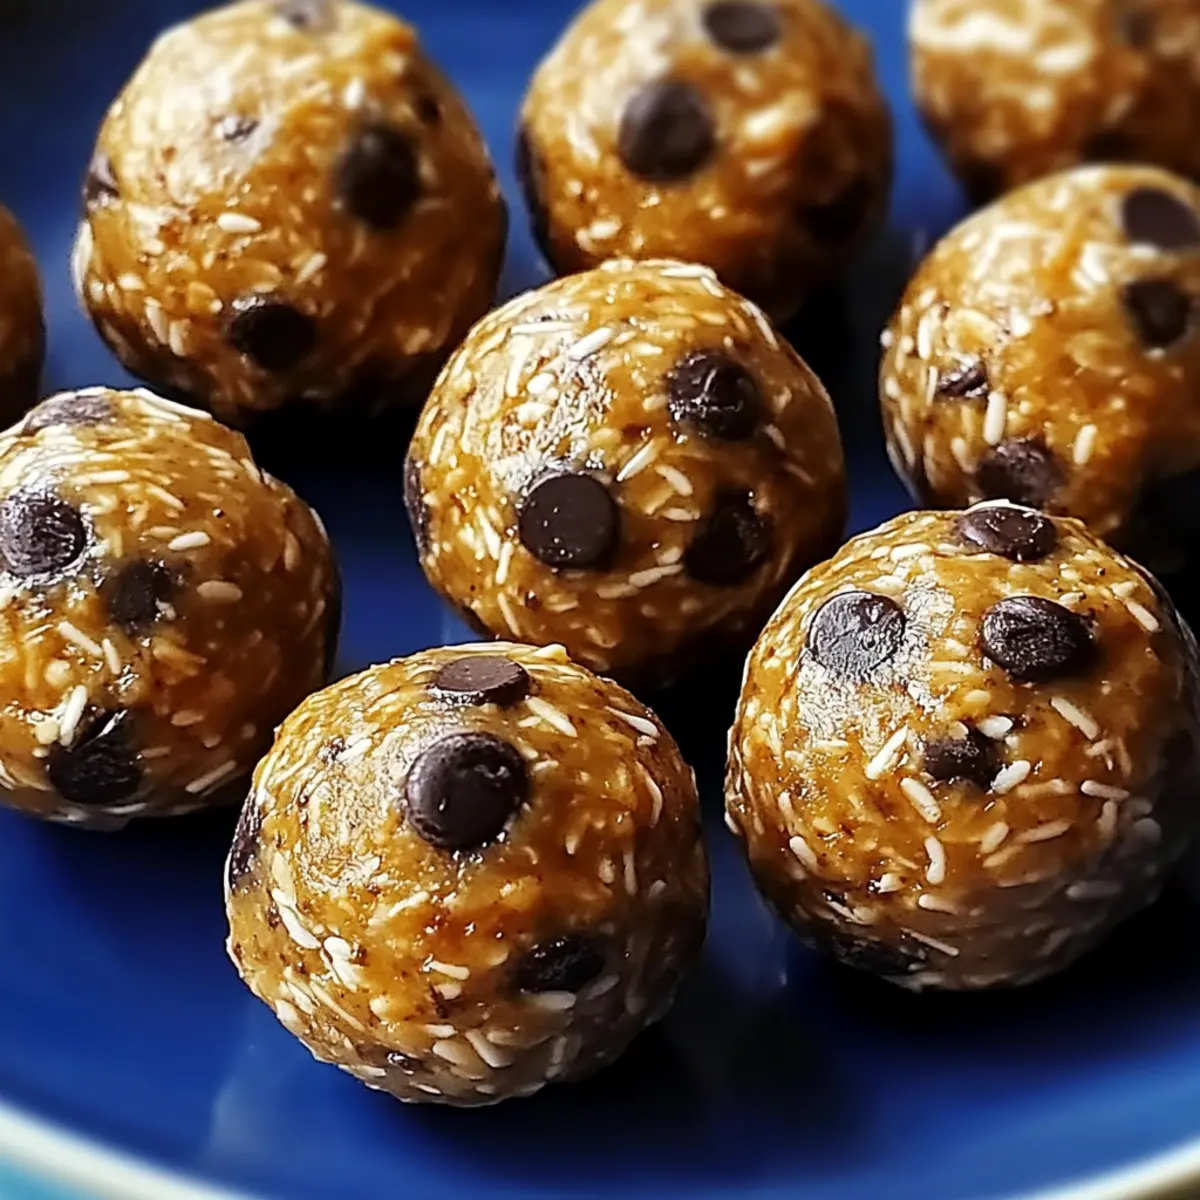
No-Bake Protein Balls for Guilt-Free Snacking Delight
Ingredients
Equipment
Method
- In a large mixing bowl, combine the old-fashioned oats, peanut butter, honey, and vanilla extract. Stir until well combined and sticky, about 2–3 minutes.
- Gently fold in the chocolate chips and chia seeds until evenly distributed, which should take about 2 minutes.
- Cover the bowl and chill the mixture in the refrigerator for about 30 minutes.
- After chilling, scoop out small amounts (about 1 tablespoon each) and roll them into balls approximately 1 inch in diameter. Place each ball on a baking sheet lined with parchment paper.
- Transfer the rolled protein balls to an airtight container and store in the refrigerator for up to one week, or freeze for up to three months.
Leave a Reply