
As I stood in my kitchen, the summer sun streaming through the windows, I realized the perfect dessert was just a few simple ingredients away. This No-Bake Pineapple Cheesecake has become my go-to recipe for those warm days when you want something light yet indulgent. The creamy, dreamy filling, a delightful blend of rich cream cheese and luscious crushed pineapple, is whipped together with airy whipped topping, creating an irresistible treat that practically melts in your mouth. Plus, it’s a breeze to make—no baking required! Whether you’re hosting a picnic or looking for a kid-friendly option, this easy dessert is sure to impress. Ready to dive into tropical bliss with each creamy slice? Let’s get started!
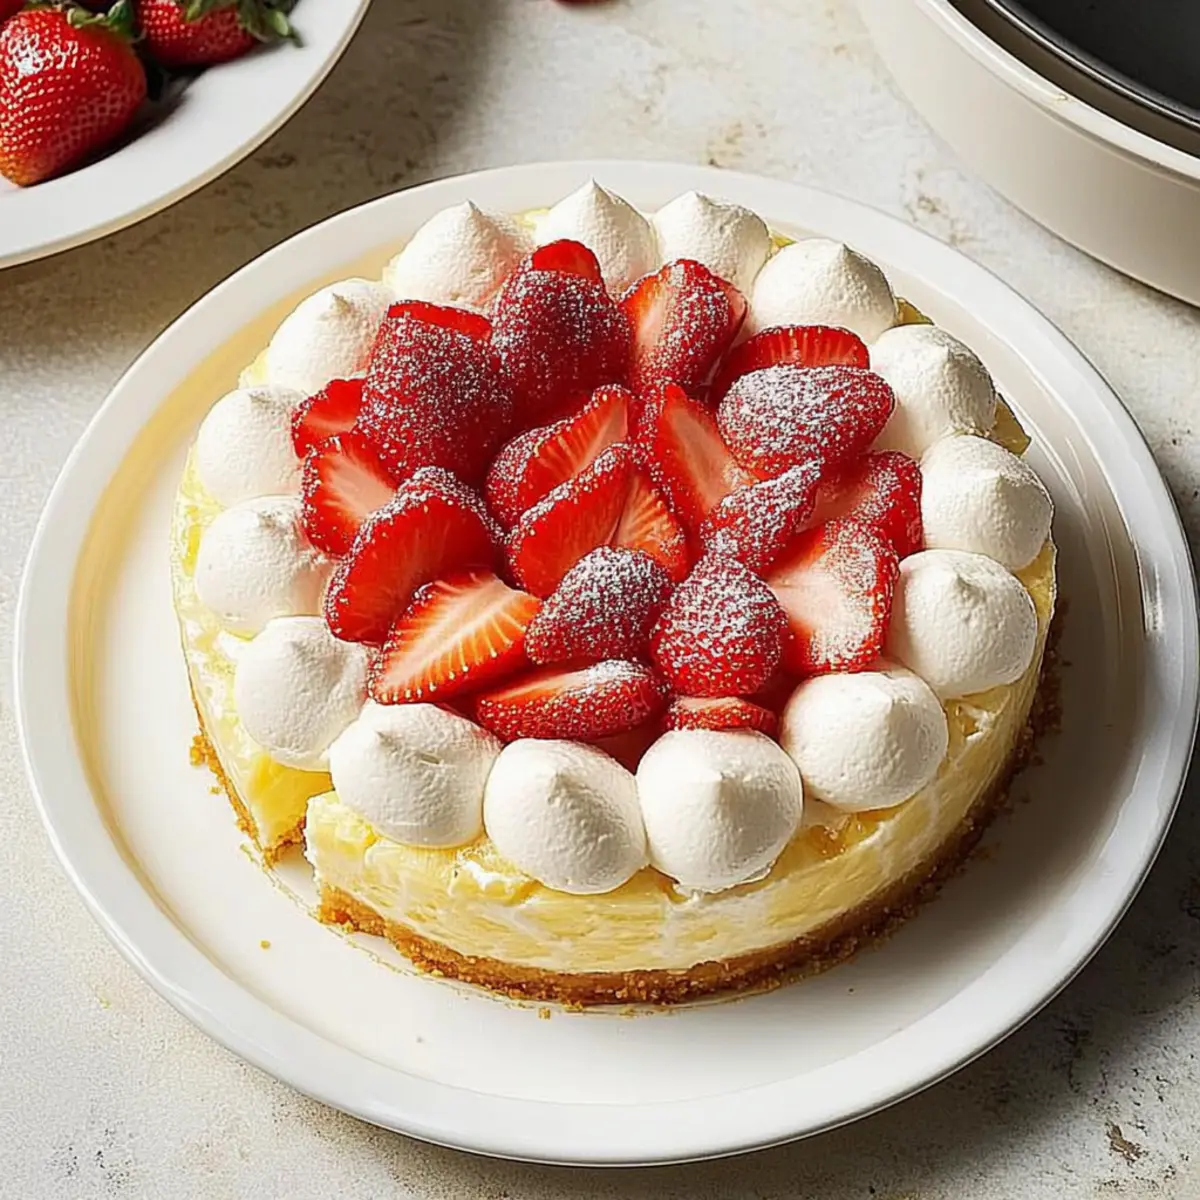
Why is No-Bake Pineapple Cheesecake a Must-Try?
Simplicity at Its Best: With no baking required, this recipe is perfect for beginner chefs or anyone short on time.
Refreshing Tropical Flavor: The burst of pineapple flavor combined with creamy cheese creates a delightful summer treat.
Kid-Friendly Fun: Kids love the sweet taste and creamy texture, plus it’s easy for them to help out in the kitchen!
Versatile Options: Feel free to customize with your choice of toppings or alternative fruits like mango, as you would in my Brown Sugar Pineapple recipe!
Make-Ahead Delight: Prepare it the night before for a hassle-free treat at your next gathering—you’ll be the star of the show!
Pineapple Cheesecake Ingredients
• Whip up this easy, no-bake pineapple cheesecake in no time!
For the Filling
- Cream Cheese – Provides a rich and creamy base for the cheesecake filling; full-fat yields the best results.
- Sugar – Sweetens the cheesecake; adjust to taste if adding sweeter toppings.
- Crushed Pineapple – Adds sweet, fruity flavor; canned is convenient, but fresh works well—just pulse for a similar texture.
- Frozen Whipped Topping (Cool Whip) – Lightens the filling and gives airiness; substitute with homemade whipped cream if desired for a richer taste, but this may alter the texture.
For the Crust
- Ladyfingers – Creates the crust and sides of the cheesecake; graham cracker crust or nut-based options can be used as alternatives.
For Garnish
- Fresh Strawberries – Offers a bright burst of freshness on top; feel free to swap for mango or kiwi for a tropical twist.
Embrace the joy of making this delightful pineapple cheesecake—a treat that you and your loved ones will adore!
Step‑by‑Step Instructions for No-Bake Pineapple Cheesecake
Step 1: Beat the Cream Cheese
In a large mixing bowl, beat 16 ounces of softened cream cheese with ¾ cup of sugar using a hand mixer or stand mixer on medium speed until the mixture is smooth and creamy—about 2 minutes. Scrape down the sides to ensure everything is well combined; this step is crucial for a silky Pineapple Cheesecake filling!
Step 2: Mix in Crushed Pineapple
Add in one can (about 20 ounces) of drained crushed pineapple to the smooth cream cheese mixture. Gently fold it together using a spatula until the pineapple is fully combined and evenly distributed throughout the filling. This adds a refreshing tropical flavor to your no-bake cheesecake, making it irresistibly delicious.
Step 3: Fold in Whipped Topping
Next, carefully fold in 8 ounces of thawed frozen whipped topping until there are no streaks of white. Use a gentle hand, as you want to maintain the lightness of the mixture that makes the Pineapple Cheesecake airy and fluffy. This will take about 1-2 minutes to achieve a smooth consistency.
Step 4: Prepare the Crust
Take a 9-inch springform pan and lightly grease it with cooking spray or butter for easy removal. Arrange ladyfingers around the sides and base, pressing them slightly into the bottom to create a snug fit. This forms the sturdy yet tender crust that complements the creamy filling beautifully.
Step 5: Pour and Smooth the Filling
Pour the luscious filling into the prepared crust, gently smoothing the top with a spatula. Ensure the filling is level for an even presentation once set. This step is essential for your Pineapple Cheesecake to look as tempting as it tastes!
Step 6: Chill the Cheesecake
Cover the springform pan tightly with plastic wrap and refrigerate for at least 8 hours, or preferably overnight. This chilling time allows the flavors to meld and the filling to set, resulting in a creamy and delectable texture that’s reminiscent of a mousse.
Step 7: Garnish and Serve
When ready to serve, carefully release the sides of the springform pan. Slice fresh strawberries and arrange them on top of the cheesecake for a pop of color and flavor. Each slice of your No-Bake Pineapple Cheesecake is now ready to be enjoyed as a refreshing summer treat!
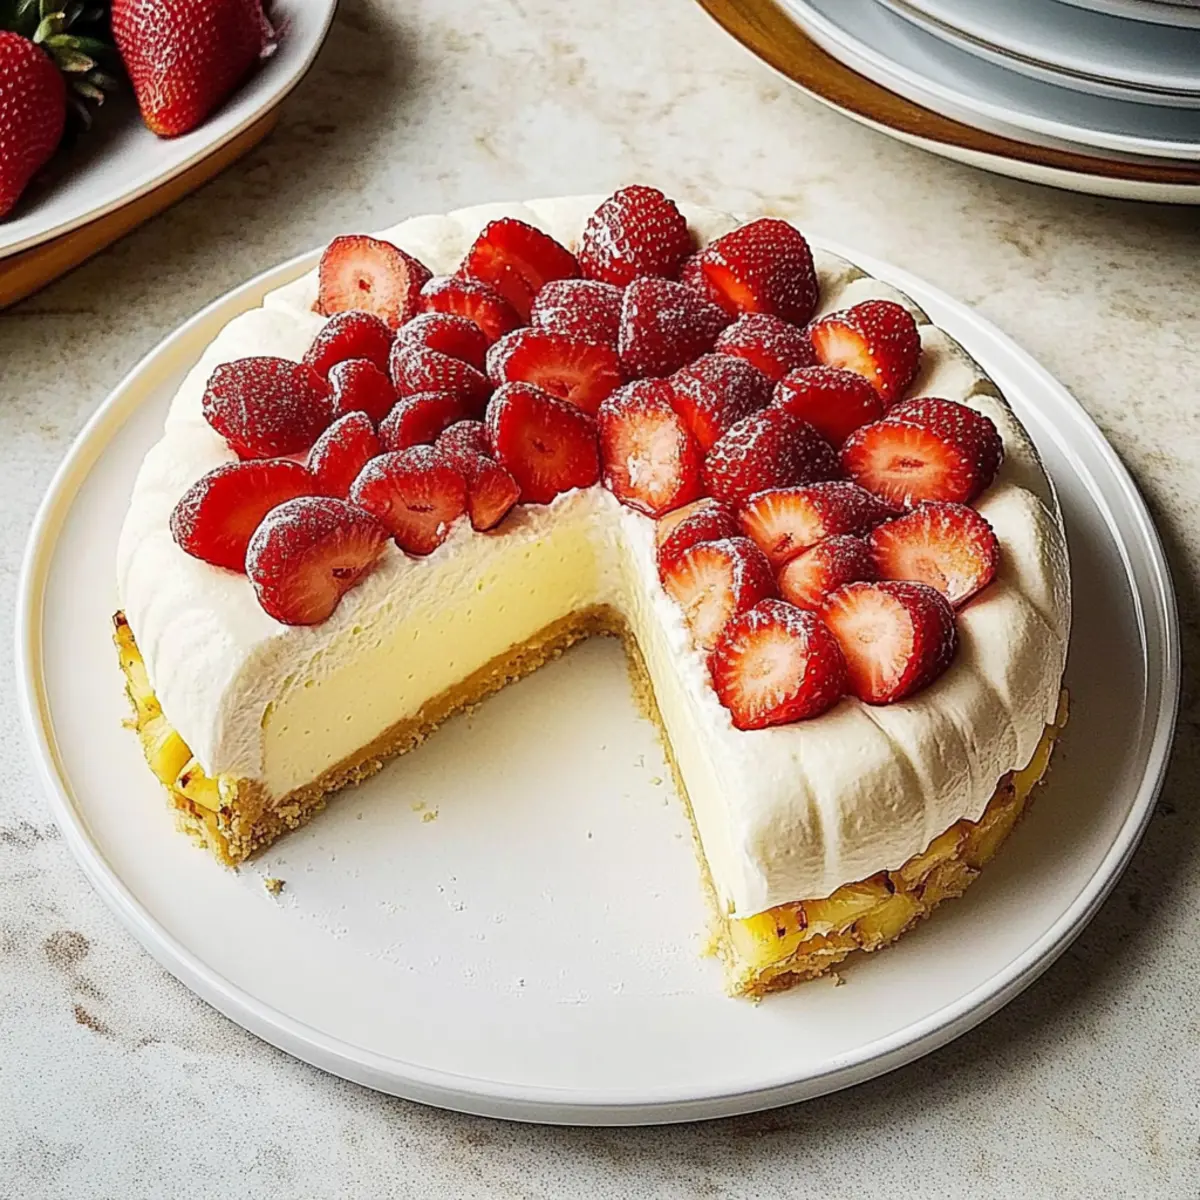
Pineapple Cheesecake Variations
Feel free to explore and customize this delightful No-Bake Pineapple Cheesecake to suit your tastes and dietary needs!
-
Tropical Twist: Add coconut flakes or lime zest for a burst of flavor that channels a true tropical paradise.
-
Fruit Swap: Substitute crushed pineapple with other fruits, like strawberry or mango, for a refreshing twist that keeps things interesting.
-
Nutty Crust: Use a nut-based crust instead of ladyfingers to enhance the texture and flavor, making the cheesecake even more wholesome.
-
Gelatin Layer: For a firmer texture, incorporate a gelatin mixture into the filling, giving it a unique layer that adds depth to your cheesecake.
-
Dairy-Free Option: Replace cream cheese with dairy-free cream cheese and use coconut whipped cream for a delightful vegan-friendly cheesecake.
-
Chocolate Drizzle: Elevate your dessert by adding a chocolate ganache drizzle on top before serving; nothing beats chocolate and pineapple together!
-
Spicy Kick: For those who enjoy a little heat, add a pinch of cayenne pepper to the filling for a surprising and playful twist.
-
Cheesecake Parfaits: Layer your cheesecake filling in cups with crushed ladyfingers and fresh fruit for a fun and portable treat perfect for picnics!
As you embark on this delicious journey, remember that each variation enhances the joy of flavor, much like the delightful layers found in my Velvet Oreo Cheesecake recipe! Enjoy experimenting and creating your unique masterpiece.
Make Ahead Options
These No-Bake Pineapple Cheesecakes are perfect for meal prep, making them a lifesaver for busy weeknights! You can prepare the entire cheesecake up to 24 hours in advance: simply complete steps one through six, then cover and refrigerate. This allows the flavors to meld beautifully while ensuring the filling sets to a creamy, luxurious texture. To maintain quality, ensure you tightly cover the springform pan with plastic wrap to prevent any drying out or odor absorption. When ready to serve, simply garnish with fresh strawberries and slice. You’ll have a delightful, indulgent treat ready to impress your family or guests!
How to Store and Freeze Pineapple Cheesecake
Fridge: Store the pineapple cheesecake covered in plastic wrap in the refrigerator for up to 1 week. This keeps the filling fresh and creamy while preventing it from drying out.
Freezer: For longer storage, freeze the cheesecake tightly wrapped in plastic wrap and then aluminum foil for up to 2-3 months. Be sure to label it for easy identification.
Thawing: To enjoy your frozen pineapple cheesecake, transfer it to the fridge for 4-6 hours beforehand, allowing it to thaw slowly while retaining its delightful texture.
Reheating: There’s no need to heat this no-bake cheesecake, just slice and serve it chilled—perfect for those warm summer days!
Expert Tips for Pineapple Cheesecake
• Smoother Texture: Use a hand mixer or stand mixer with a paddle attachment to ensure your filling is perfectly smooth.
• Drain Well: Make sure to drain the crushed pineapple thoroughly to avoid excess moisture, which can lead to a runny cheesecake.
• Tightly Wrap: Cover the cheesecake with plastic wrap while refrigerating to help it maintain its moistness and prevent air exposure.
• Whip It Right: If using homemade whipped cream, whip until stiff peaks form; this will keep your Pineapple Cheesecake light and airy.
• Chill Long Enough: Allow the cheesecake to chill for at least 8 hours, preferably overnight, for optimum flavor and texture.
• Creative Variations: Experiment with different fruits for a unique twist—try strawberries, mangoes, or even a hint of coconut for added tropical flair!
What to Serve with No-Bake Pineapple Cheesecake
Elevate your dessert experience with delightful pairings that complement the tropical flavors of this creamy treat.
- Creamy Coconut Rice: Offers a subtle sweetness and creamy texture that echoes the cheesecake’s richness.
- Fresh Fruit Salad: A colorful medley of seasonal fruits brightens the plate and adds a refreshing crunch.
- Toasted Almonds: Their nutty flavor and crunchy texture create a lovely contrast to the creamy cheesecake.
- Chocolate Drizzle: A warm chocolate sauce adds an indulgent touch, enhancing the flavors of pineapple and cream cheese.
- Lemonade: The tartness of lemonade balances the sweetness, making it a perfect thirst-quencher for summer gatherings.
- Mint-Infused Iced Tea: Cool, refreshing, and aromatic, this drink enhances the tropical vibe of your cheesecake.
- Coconut Whipped Cream: Add an enticing, creamy topping that ties beautifully with the pineapple flavor—make it from scratch for a personal touch!
- Grilled Pineapple Slices: Intensify the tropical experience with lightly charred pineapple for a delicious and unexpected twist.
- Strawberry Shortcake: A classic dessert that pairs well with the cheesecake’s flavors, perfect for those who love layered sweetness.
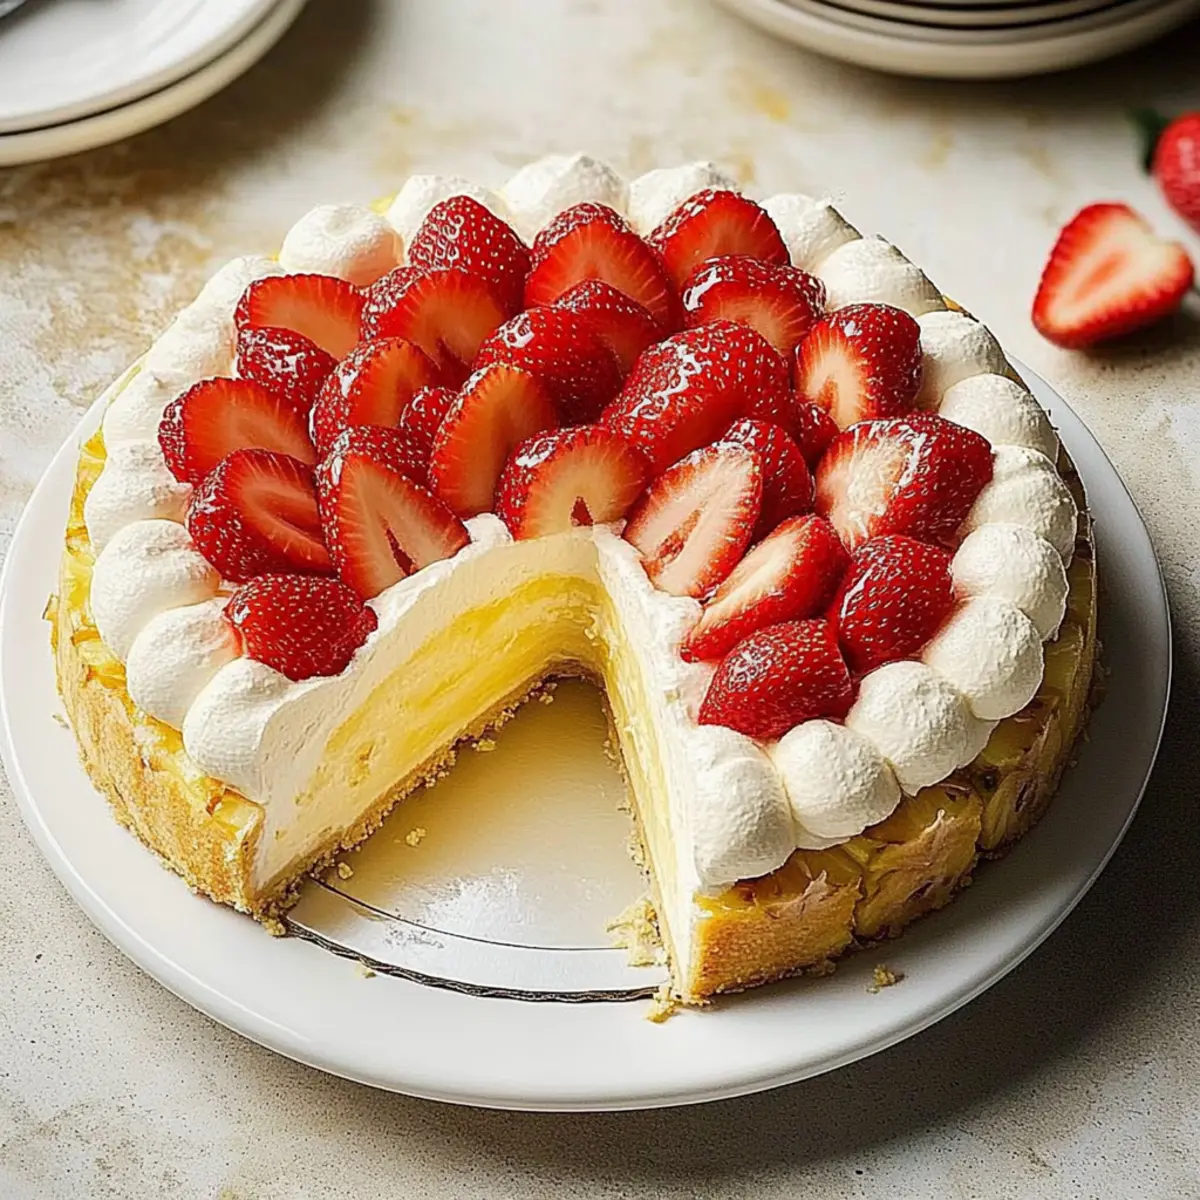
No-Bake Pineapple Cheesecake Recipe FAQs
What type of pineapple is best for this recipe?
Absolutely! For the best flavor in your No-Bake Pineapple Cheesecake, I recommend using canned crushed pineapple. Just make sure to drain it well to avoid excess moisture, which can affect the texture. If you prefer fresh, you can pulse it in a blender to mimic the texture of crushed canned pineapple.
How should I store the cheesecake?
You can store your pineapple cheesecake covered in plastic wrap in the refrigerator for up to 1 week. This keeps every slice fresh and creamy, just as it was on day one. For longer preservation, tightly wrap it in plastic and then aluminum foil to freeze it for up to 2-3 months.
Can I freeze this cheesecake? If so, how?
Yes, you can! To freeze your No-Bake Pineapple Cheesecake, first, wrap it tightly in plastic wrap, ensuring it’s sealed well to prevent freezer burn. Then, wrap it in aluminum foil for extra protection. For best results, freeze it for no longer than 2-3 months. To enjoy, just transfer it to the refrigerator and let it thaw for 4-6 hours, overnight for better flavor and texture.
What if my cheesecake filling is too runny?
Very! If your filling turns out runny, it might be due to excess moisture from the crushed pineapple or under-whipping the whipped topping. To fix this, ensure that your pineapple is completely drained before mixing. Additionally, if you’re using homemade whipped cream, whip it until stiff peaks form to add more structure to the filling. If it’s already mixed, you could try incorporating a bit of gelatin dissolved in hot water as directed on the package to help set it.
Is this cheesecake suitable for those with allergies?
Of course! If you’re catering to someone with dietary restrictions, keep in mind that this recipe contains dairy ingredients, including cream cheese and whipped cream. You can substitute dairy-free cream cheese and coconut whipped topping for a delicious non-dairy alternative. Always double-check packaging for potential allergens, especially if serving others.
How long does it take for the cheesecake to set?
The waiting game is worthwhile! It’s crucial to refrigerate your No-Bake Pineapple Cheesecake for at least 8 hours, preferably overnight. This time allows the flavors to meld beautifully while the filling sets, ensuring every slice has that perfect balance of creaminess and freshness, just like summer in every bite!
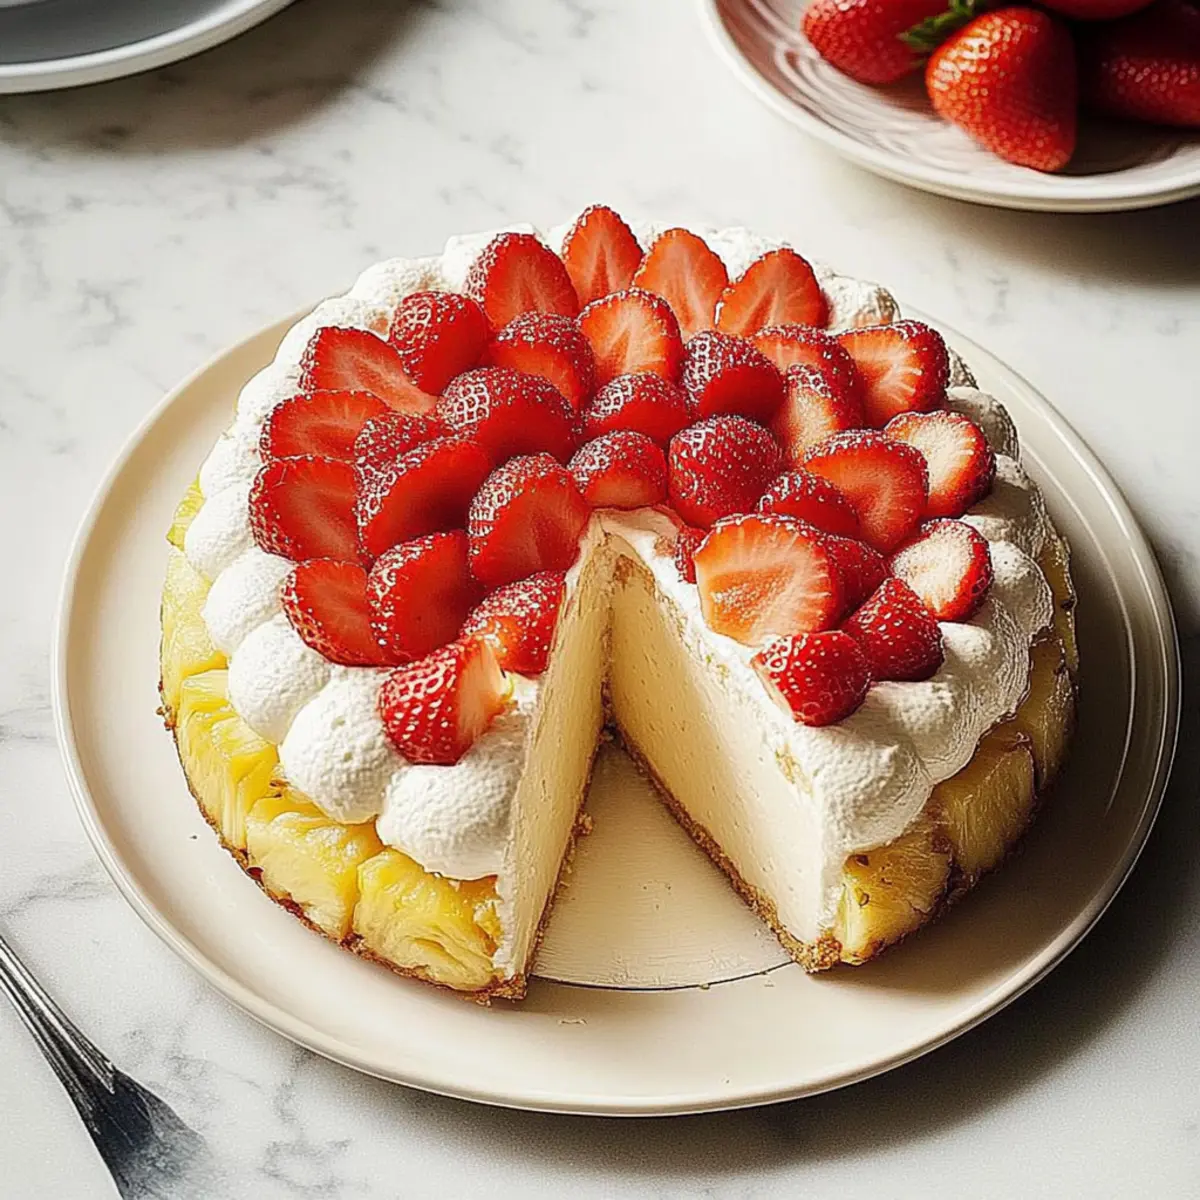
Delightful Pineapple Cheesecake That Melts in Your Mouth
Ingredients
Equipment
Method
- In a large mixing bowl, beat cream cheese with sugar until smooth and creamy—about 2 minutes.
- Fold in crushed pineapple until fully combined.
- Gently fold in whipped topping until no streaks remain.
- Lightly grease a 9-inch springform pan. Arrange ladyfingers around the sides and base.
- Pour filling into the prepared crust and smooth the top.
- Cover with plastic wrap and refrigerate for at least 8 hours, or overnight.
- Release the sides of the springform pan. Garnish with fresh strawberries and serve.
Leave a Reply