
As I stood in my kitchen, the aroma of simmering apples and warm spices swirled around me—a sensory reminder that fall is here. This Easy Crockpot Apple Butter with No Peeling Required is not just a recipe; it’s an invitation to bring the cozy essence of autumn into your home. With minimal prep time and the convenience of your slow cooker, you can create this smooth and velvety spread that’s perfect for everything from homemade biscuits to cheese boards. Plus, with simple canning techniques, you can enjoy this delightful treat long after the leaves have fallen. Just think—golden jars of apple butter lining your pantry shelves, ready to share joy, warmth, and a touch of nostalgia. Are you ready to transform your apples into a delectable preserve? Let’s get started!
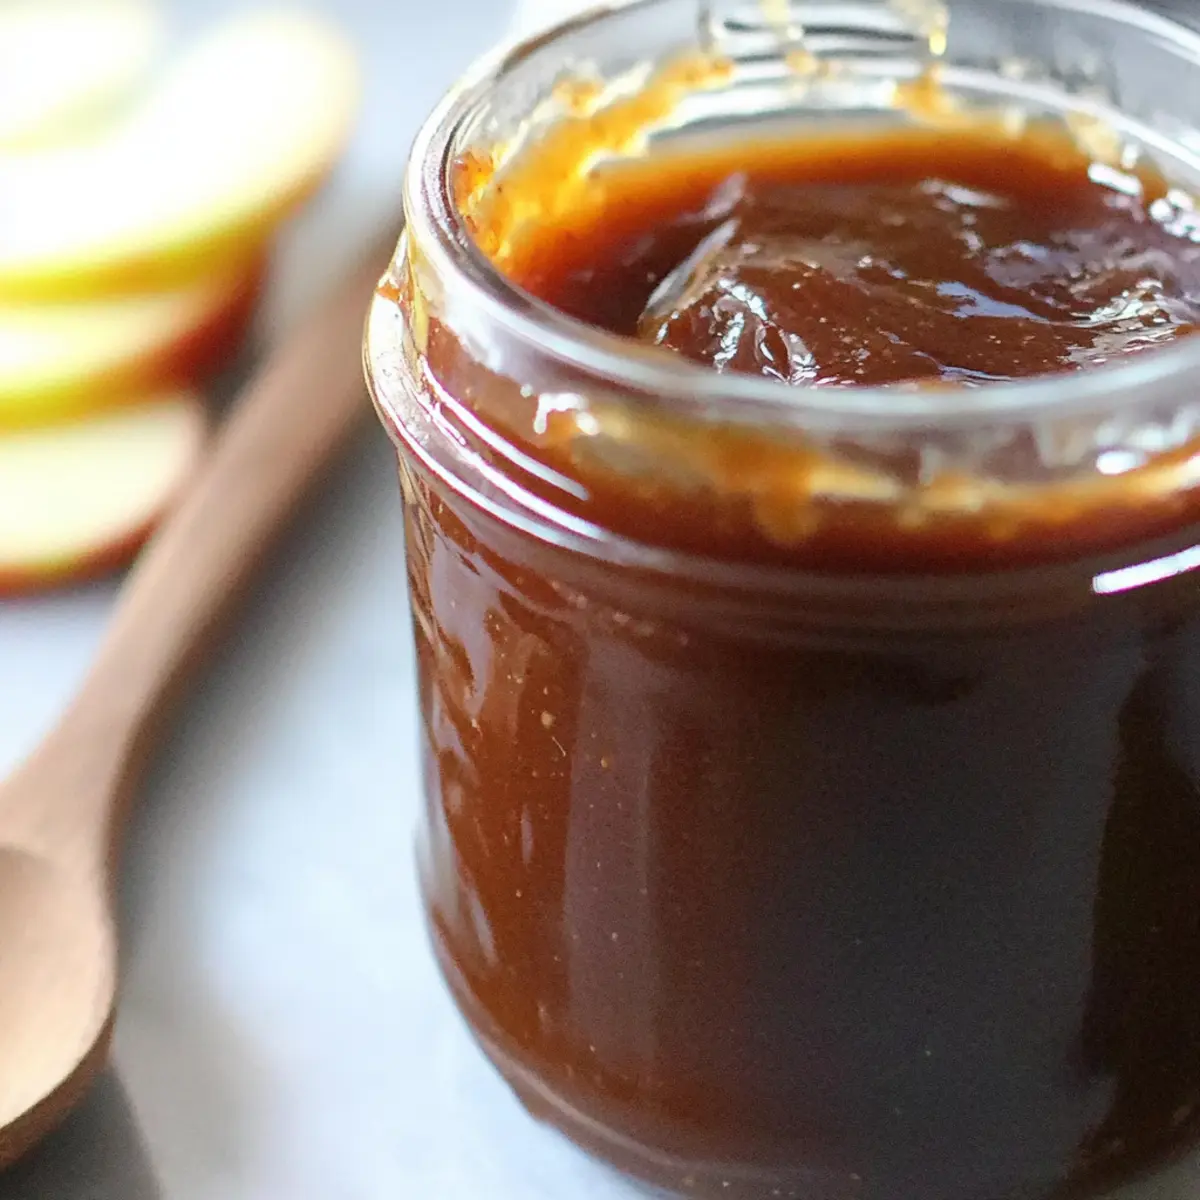
Why Is Homemade Apple Butter a Must-Try?
Flavor Explosion: This apple butter is a delightful marriage of sweet and spice, making every bite a burst of autumn comfort.
Effortless Preparation: With no peeling required, this recipe is as easy as it gets—perfect for busy days or new cooks!
Versatile Uses: Spread it on toast, pancakes, or pair it with cheese for an elegant snack, showcasing its crowd-pleasing versatility.
Preservation Power: Thanks to simple canning techniques, you can whip up multiple jars and enjoy this seasonal treat year-round.
Time-Saver: Let your slow cooker do the work while you focus on your day, turning a few simple ingredients into a rich, homemade treasure.
Ready to enjoy the delight of this homemade apple butter? Don’t forget to check out how it pairs beautifully with homemade breads or even pancakes!
Apple Butter Ingredients
• Dive into the flavors of homemade apple butter with these essential ingredients below!
For the Apple Base
• Apples (4-5 pounds, various varieties) – Using different apple types enhances the flavor and natural sweetness for your apple butter.
For Sweetness
• Sugar (4 cups) – This provides the necessary sweetness and aids in preservation; feel free to adjust based on your taste preference.
For Optional Spices
• Ground Ginger (1/2 tsp, optional) – Adds a warm and spicy complexity to the flavor profile.
• Ground Cinnamon (1 tsp, optional) – Infuses a classic fall aroma into your apple butter.
• Ground Cloves (1/4 tsp, optional) – Enhances the overall depth of flavor.
• Ground Allspice (1/8 tsp, optional) – Offers a sweet, woody undertone to complement the apples.
• Ground Nutmeg (1/8 tsp, optional) – Delivers a hint of nutty sweetness to the mix.
For Balance
• Pinch of Salt (optional) – Helps to balance the sweetness and elevates the overall flavor of the apple butter.
Get ready to create a delicious batch of apple butter that’s destined to be a fall favorite!
Step‑by‑Step Instructions for Easy Crockpot Apple Butter
Step 1: Prepare Apples
Start by washing your apples under cold water. Core and thinly slice the apples into wedges—peeling is optional, as the skin will break down during cooking. Aim for a mixture of apple varieties to enhance the flavor. This initial step sets the stage for the rich flavor of your apple butter.
Step 2: Combine Ingredients
In your crockpot, layer the sliced apples, sugar, and any desired spices such as ground cinnamon or ginger. Stir well to ensure the apples are evenly coated in the sugar and spices, which will bring out their natural sweetness. Switch on the crockpot to prepare for simmering, allowing all the flavors to meld beautifully.
Step 3: Cook the Mixture
Cover the crockpot with its lid, and set it to low. Let the mixture cook for 8–12 hours; overnight is often the best option for deep flavors. As the apples soften and break down, stir occasionally if you can. The apple butter will gradually transform into a thick, aromatic spread with a deep, caramel color.
Step 4: Blend Until Smooth
Once cooked, remove the lid and use an immersion blender to purée the mixture until smooth or transfer it carefully to a regular blender. Blend until you reach your desired consistency; the apple butter should be velvety and luxurious. Adjust the sweetness or spices according to your taste at this stage.
Step 5: Storage Options
After blending, allow the apple butter to cool slightly before transferring it to airtight containers. Store in the refrigerator for up to two weeks or proceed with canning using water bath techniques for long-term storage. Properly canned apple butter can last from 5 to 10 years, bringing seasonal warmth to your pantry!
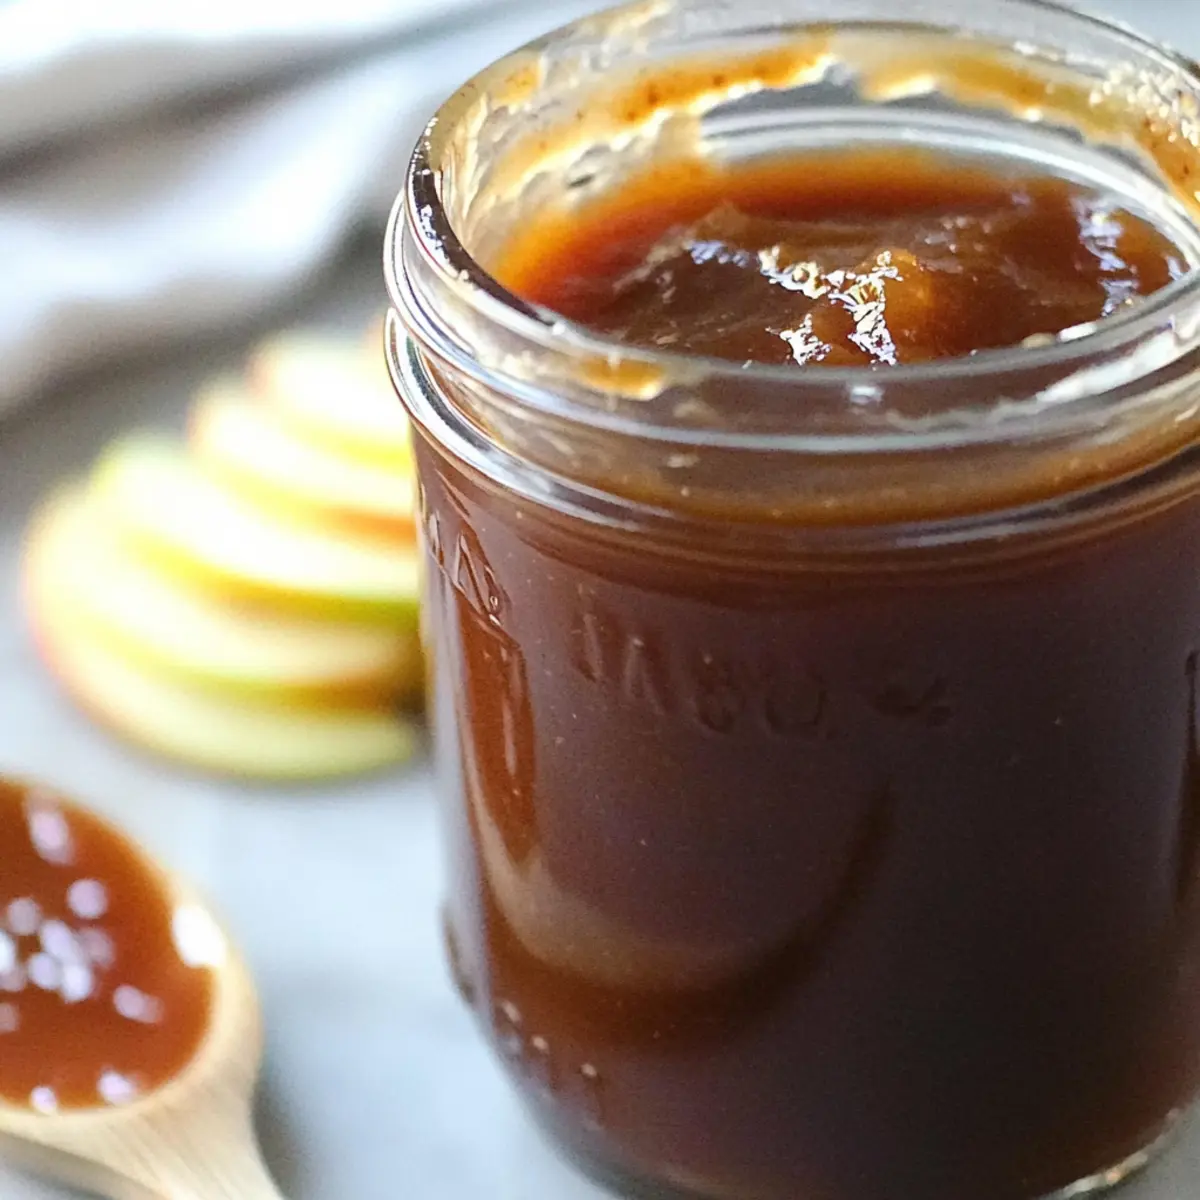
Expert Tips for the Best Apple Butter
• Apple Variety Matters: Choose a blend of at least three apple types for the best flavor complexity—this enhances your homemade apple butter.
• Monitor Cooking Time: Cooking for too long can lead to overly thick apple butter. Aim for 8-12 hours, depending on your desired consistency.
• Tweak Sweetness: Don’t hesitate to adjust sugar levels; taste as you blend and make it your own. Too much sugar can overshadow the apple’s natural flavor.
• Spice It Up Wisely: Start with smaller amounts of optional spices, then adjust according to your preference. It’s easy to add more but hard to fix an overpowering flavor.
• Canning Practice: If canning, always check that your jars and lids are clean, and remember to allow jars to cool completely before storing to ensure a proper seal.
What to Serve with Easy Crockpot Apple Butter
As the sweet scent of apple butter wafts through your home, it’s time to complement this seasonal delight with perfect pairings that enhance its rich flavor.
-
Homemade Biscuits: Fluffy, buttery biscuits provide a delightful canvas for apple butter, creating a warm and cozy breakfast experience.
-
Fresh Toast: Toasted bread adds a crisp texture, allowing the apple butter to melt into every crevice, bringing sweetness to your morning routine.
-
Savory Cheese Platter: Pair with sharp cheddar or creamy brie; the contrasting flavors create a gourmet treat that impresses at any gathering.
-
Pancakes or Waffles: Drizzle warm apple butter over these brunch favorites for an elevated treat that screams autumn indulgence.
-
Yogurt Parfaits: Layer apple butter with creamy yogurt and granola, offering a satisfying texture and balance of flavors for a wholesome snack.
-
Spiced Tea or Cider: Enjoy with a mug of spiced tea or warm apple cider to enhance the cozy vibe with comforting seasonal notes.
Each pairing brings out the versatile charm of apple butter, making your meals even more delightful!
Make Ahead Options
Preparing this easy Crockpot Apple Butter in advance is a fantastic time-saver for busy home cooks! You can wash, core, and slice the apples up to 24 hours ahead, keeping them fresh by storing in an airtight container with a splash of lemon juice to prevent browning. The sugar and spices can also be mixed together and stored in a separate container for added convenience. When you’re ready to make the apple butter, simply combine the prepped apples with the sugar mixture in the crockpot and cook as directed. This way, you’ll enjoy the cozy flavors of homemade apple butter with minimal effort and just as delicious results!
How to Store and Freeze Apple Butter
Fridge: Store in an airtight container for up to 2 weeks. This keeps your homemade apple butter fresh and flavorful, ready for your next breakfast spread.
Freezer: Pour the apple butter into freezer-safe containers, leaving space for expansion. It can be stored in the freezer for up to a year, preserving that delightful autumn taste.
Canning: Properly canned apple butter can last from 5 to 10 years when sealed tightly and stored in a cool, dark place. Follow safe canning practices to ensure longevity.
Reheating: When you’re ready to enjoy that homemade apple butter, simply thaw in the fridge overnight or gently heat it on the stove until warm.
Variations for Homemade Apple Butter
Feel free to get creative with your apple butter and add personal touches that suit your taste buds!
-
Honey Sweetened: Replace sugar with 3 cups of honey for a natural sweetness that pairs beautifully with spicy notes.
Let it simmer low, and the honey will infuse without overpowering the apple flavor. -
Spice Rack Surprise: Enhance your apple butter with a pinch of cardamom or a splash of vanilla extract for a delightful twist.
These warm spices elevate the entire experience and add an exciting dimension to the classic recipe. -
Sour Apple Boost: Use Granny Smith apples exclusively for a tart and tangy apple butter that contrasts nicely with the sweet spices.
This variation is perfect for those who enjoy a bit of zest in their preserves! -
Chai Apple Butter: Add a teaspoon of chai spice blend instead of traditional spices for an exotic flavor profile perfect for cozy mornings.
Imagine spreading this on your toast while enjoying a cup of tea—pure comfort! -
Nutty Flavor: Stir in 1/4 cup of finely chopped pecans or walnuts after blending for added texture and flavor.
This will give your apple butter a delightful crunch that truly sets it apart. -
Smoky Surprise: Incorporate a dash of smoked paprika to introduce a unique smoky flavor that enhances the sweetness of the apples.
This unexpected twist will surprise and delight your taste buds! -
Hot & Spicy: Add a pinch of cayenne pepper or crushed red pepper flakes for those who like a kick in their preserves.
The heat beautifully contrasts the sweetness, creating a complex flavor that keeps you coming back for more.
For serving suggestions, think homemade breads, pancakes, or even as a delightful accompaniment to your next cheese board. You might also enjoy how it pairs with Apple Snickerdoodles for a sweet treat or drizzled over Brown Butter Biscoff Blondies for a decadent dessert!
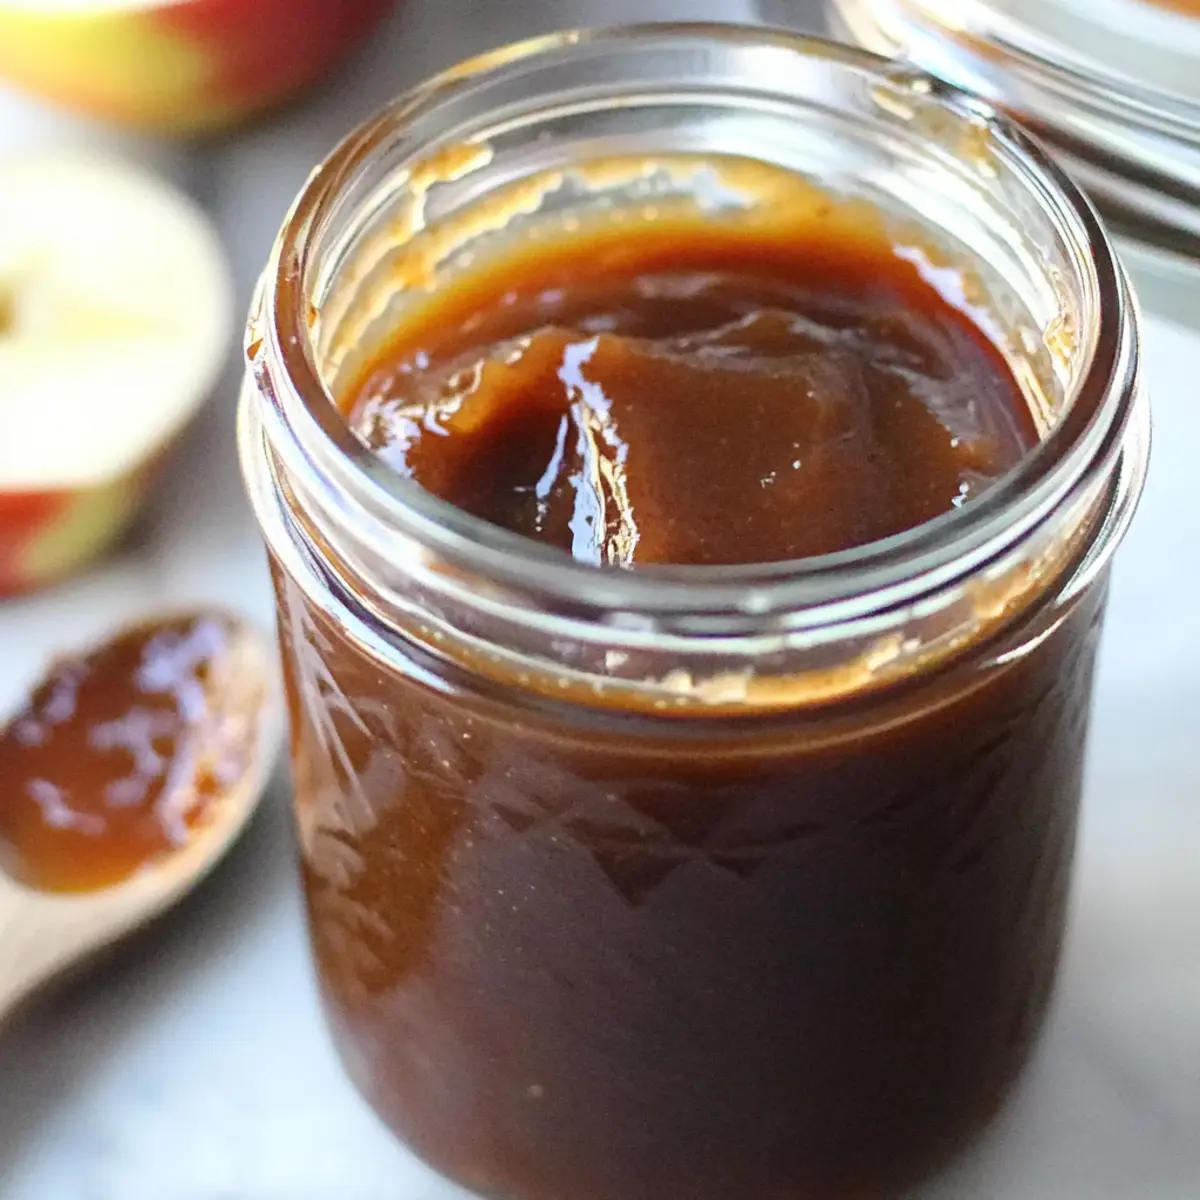
Crockpot Apple Butter Recipe FAQs
What type of apples should I use for apple butter?
Absolutely! I recommend using a combination of different apple varieties, such as Granny Smith, Fuji, and Honeycrisp. This mix not only provides a deep, rich flavor but also a wonderful balance of sweetness and tartness. The more types you use, the more complex and delightful your apple butter will be!
How long does homemade apple butter last in the fridge?
Homemade apple butter can be stored in an airtight container in the refrigerator for up to 2 weeks. Make sure the container is sealed tightly to keep the flavors fresh and glorious until you’re ready to enjoy more of that delicious spread.
Can I freeze apple butter?
Very! To freeze apple butter, pour it into freezer-safe containers, leaving about an inch of space for expansion. It can be stored in the freezer for up to a year. When you’re ready to enjoy it, just thaw it in the fridge overnight or gently heat it on the stove until warm.
What should I do if my apple butter is too thick?
If your apple butter turns out thicker than you’d like, no worries! You can add a little bit of water or apple juice to the mixture and stir it well over low heat until it reaches your desired consistency. If you’re cooking it in the crockpot, just let it cook for a shorter time next time to prevent it from thickening too much!
Is apple butter safe for pets?
While apple butter contains apples, it usually has added sugar and spices that aren’t ideal for pets. It’s best to avoid giving it to them, especially due to ingredients like cloves and nutmeg, which can cause issues. Always consult your vet before introducing new foods to your pet’s diet!
How do I properly can apple butter?
Canning apple butter is a great way to enjoy it year-round! Start by sterilizing your jars and lids in boiling water. Fill the jars with the hot apple butter, leaving about 1/2 inch of headspace. Wipe the rims clean, place the lids on, and process them in a hot water bath for 10-15 minutes. Ensure the jars seal properly as they cool, and you can store them in a cool, dark place for 5 to 10 years!
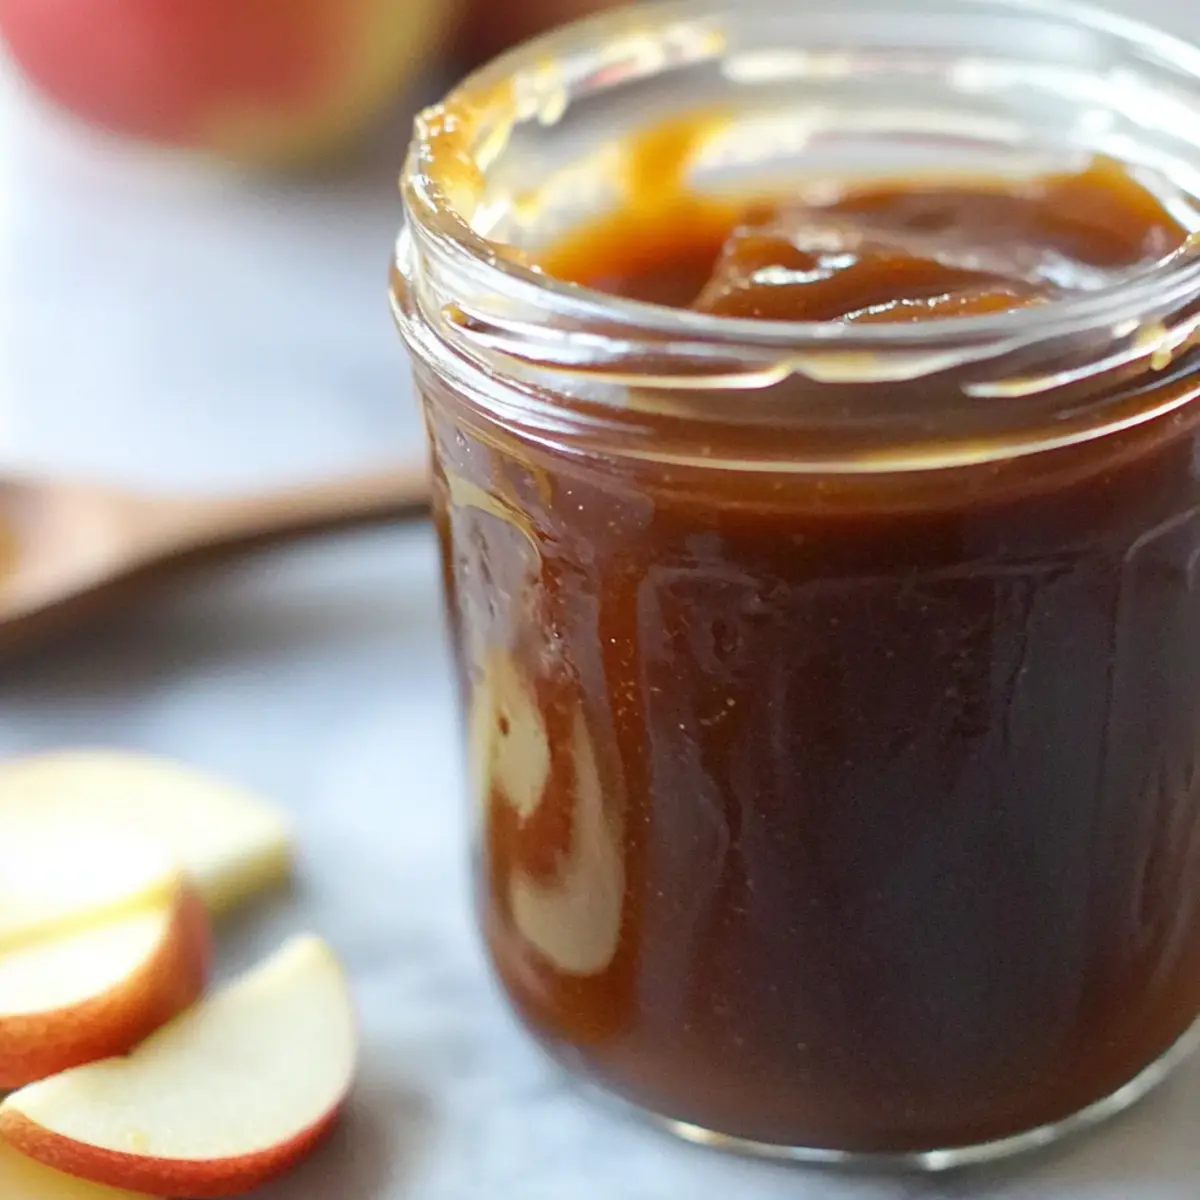
Homemade Apple Butter: The Easiest Slow Cooker Delight
Ingredients
Equipment
Method
- Wash the apples under cold water. Core and thinly slice the apples into wedges; peeling is optional.
- In your crockpot, layer the sliced apples, sugar, and desired spices. Stir well.
- Cover the crockpot and set to low, cooking for 8-12 hours, stirring occasionally.
- Remove the lid and use an immersion blender to purée the mixture until smooth.
- Allow cooling before transferring to airtight containers. Store in the fridge for up to two weeks or can for long-term storage.
Leave a Reply